Accessibility Statement
    spoonflower-logo
    January 10, 2017 • Updated December 30, 2025

    How to Sew Perfect Mitered Corners

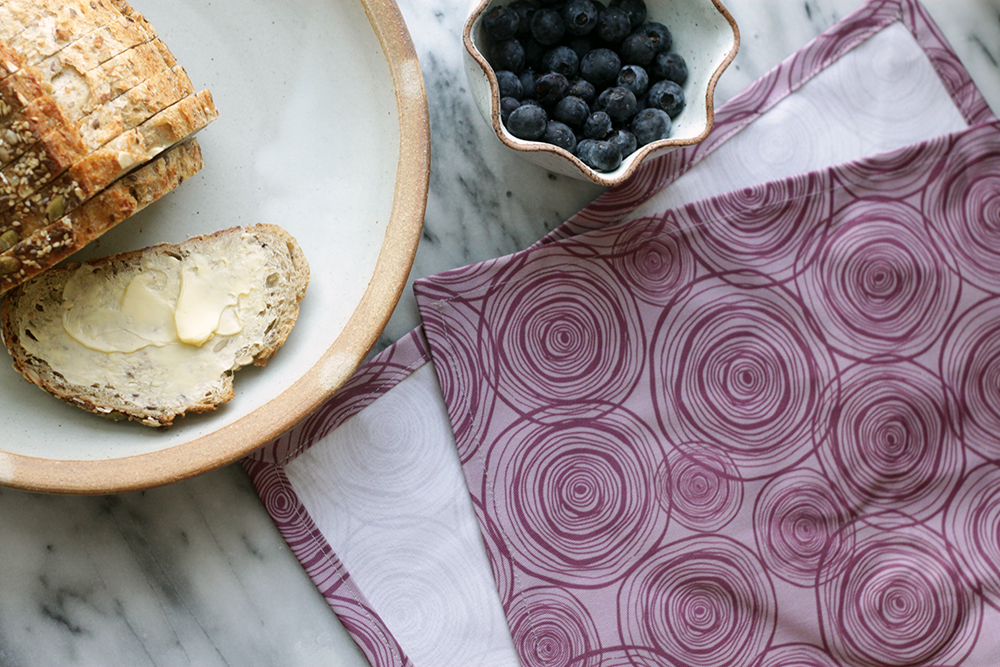
    You know those neat, crisp corners on quilts and professionally sewn napkins that you look at and say “I could never do that?” You’re not alone; we’ve been there! We’re pleased to report that mastering mitered corners is easier than you may think, especially when you’ve got the right fabric. Our Lightweight Cotton fabric by the yard(perfect for reusable napkins and table linens) has just enough structure to make crisp corners, but is light enough to be easy breezy to work with. It prints vibrantly and is brilliantly wash fast, so your new napkins will hold up. Follow along as we reveal the secret to sewing crisp, perfect mitered corners.

    plate with bread and butter, bowl of blueberries and a napkin with a purple onion design on it, all sitting on a marble table
    plate with bread and butter, bowl of blueberries and a napkin with a purple onion design on it, all sitting on a marble table
    Lightweight Cotton Twill is perfect for napkins. Design shown here is Onion Rings by Zoe Ingram.

    Supplies

    • fat quarter of Lightweight Cotton Twill
    • water erasable fabric pen
    • iron
    • scissors or rotary blade
    • straight pins
    • coordinating thread
    • clear ruler
    • seam guide

    Notes

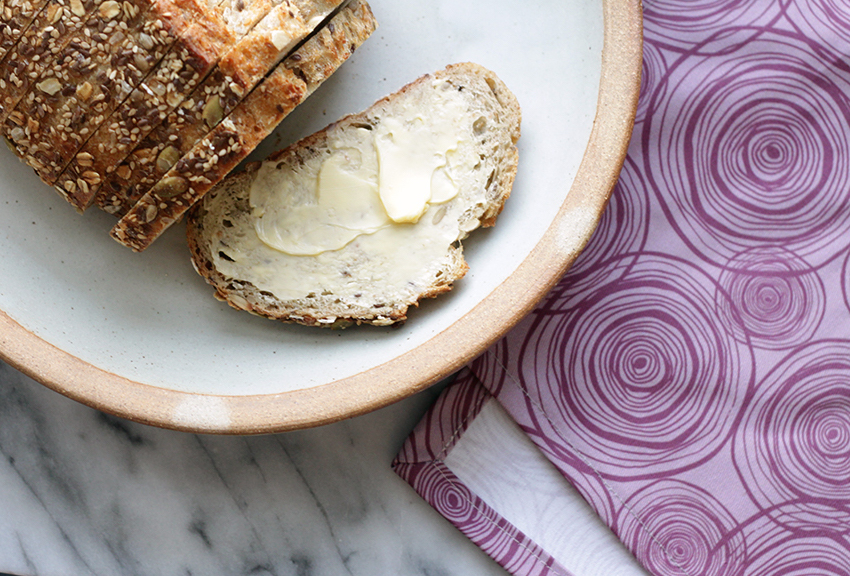
    Prewash, dry, and iron the fabric before starting. Be sure to pick cotton thread that coordinates with your fabric. This may not be considered an industry standard napkin size, but for convenience we used one 29″ x 18″ Lightweight Cotton Twill fat quarter of Onion Rings by zoe_ingram.
    supplies needed: image shows an iron, scissor, pins, fabric, seam guide and thread

    Step 1: Cut your fabric.

    Begin by cutting the white selvedge edges off your fat quarter. If you’re starting from a yard, cut a 29″ x 18″ rectangle of printed fabric.
    fold the edges of your Lightweight Cotton Twill

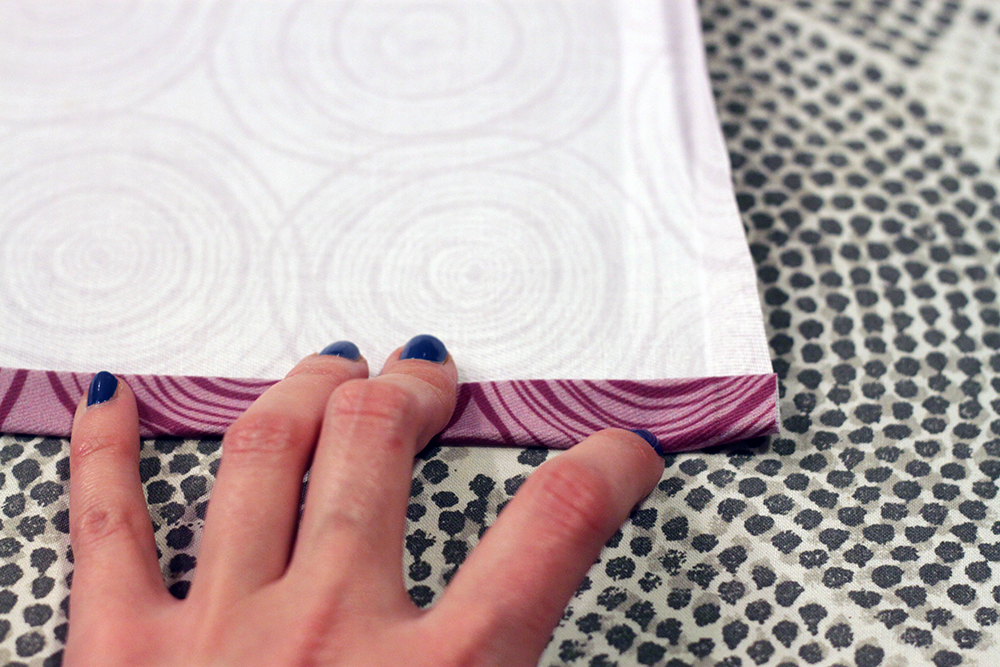
    Step 2: Fold and press edges.

    Unfold the edges of your fabric
    Once your fabric is cut down and before you begin to sew, you will fold and iron your edges. Begin by folding over an edge about half an inch and iron down the entire edge of one side. Be sure to press firmly with the iron, as this will create a guideline for your mitered corner without having to draw a line with your pen. For our napkin, we will fold over the fabric edge by half an inch and iron the entire edge and then fold a second time (half an inch) and iron again. This will create a clean edge on the wrong side of your napkin. Repeat this step for all four sides. The fold lines should be visible when opening up your fabric, and you will notice that a square has been created, with the outer seam bordering it on two sides. The corner of the square closest to the center of your tea towel / napkin will actually become the outer corner of your finished napkin.

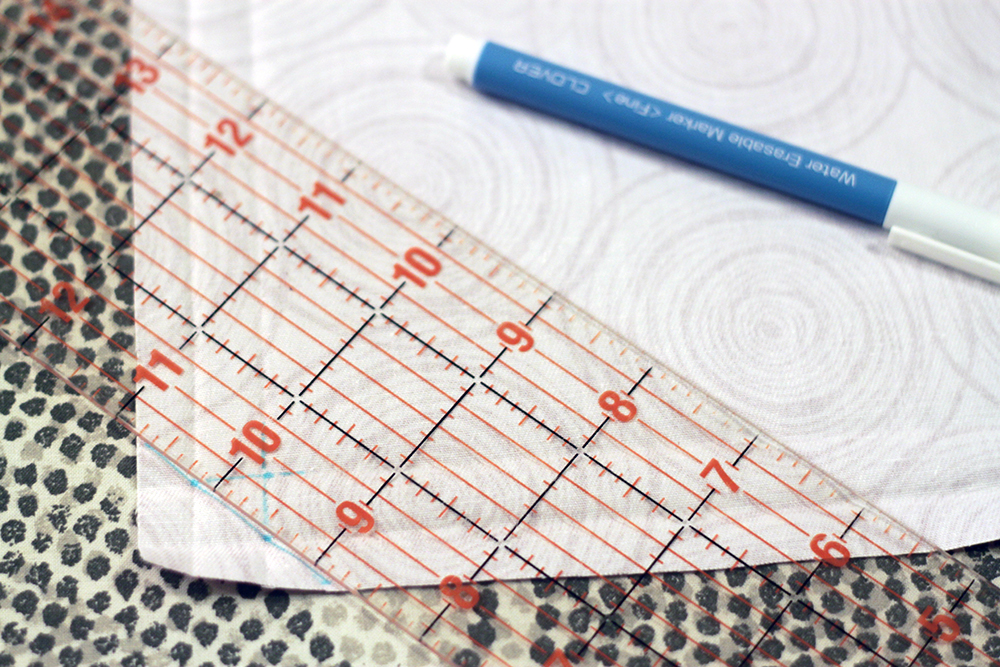
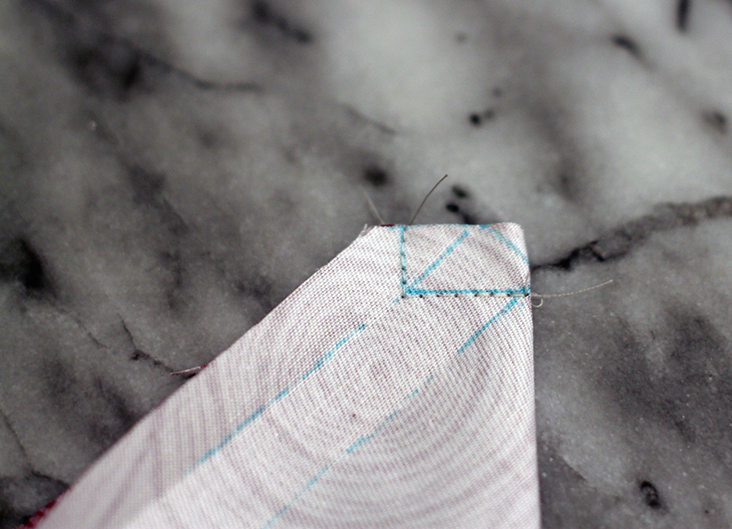
    Step 3: Mark and trim your corners.

    Create a reference line and trim your fabric
    Using a clear ruler, mark your corner to be trimmed, by creating a diagonal line that aligns with the two opposite points of your inner square as shown above. Using the line you just drew as a guide, snip off the corner of your fabric.

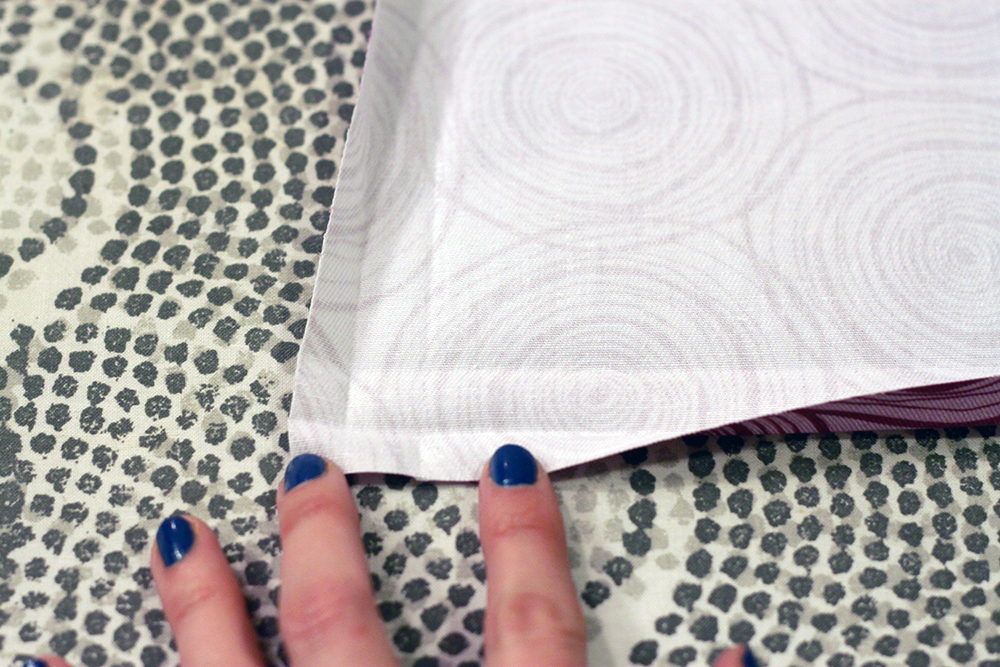
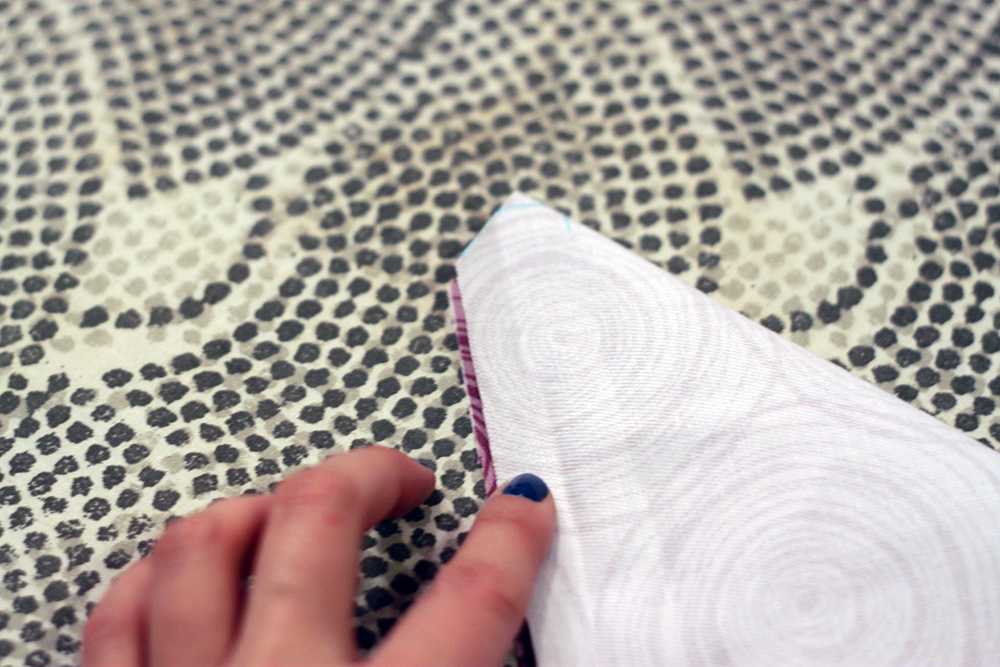
    Step 4: Fold and pin.

    fold fabric right sides facing
    Fold your fabric in on itself at the corner you just snipped, right sides facing. Pin or clip the fabric together to hold it steady.

    Step 5: Sew your corners.
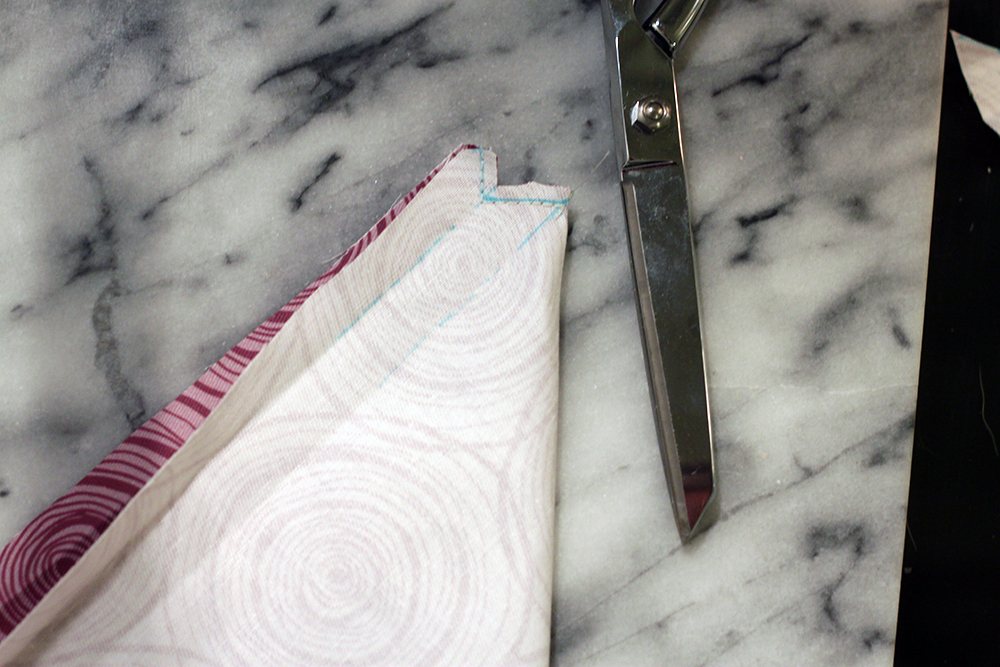
    sew your mitered corner
    Sew your mitered corner stitch into each corner. Starting at either edge, sew from the diagonal fold toward the edge of your fabric, and half inch from the fabric toward the fold. We highlighted our fold line and stitch lines with the erasable marker.
    snip the bulk of your napkin corner inside the seam

    Step 6: Snip.

    turn out the seam to reveal your mitered corner
    Snip the "bulk" out of your corner.

    Step 7: Turn the corner out.

    IMG_6154
    Using a chop stick or blunt end of a stick, turn the mitered corner out.

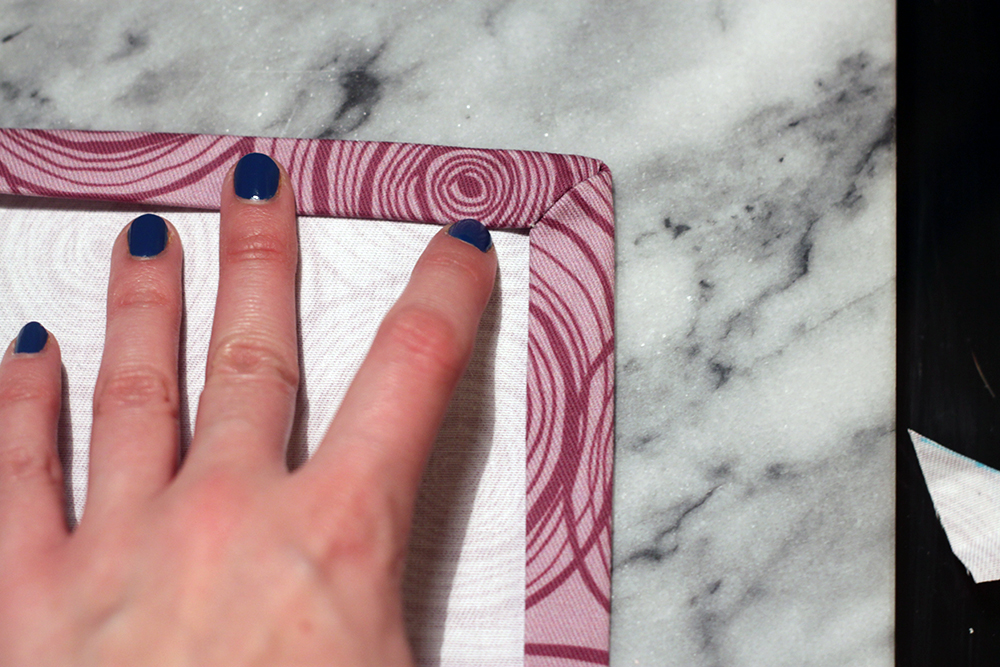
    Step 8: Fold and press.

    IMG_6163
    Fold in the raw edge and press with your iron

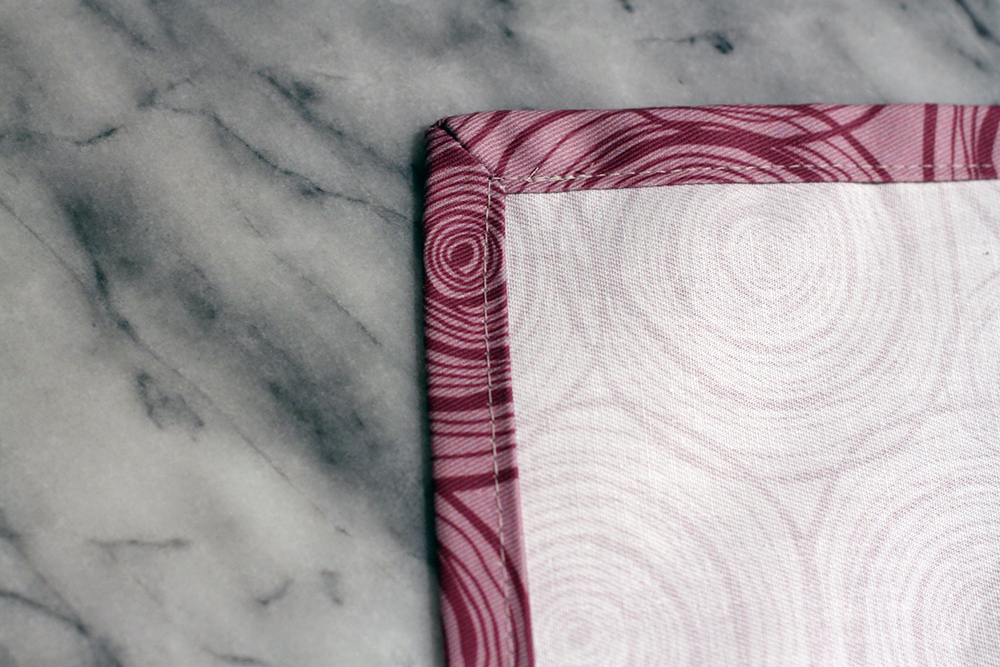
    Step 9: Edge stitch.

    IMG_6161
    Edge stitch your hem with a medium length straight stitch, getting as close to the inner edge of that hem as you can.
    IMG_6181
    You’re done! Marvel at how neat and professional looking your napkin is!
    2
    Now that you’ve learned how to miter a corner, there’s practically nothing you can’t do. Get inspired by thousands of designs and find the perfect fabric for your next project from Spoonflower. Happy making!
    WHY SPOONFLOWER?

    Made to order using unique designs from artists worldwide.