4 Steps to This Simple Drawstring Bag Pattern
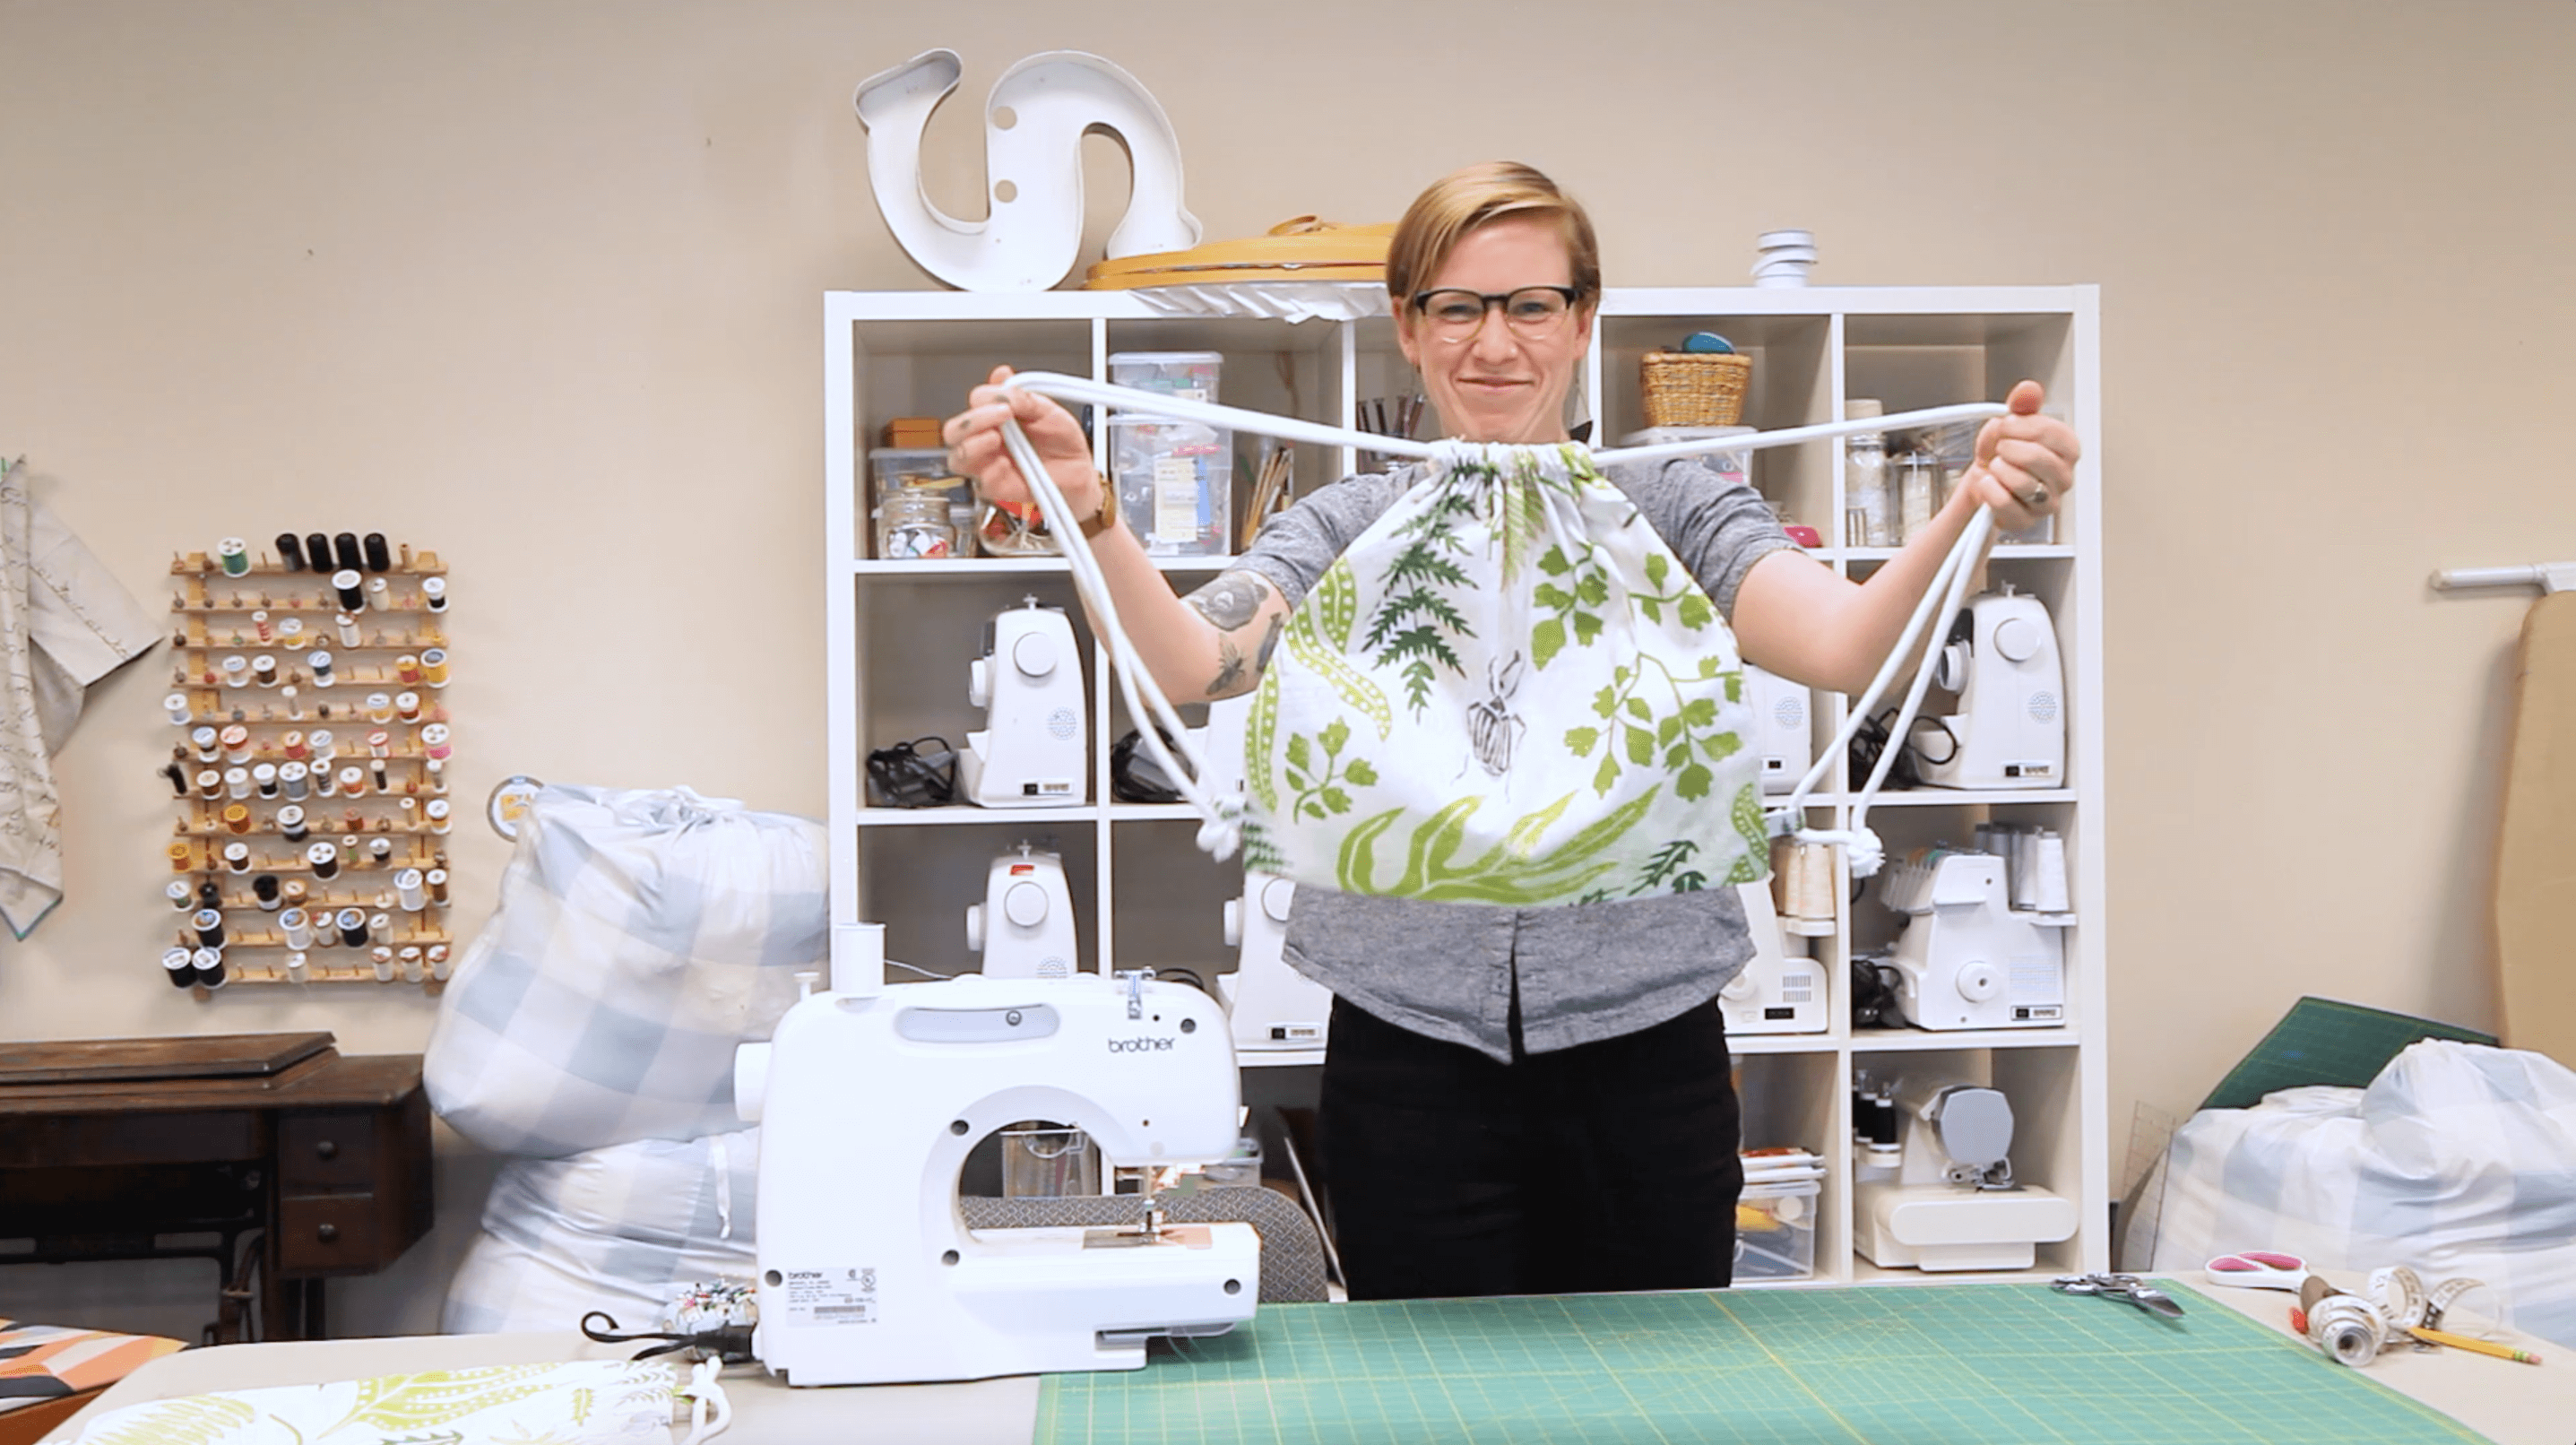
If you’re looking for a functional and stylish way to transport small items, look no further than the DIY drawstring bag. It sews up quick and only uses 1 yard of fabric. We can’t stop making them in our Lightweight Cotton Twill! Check out the video tutorial below or jump ahead to the text and photo version if that’s more your speed.
Materials Needed
- 1 yard of Spoonflower’s Lightweight Cotton Twill We’re using Fernery Block Print Style by pinky_wittingslow
- 4 yards of drawstring (½” or less in diameter)
- Spoonflower’s free drawstring bag pattern
- Thread
- Sewing machine
- Safety pin
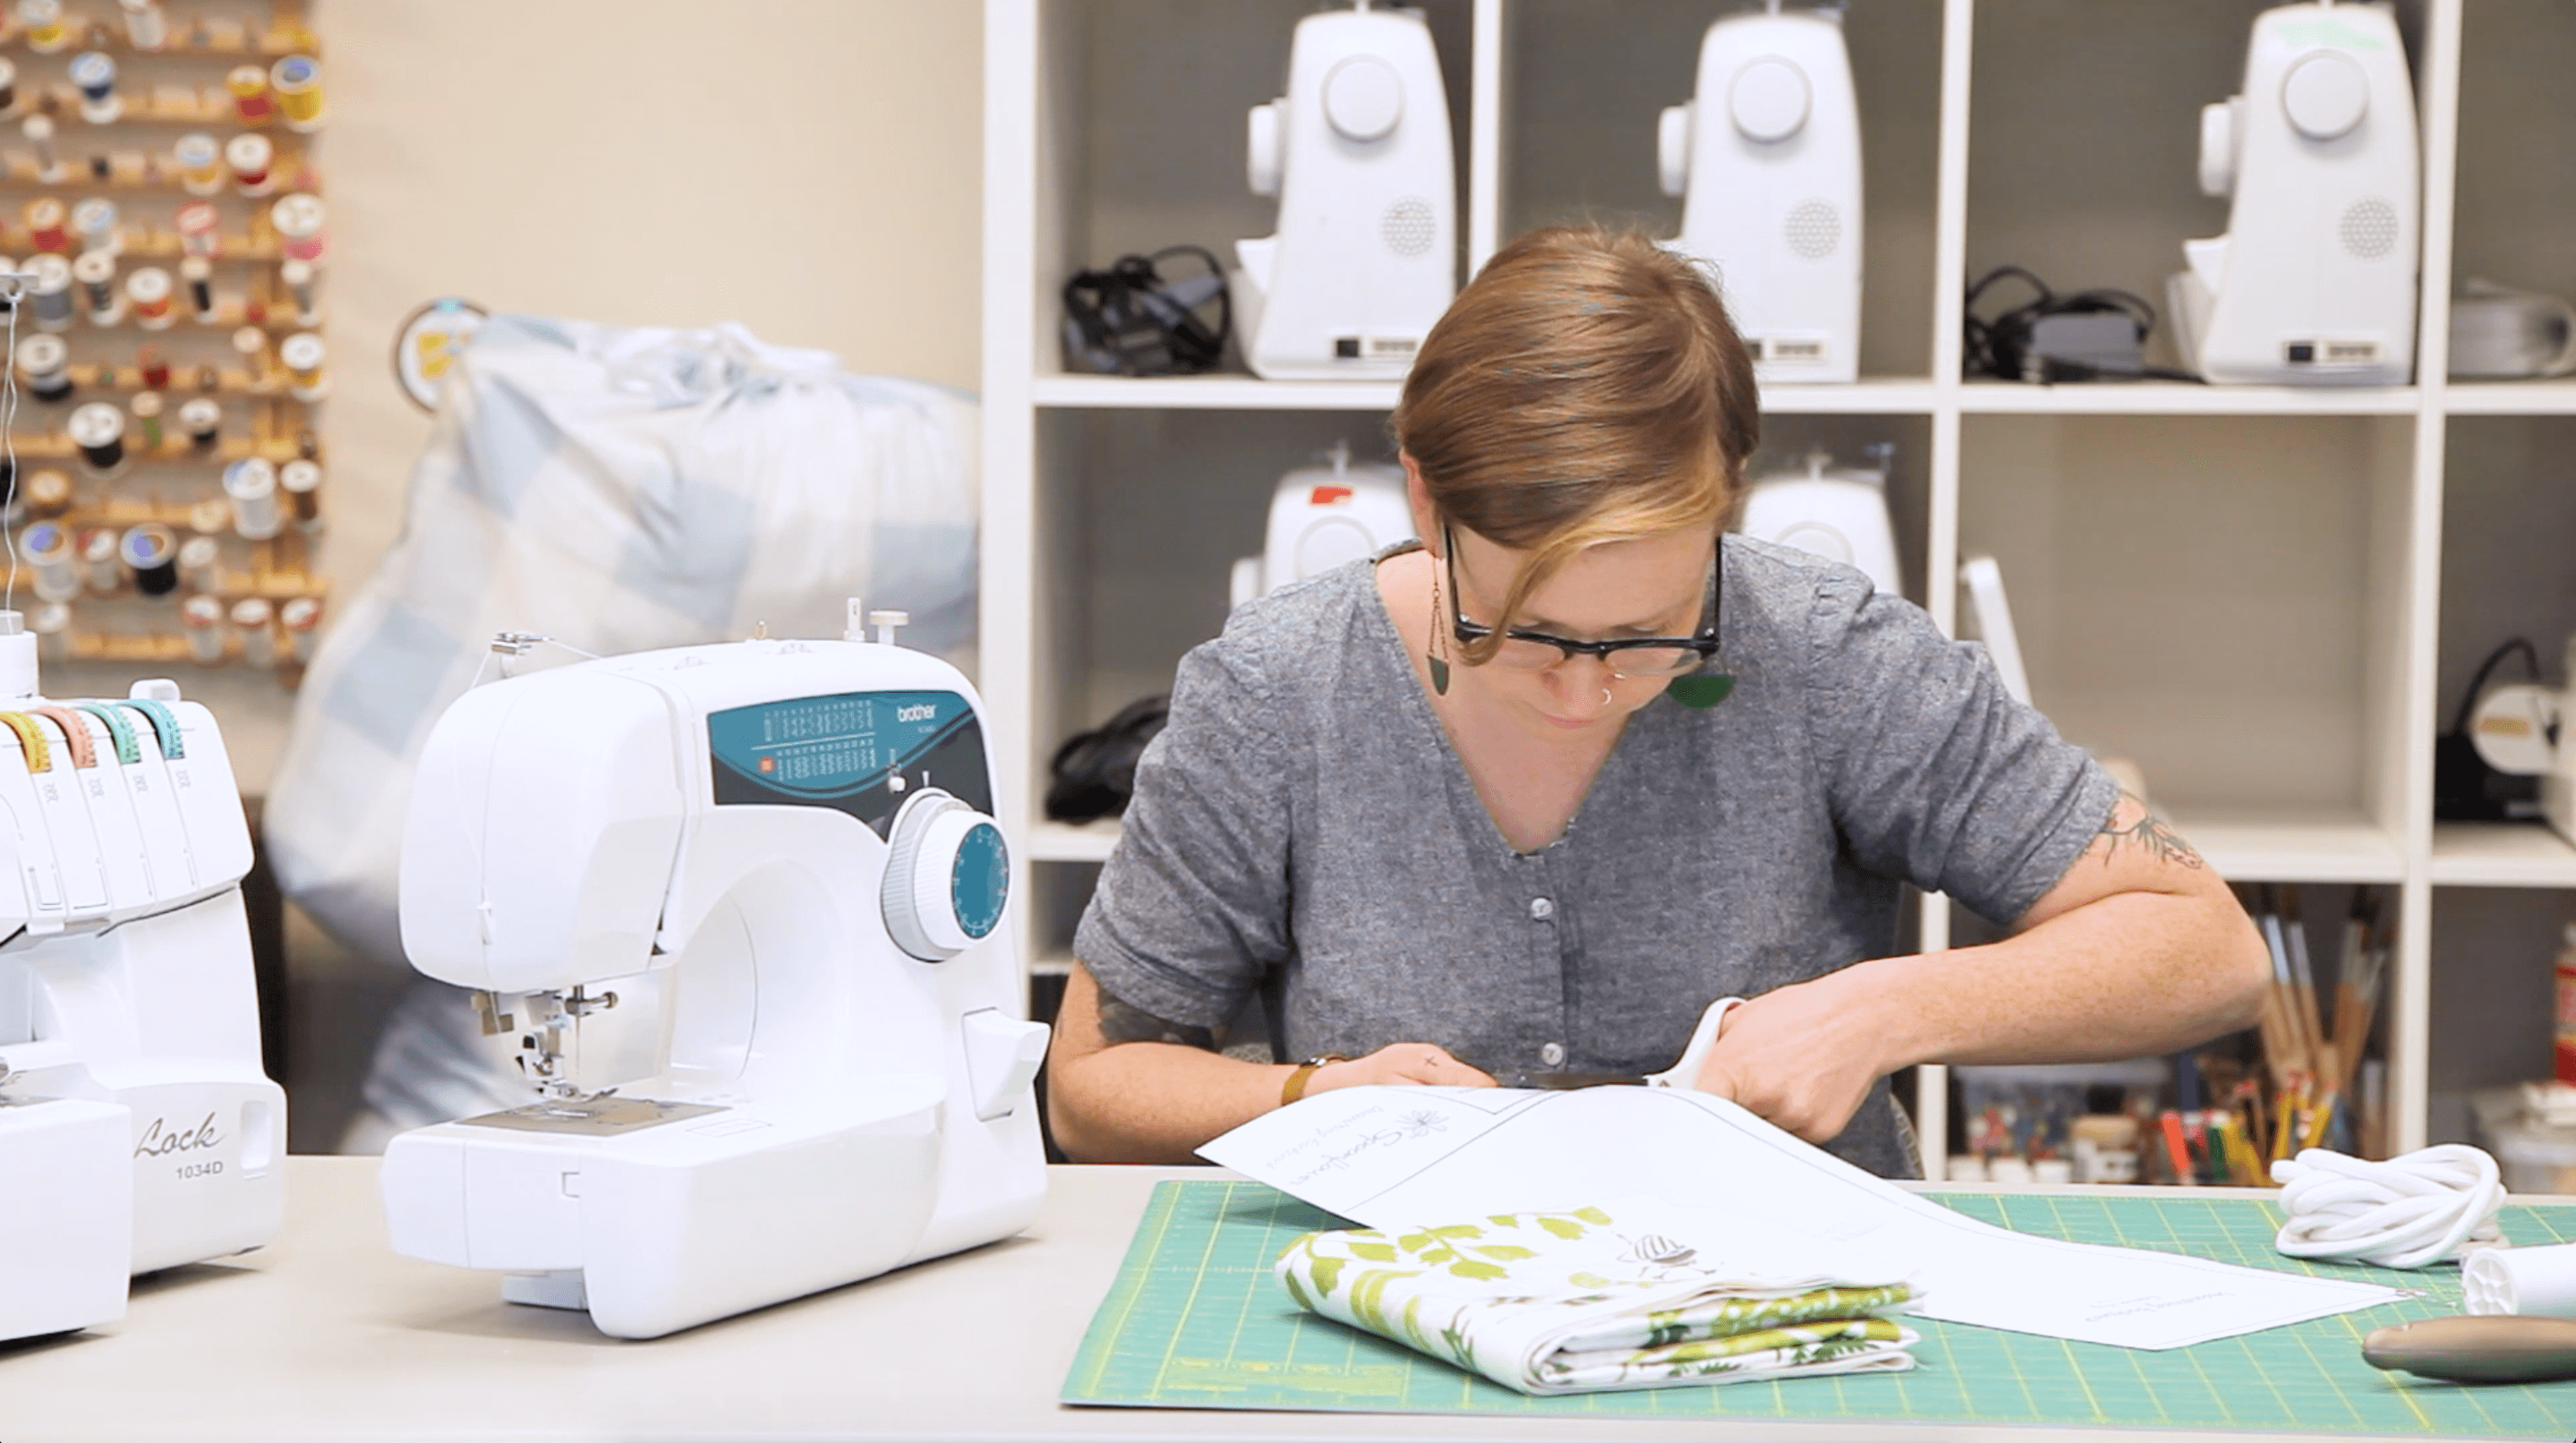
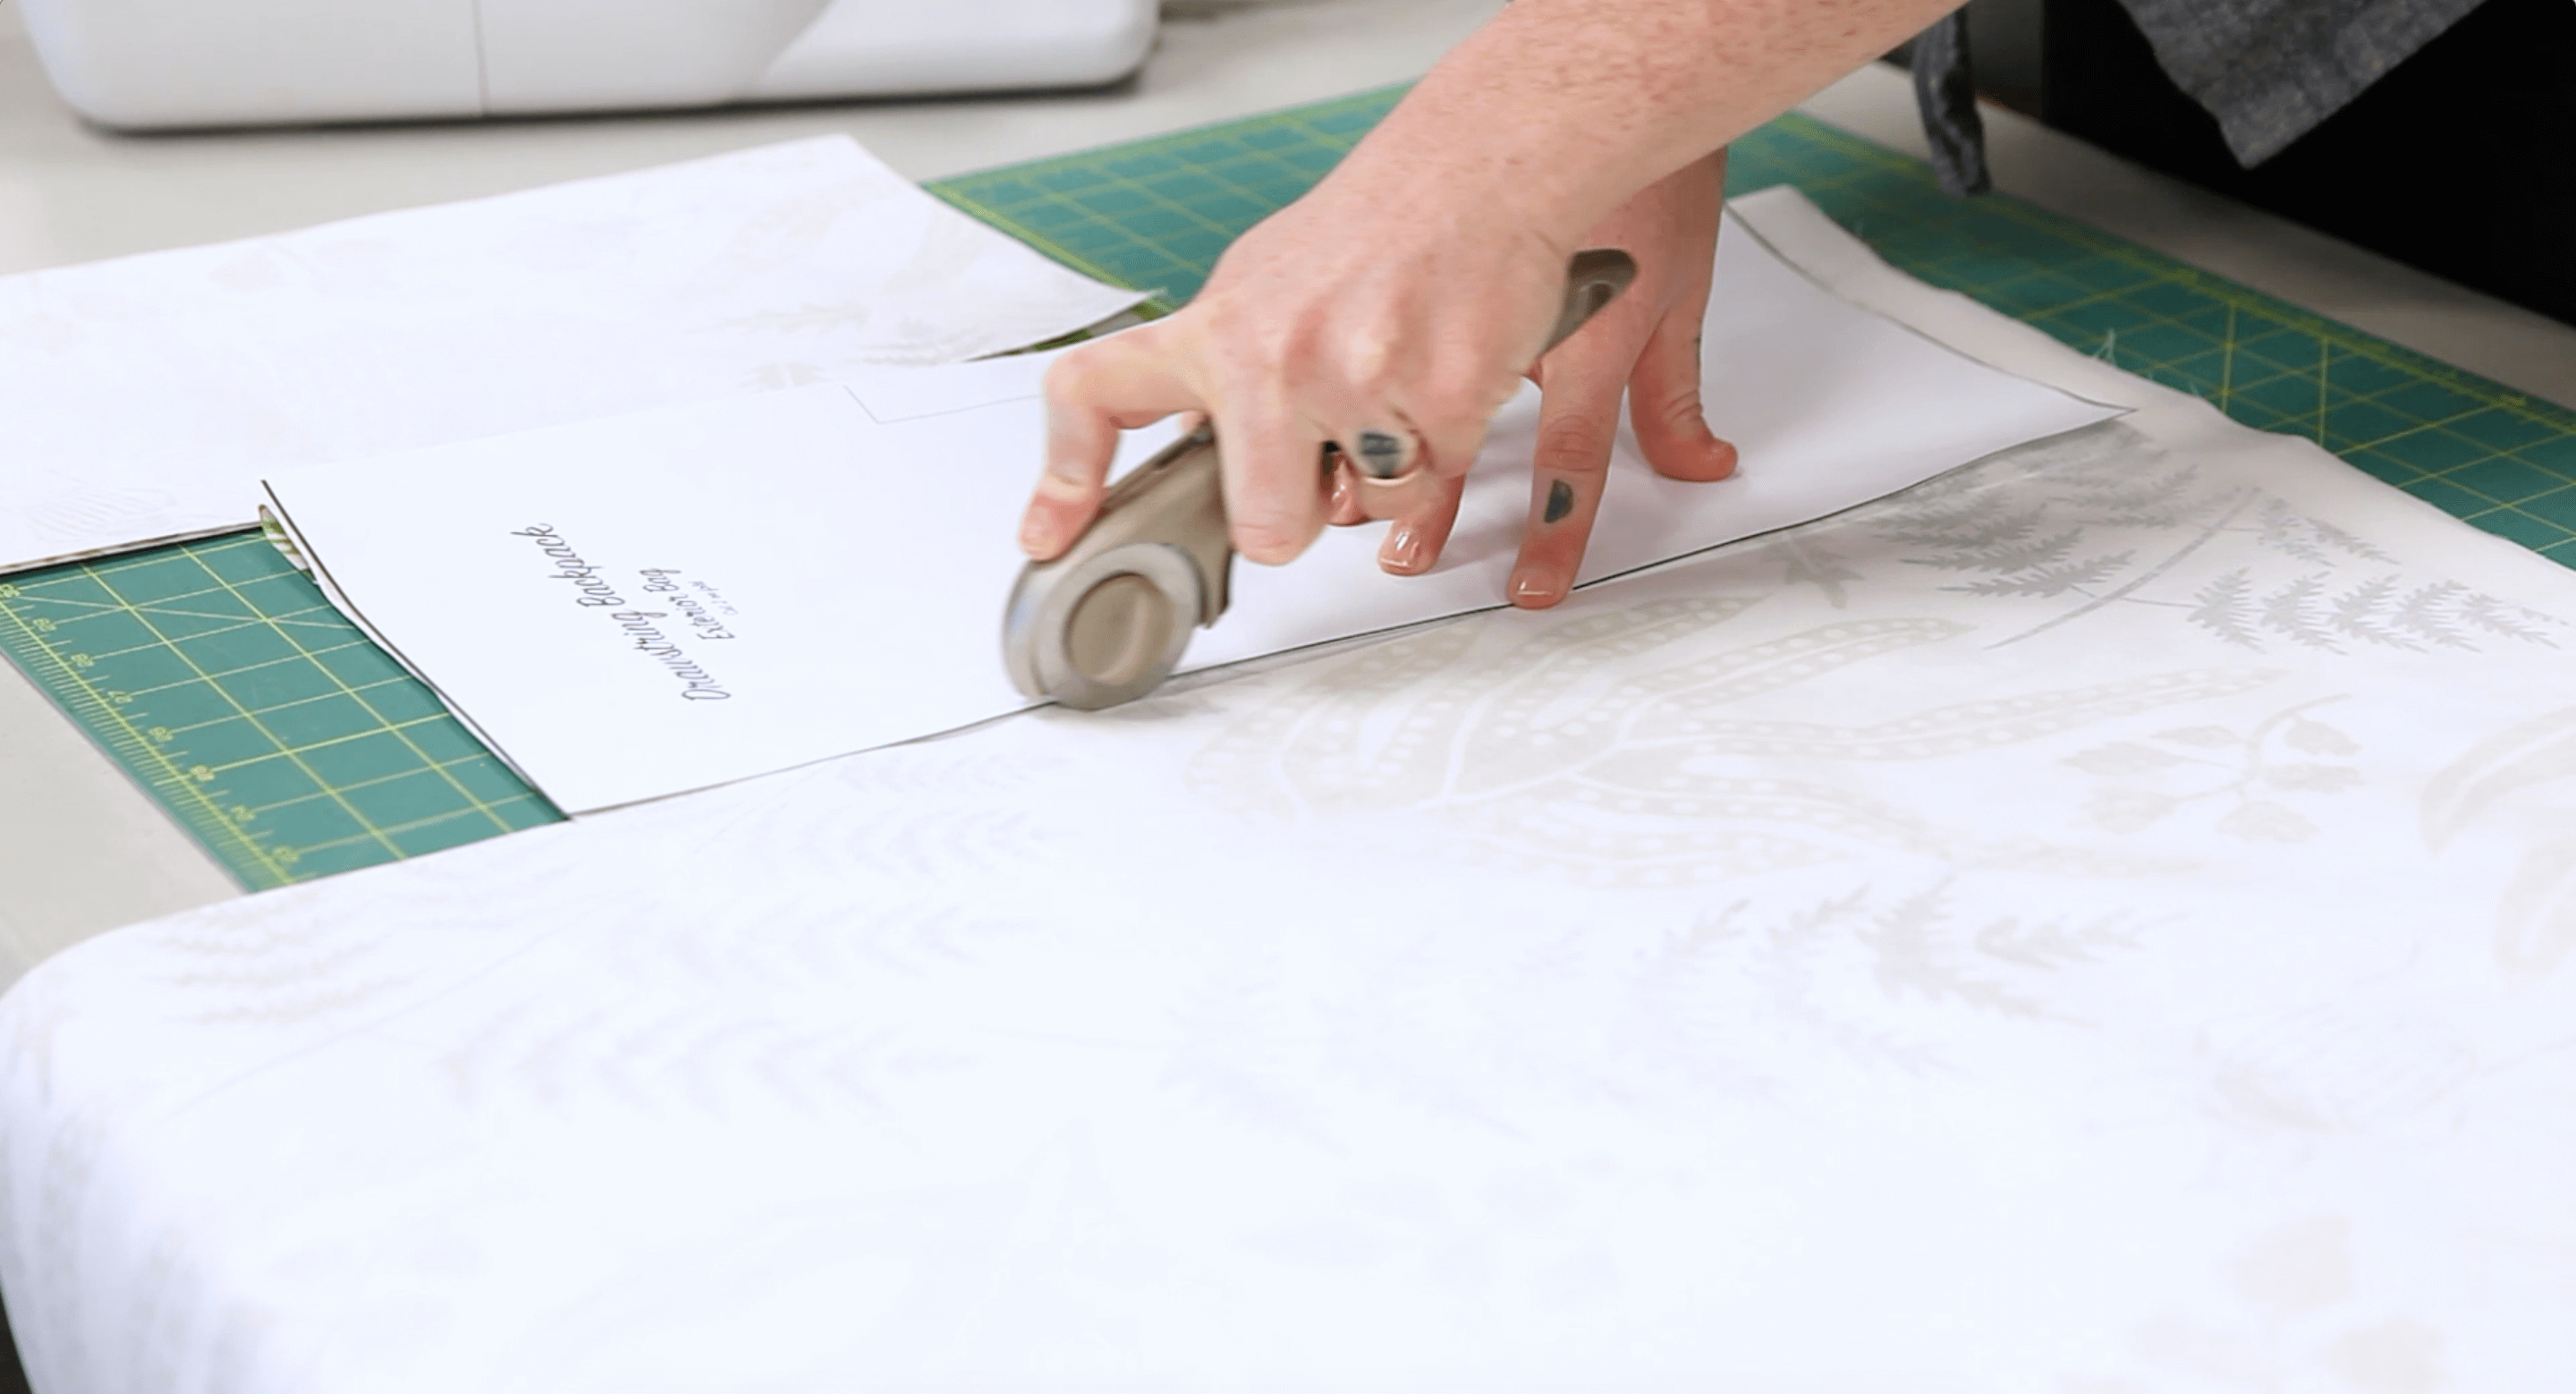
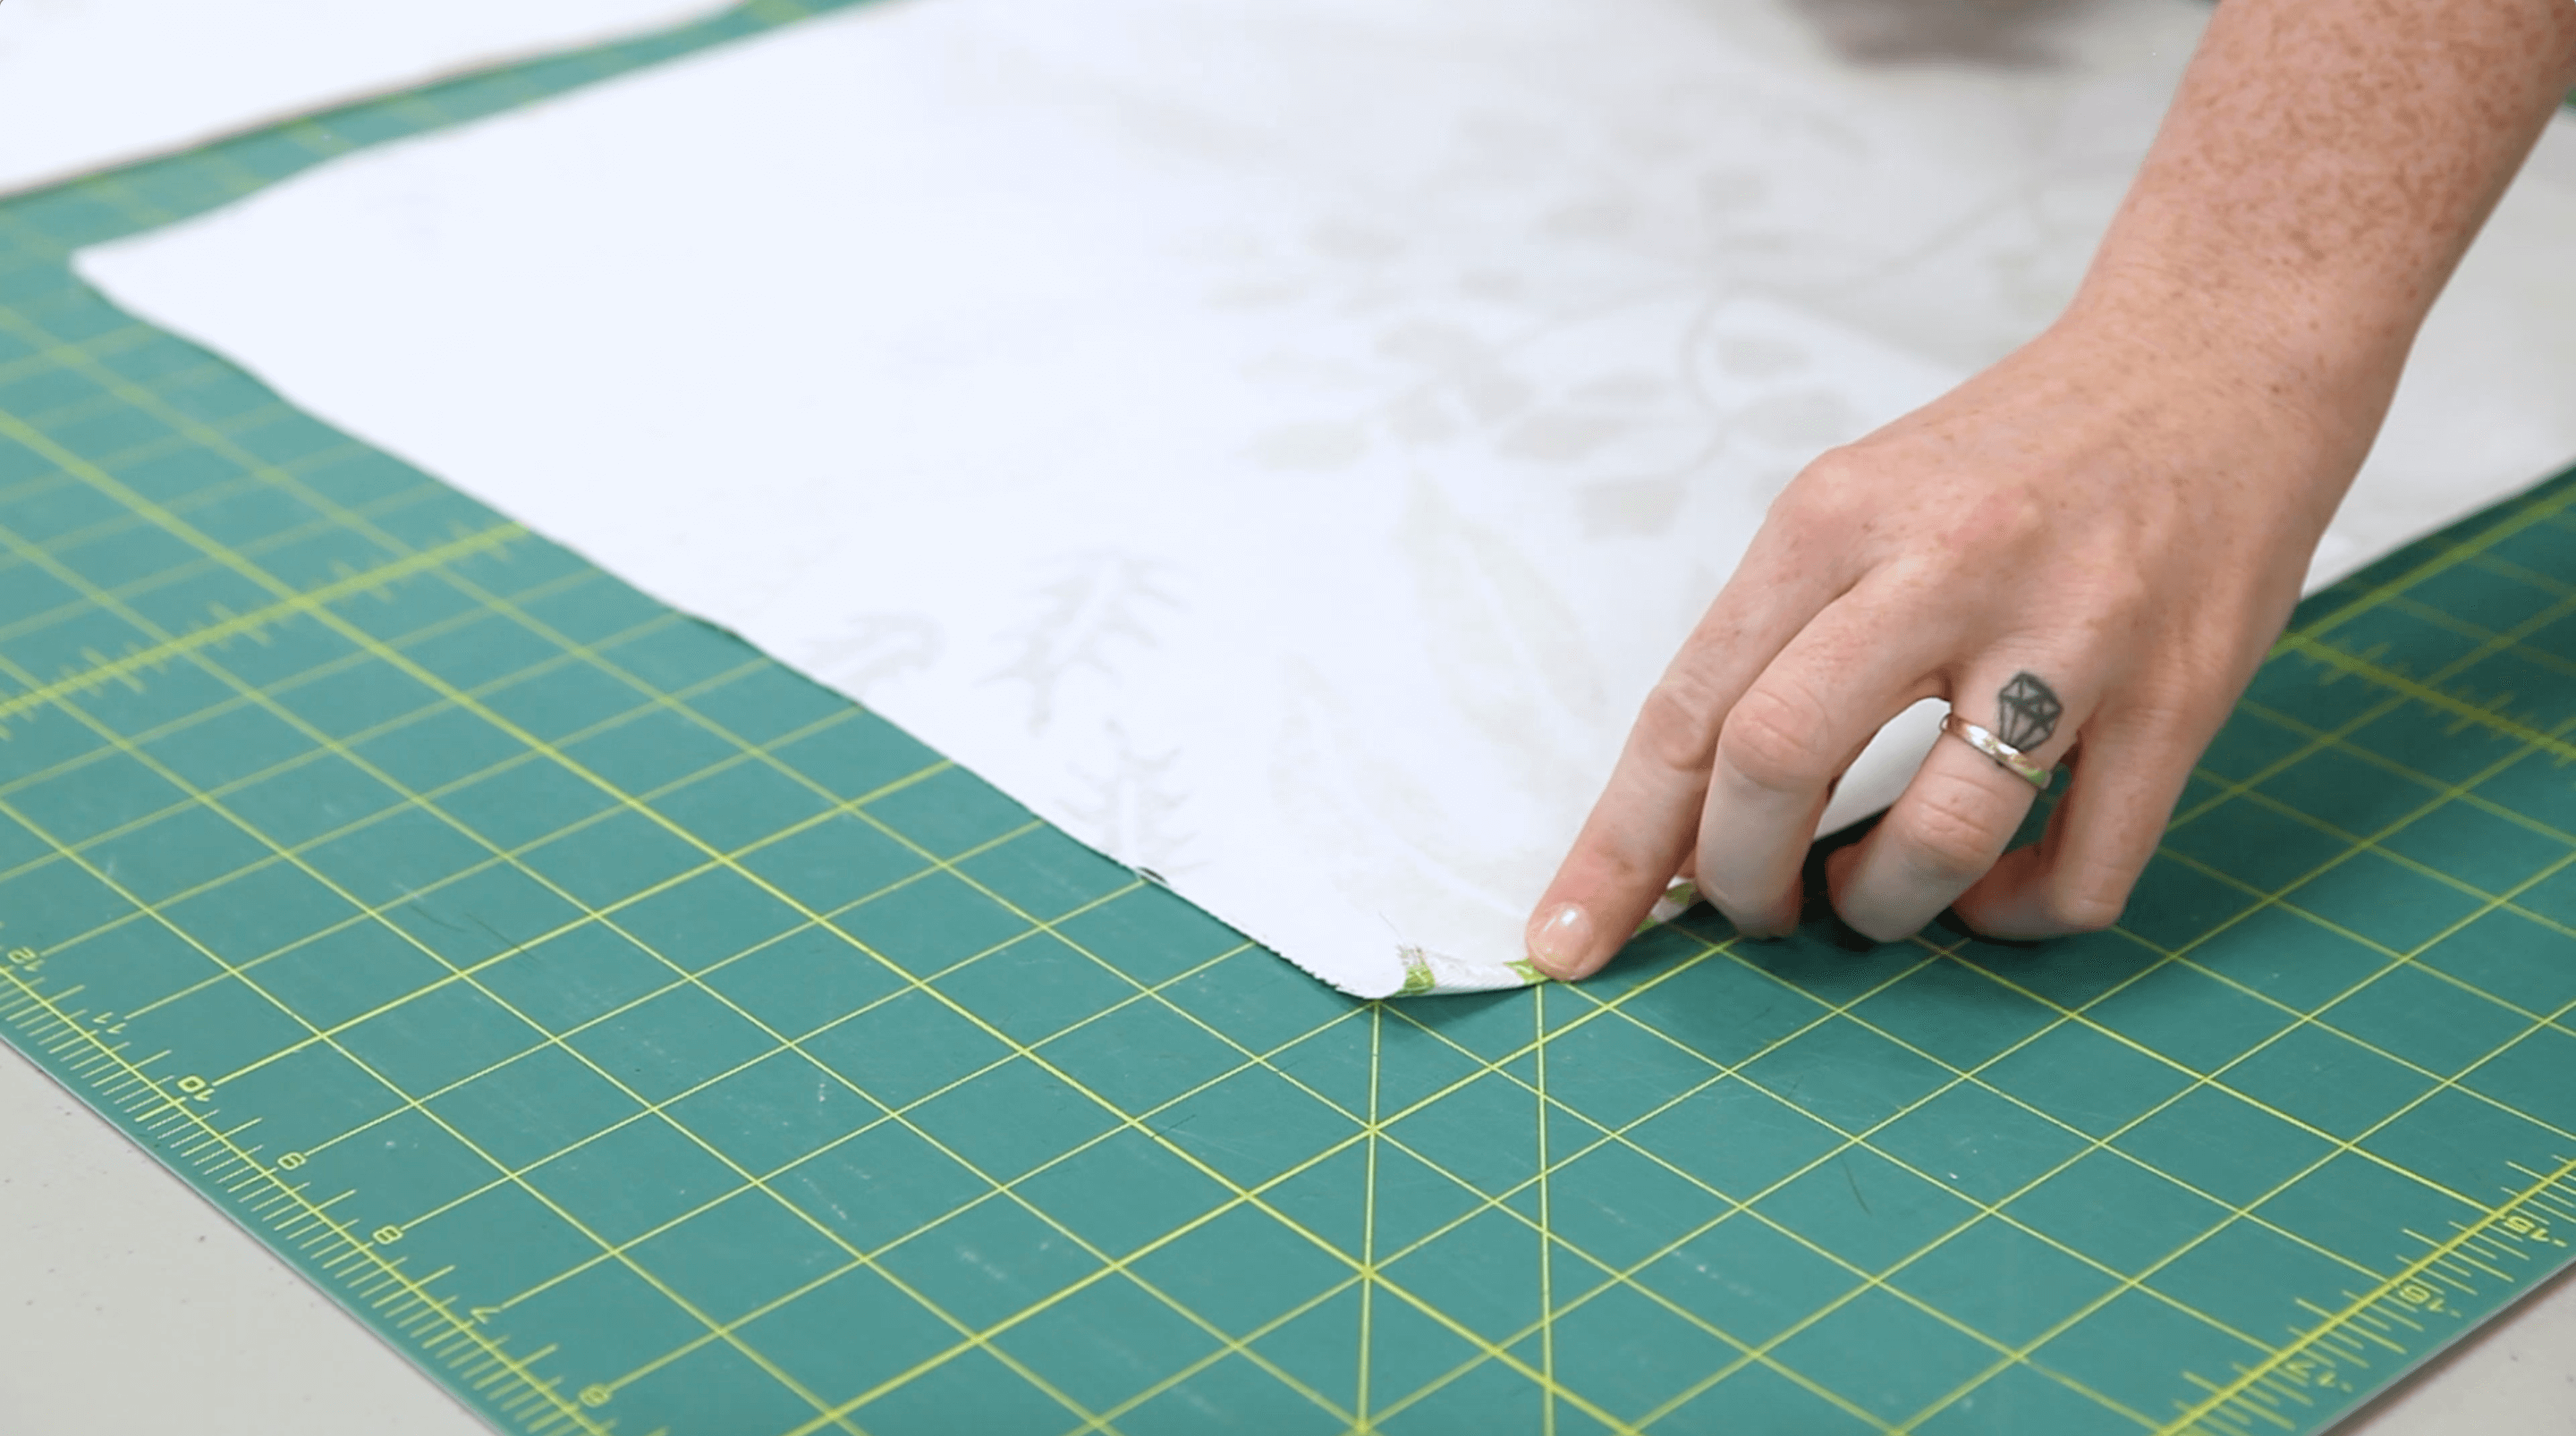
Step 1. Cut out the pattern pieces


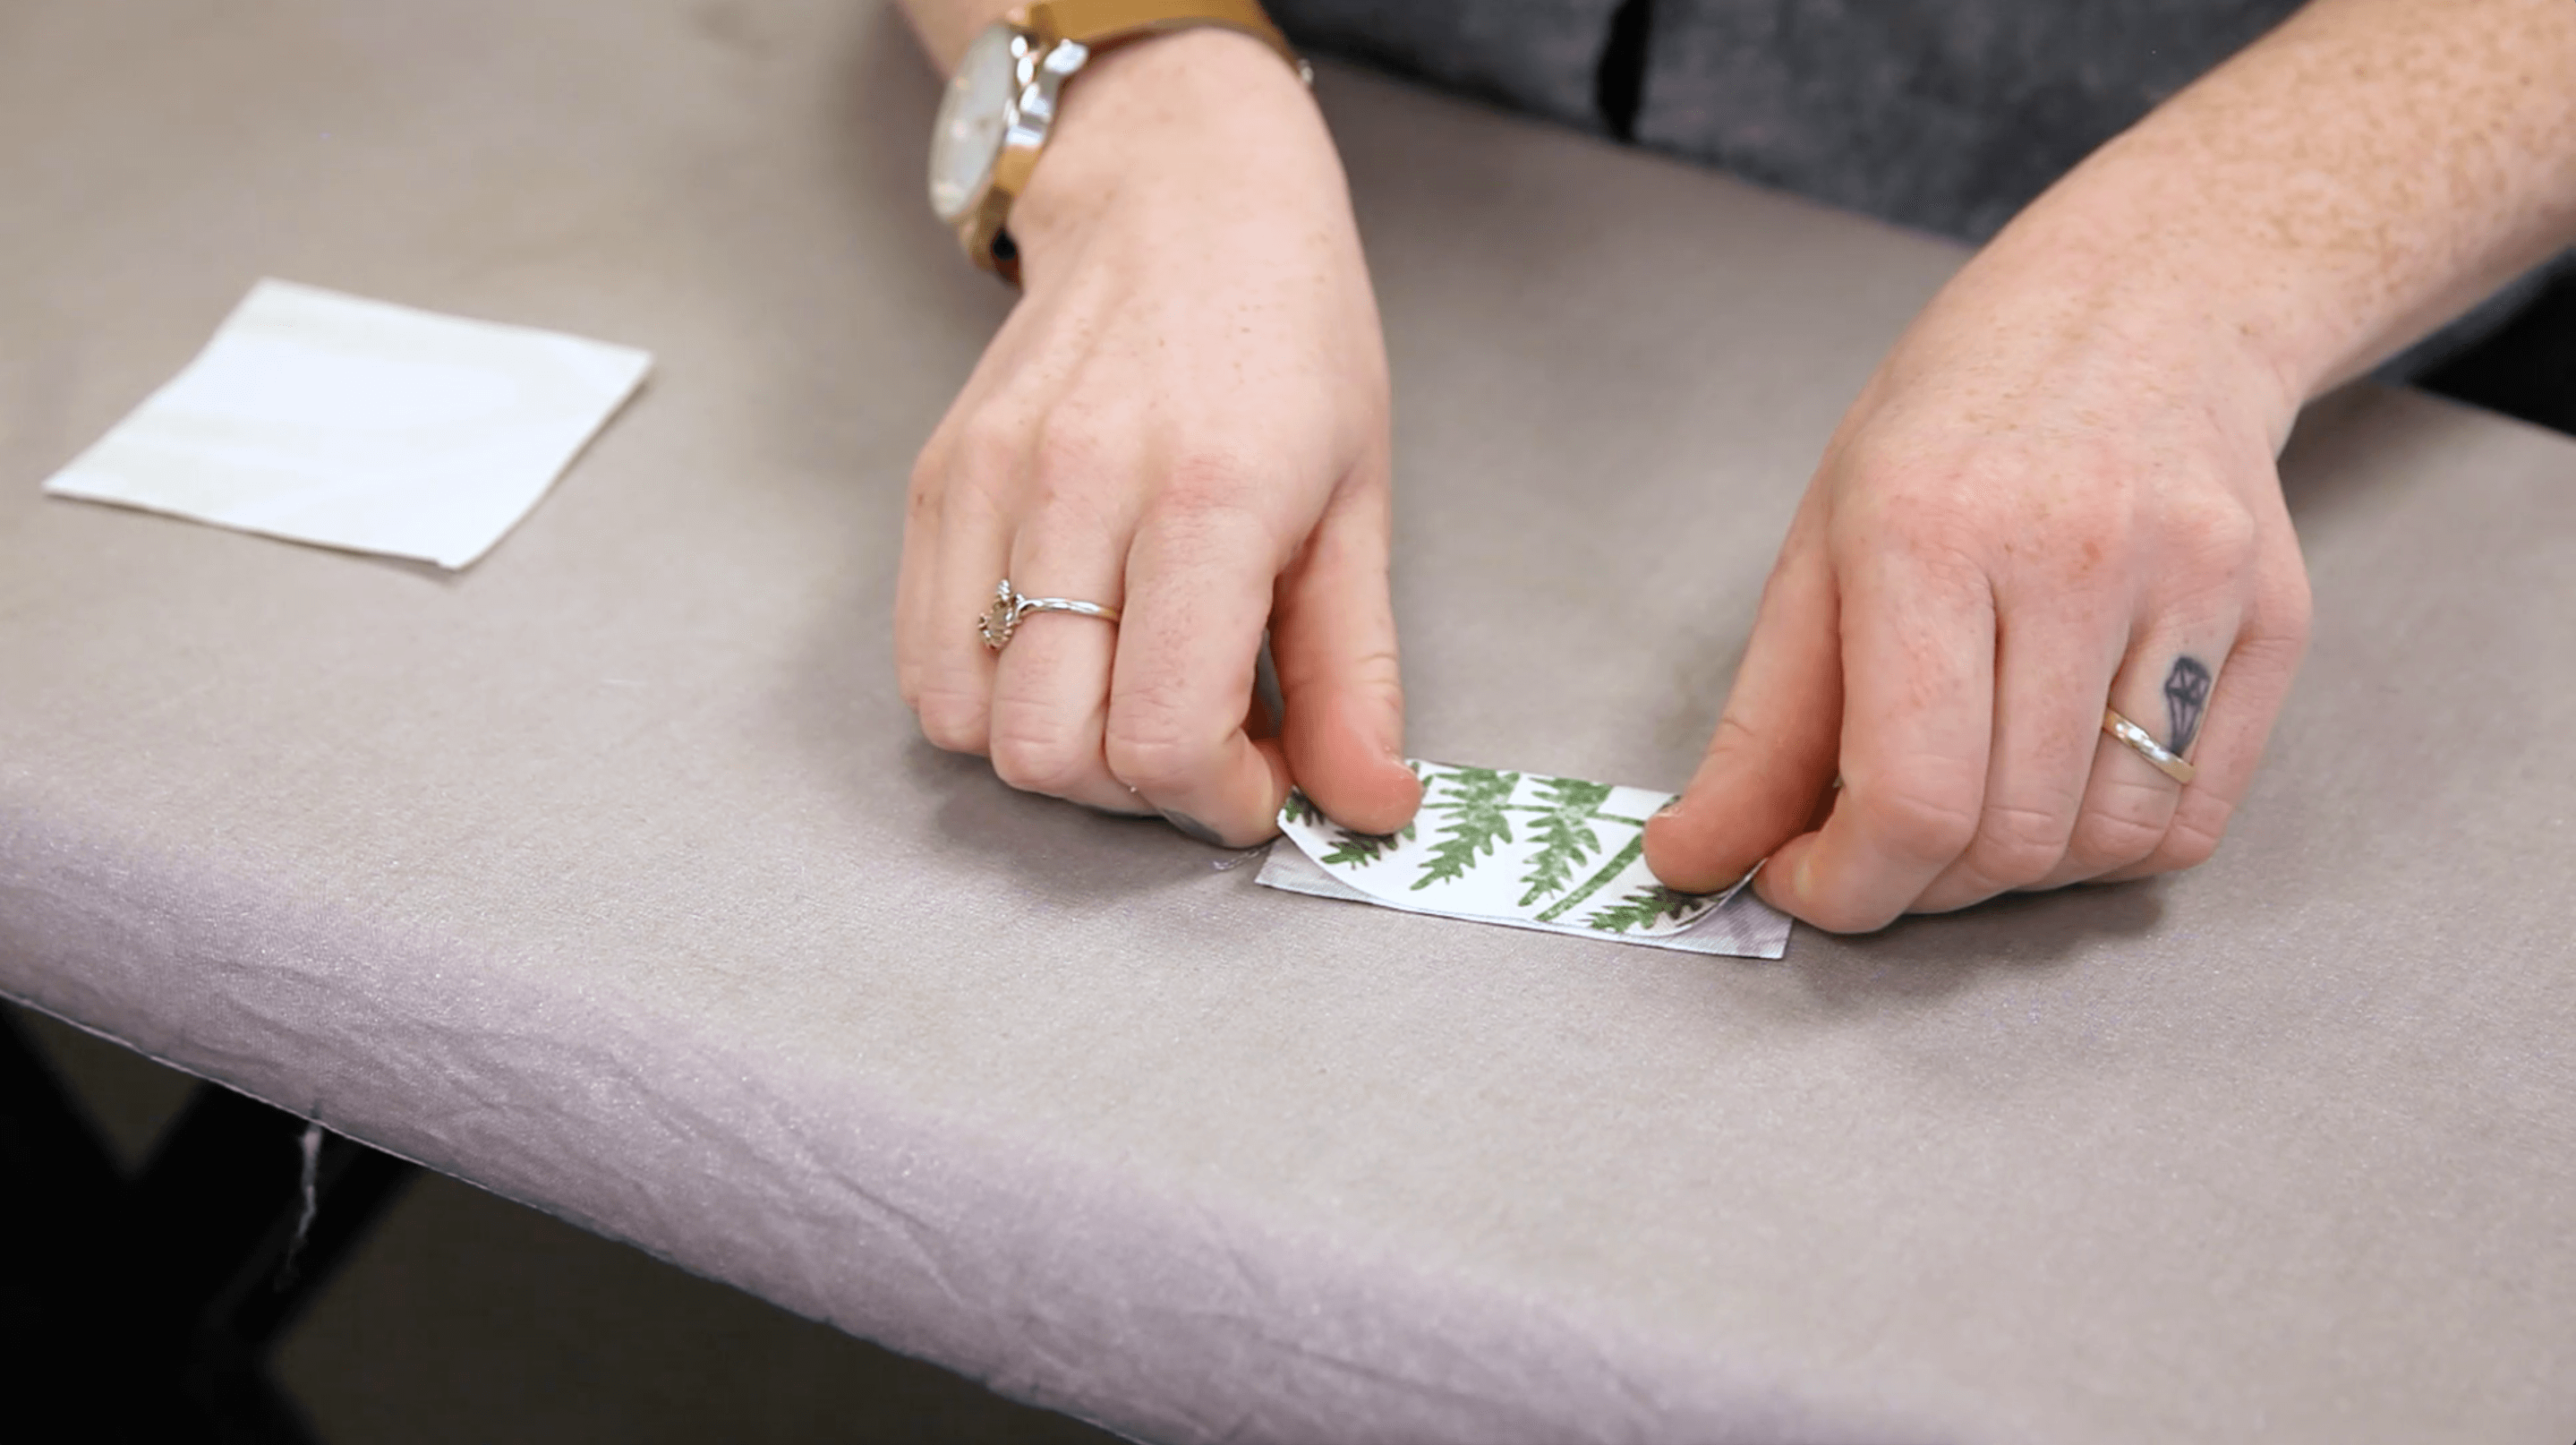
Step 2. Assemble the loop squares


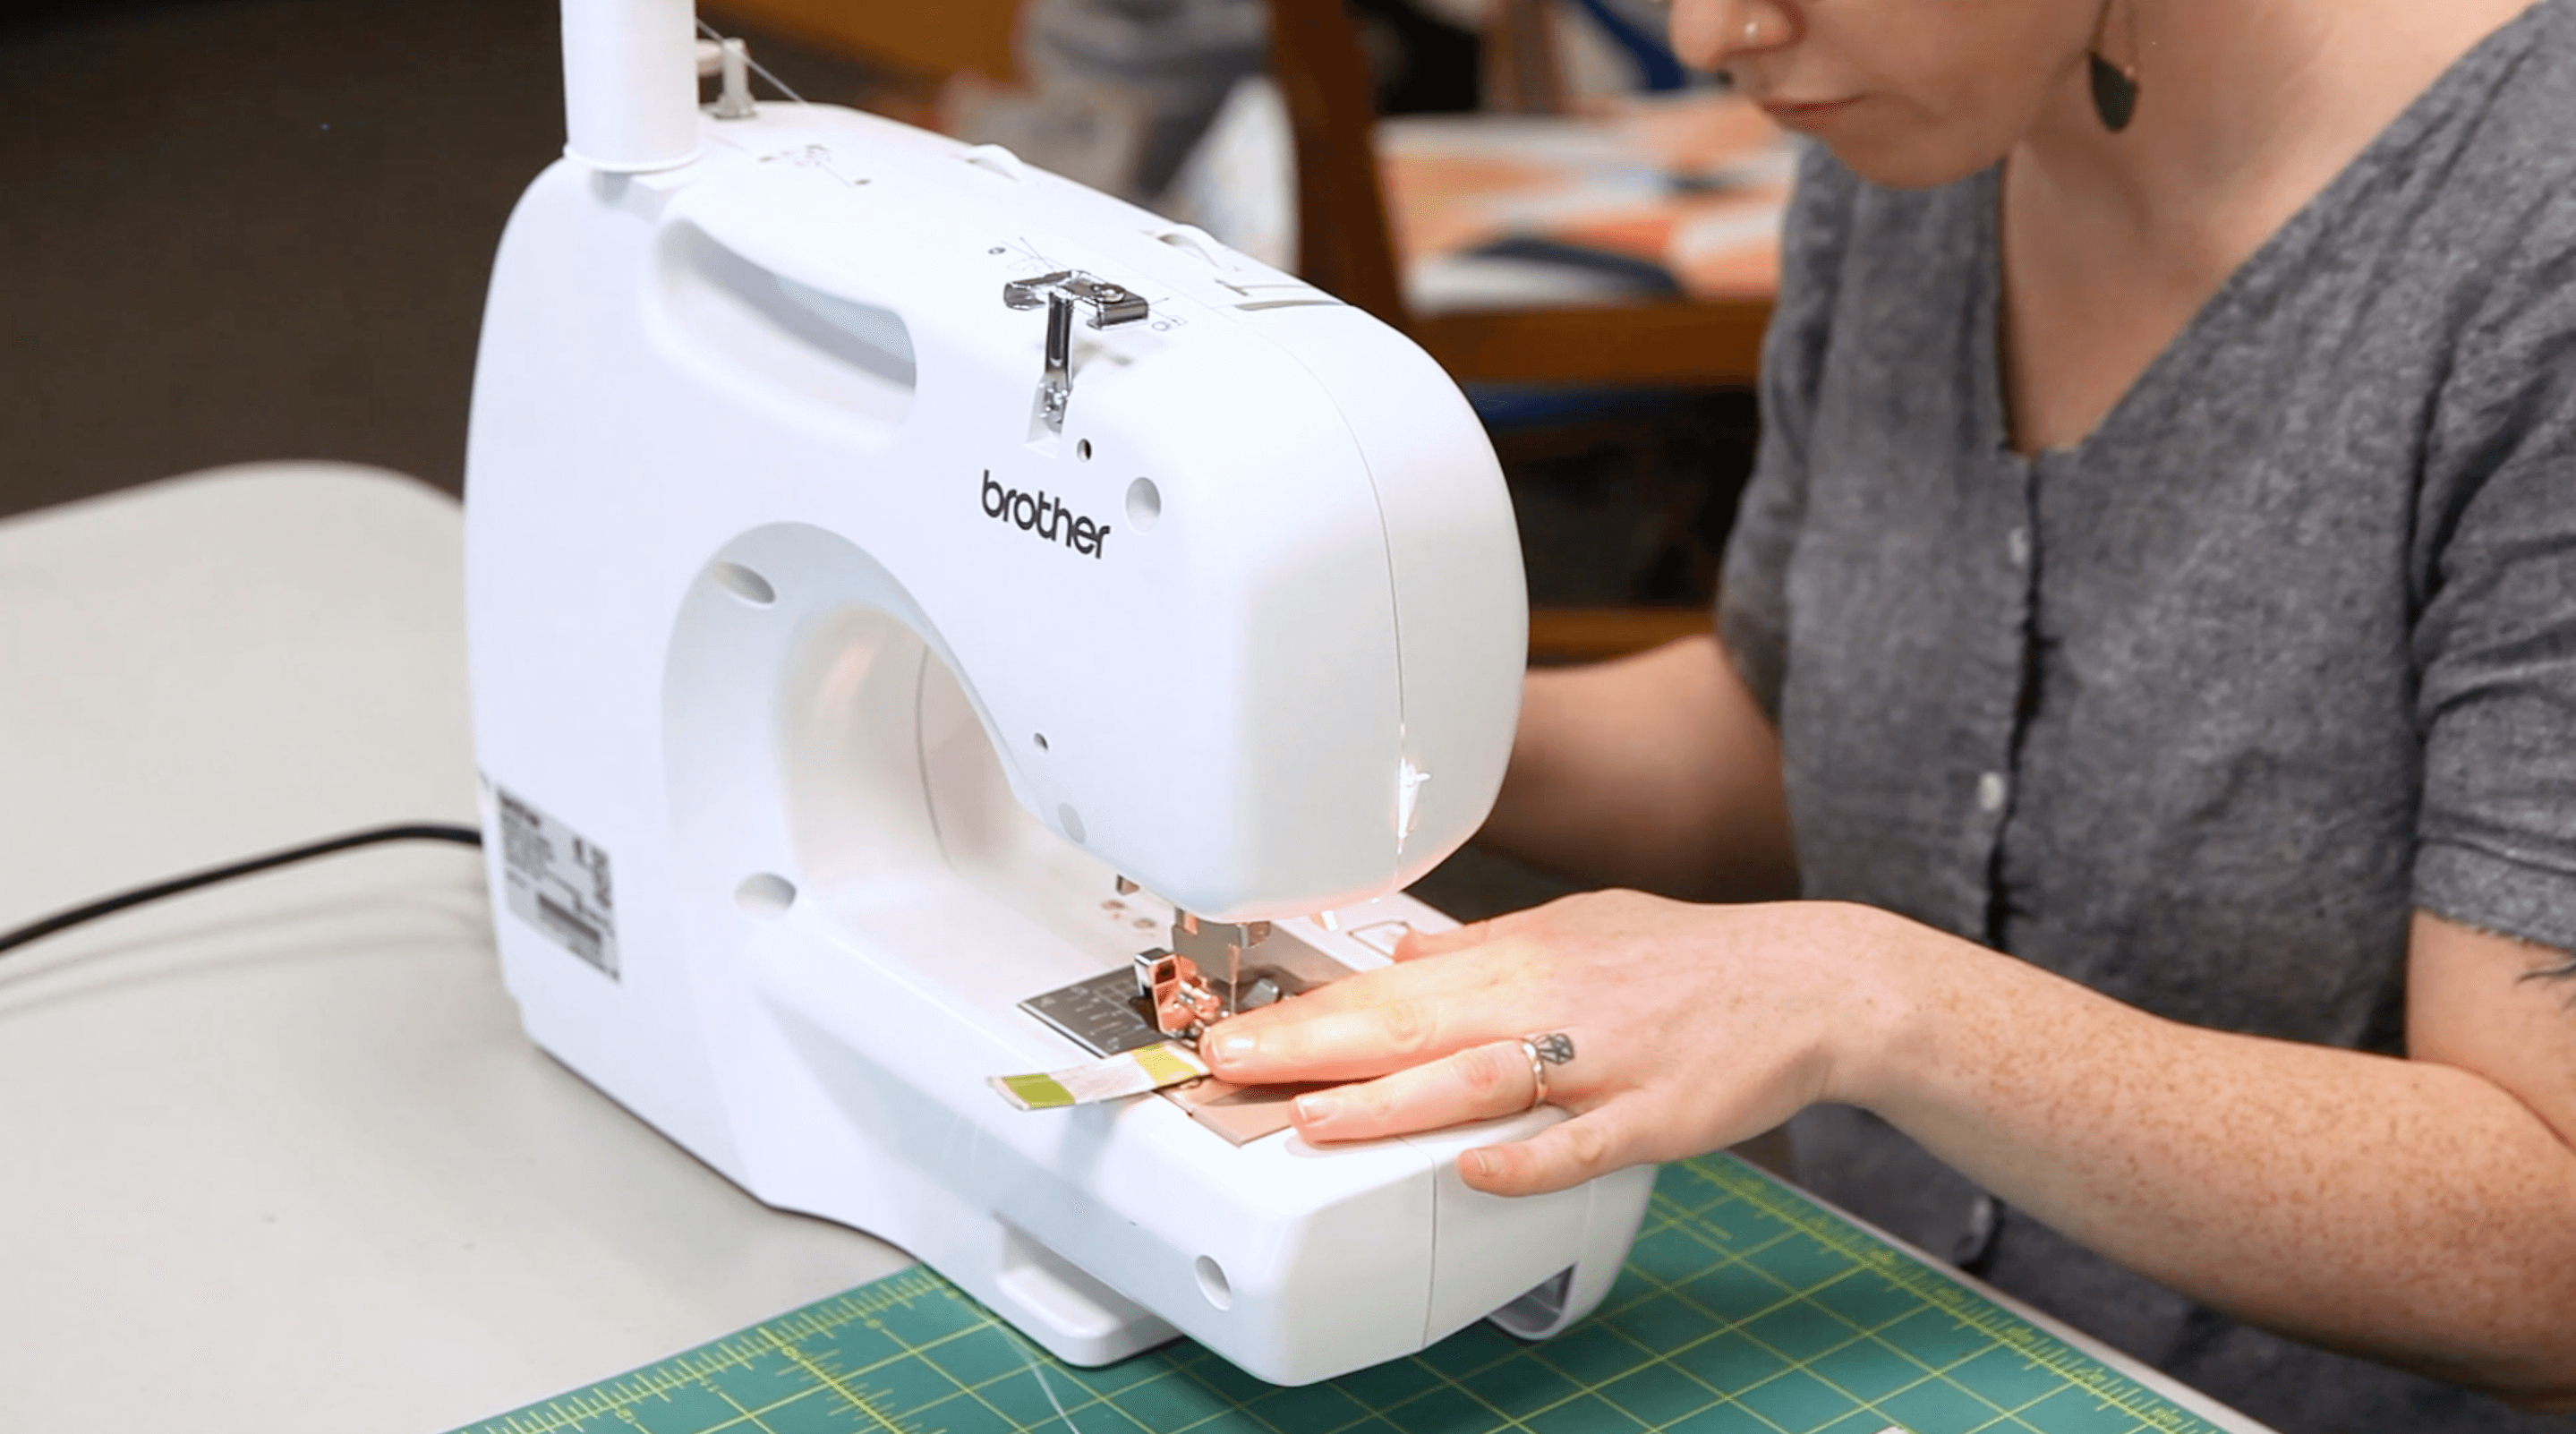
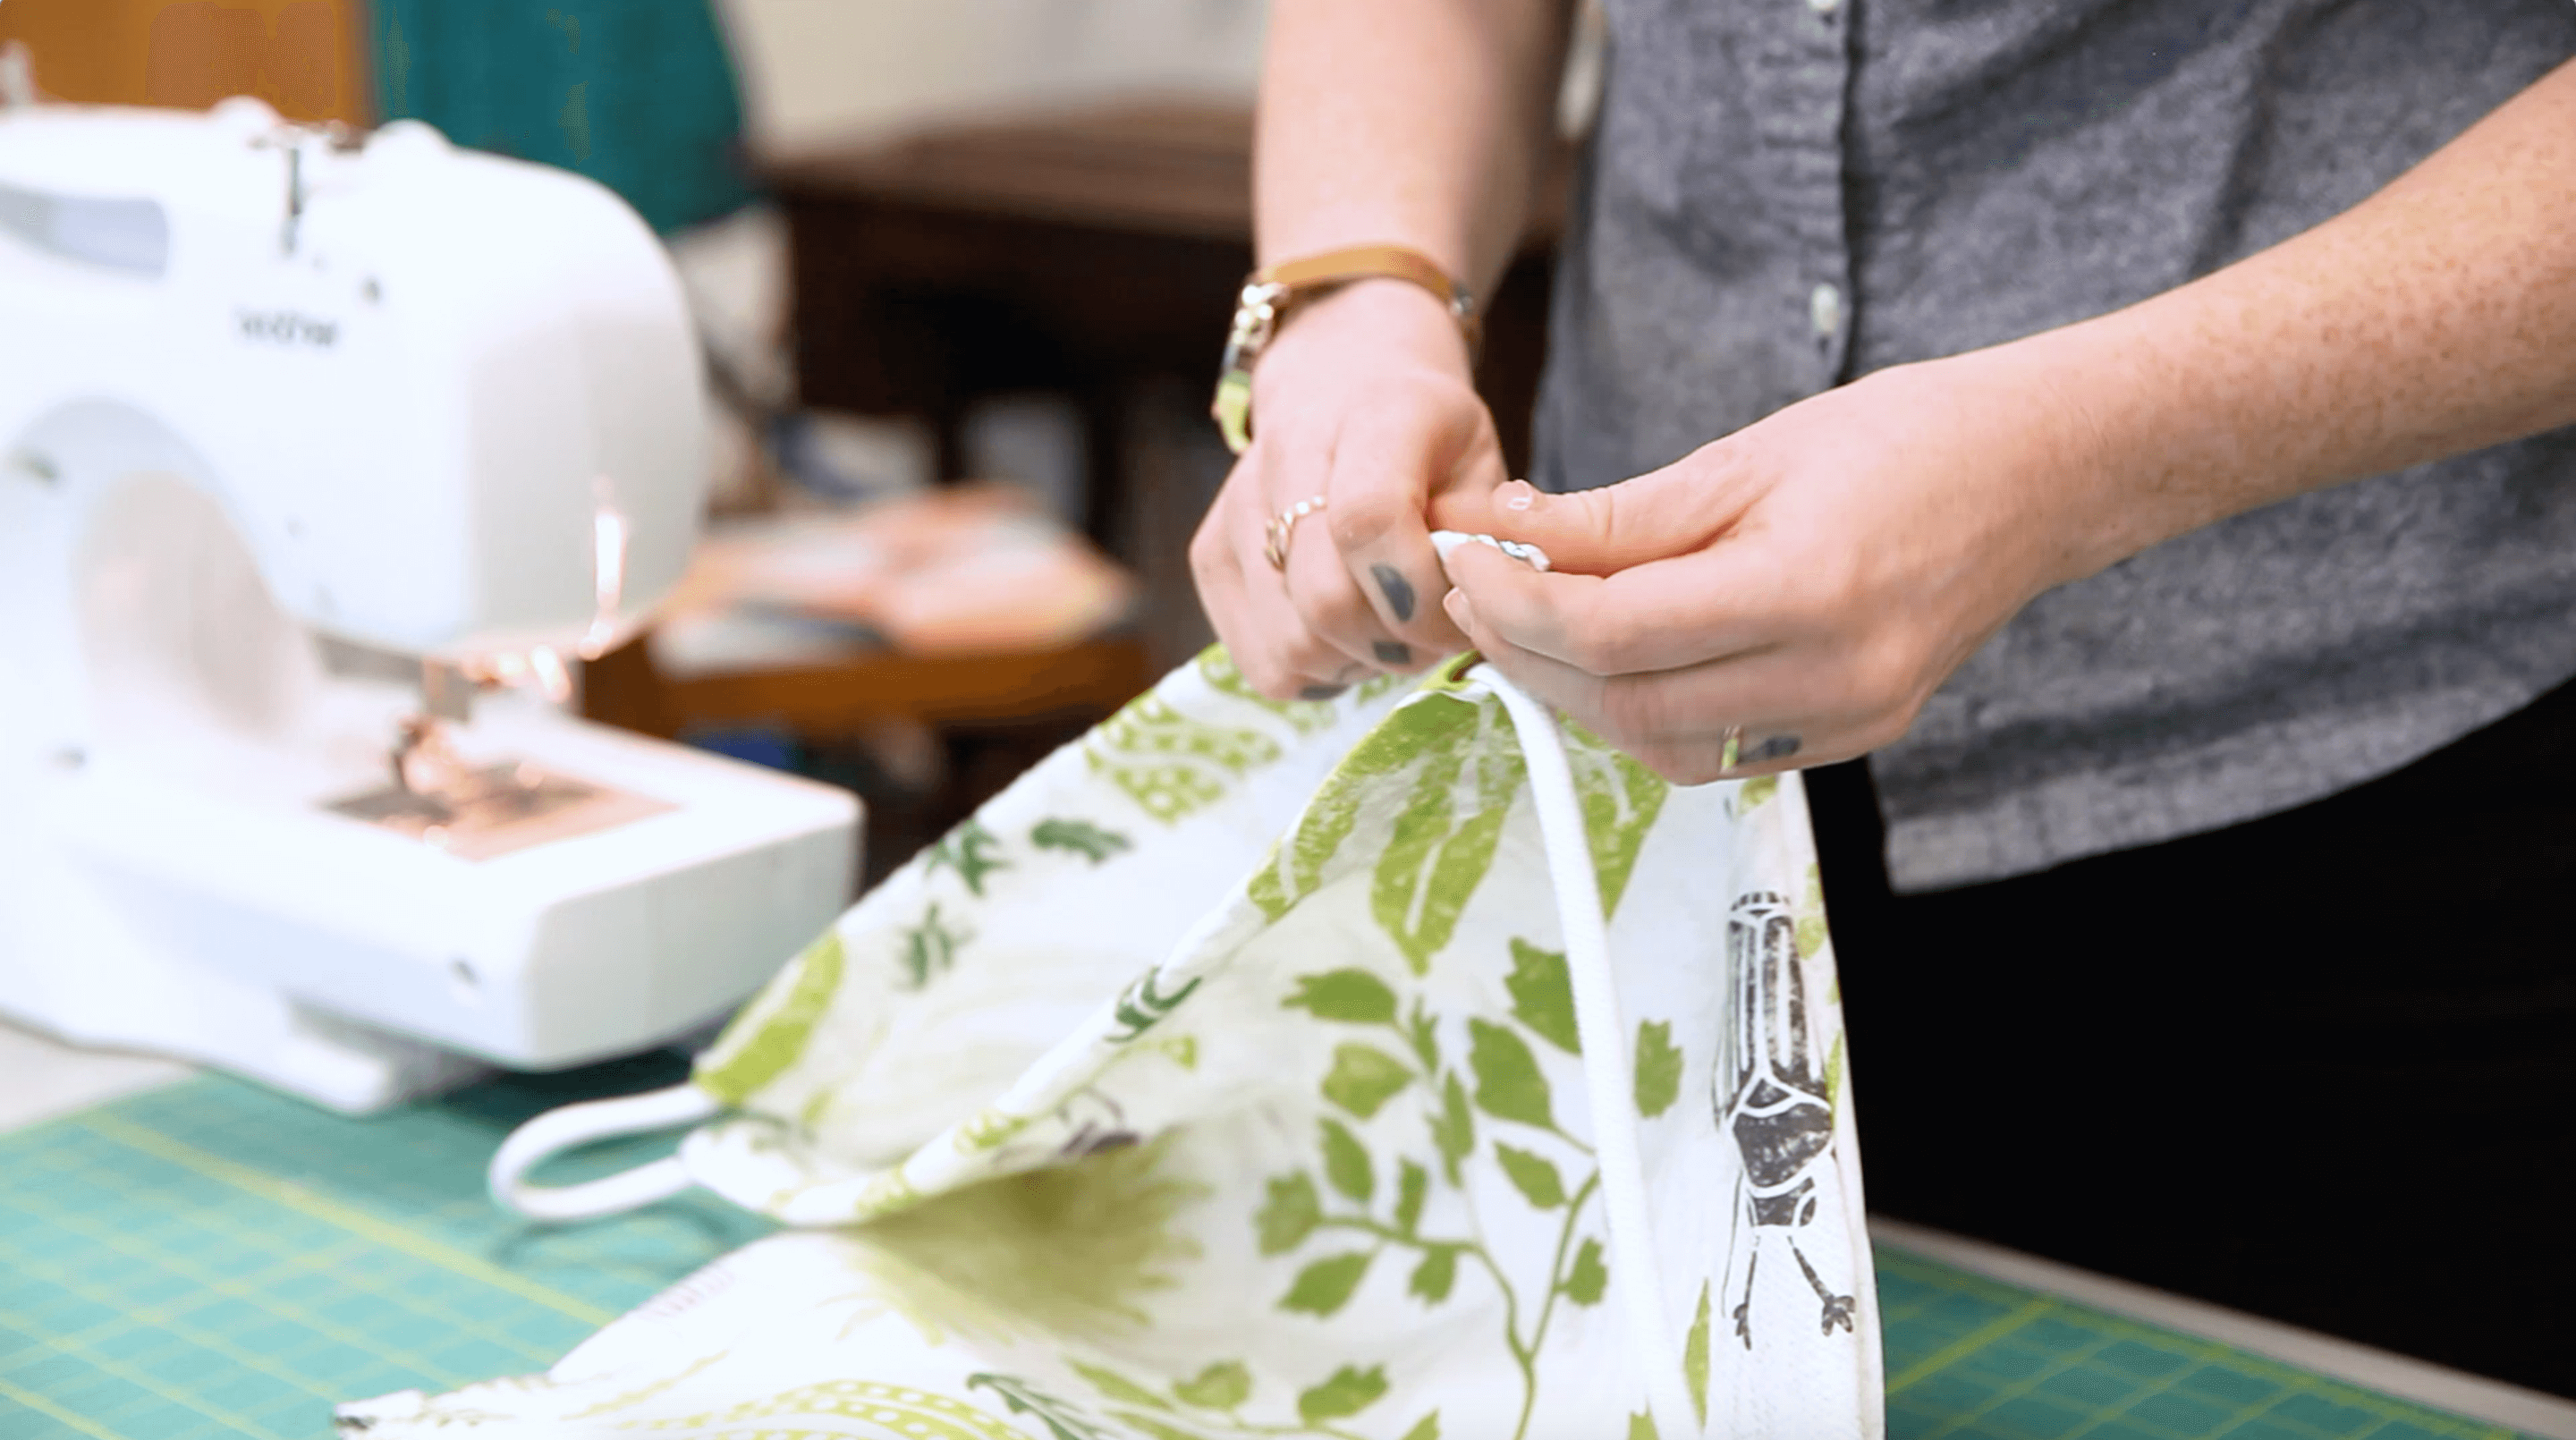
Step 3. Sew the bag together

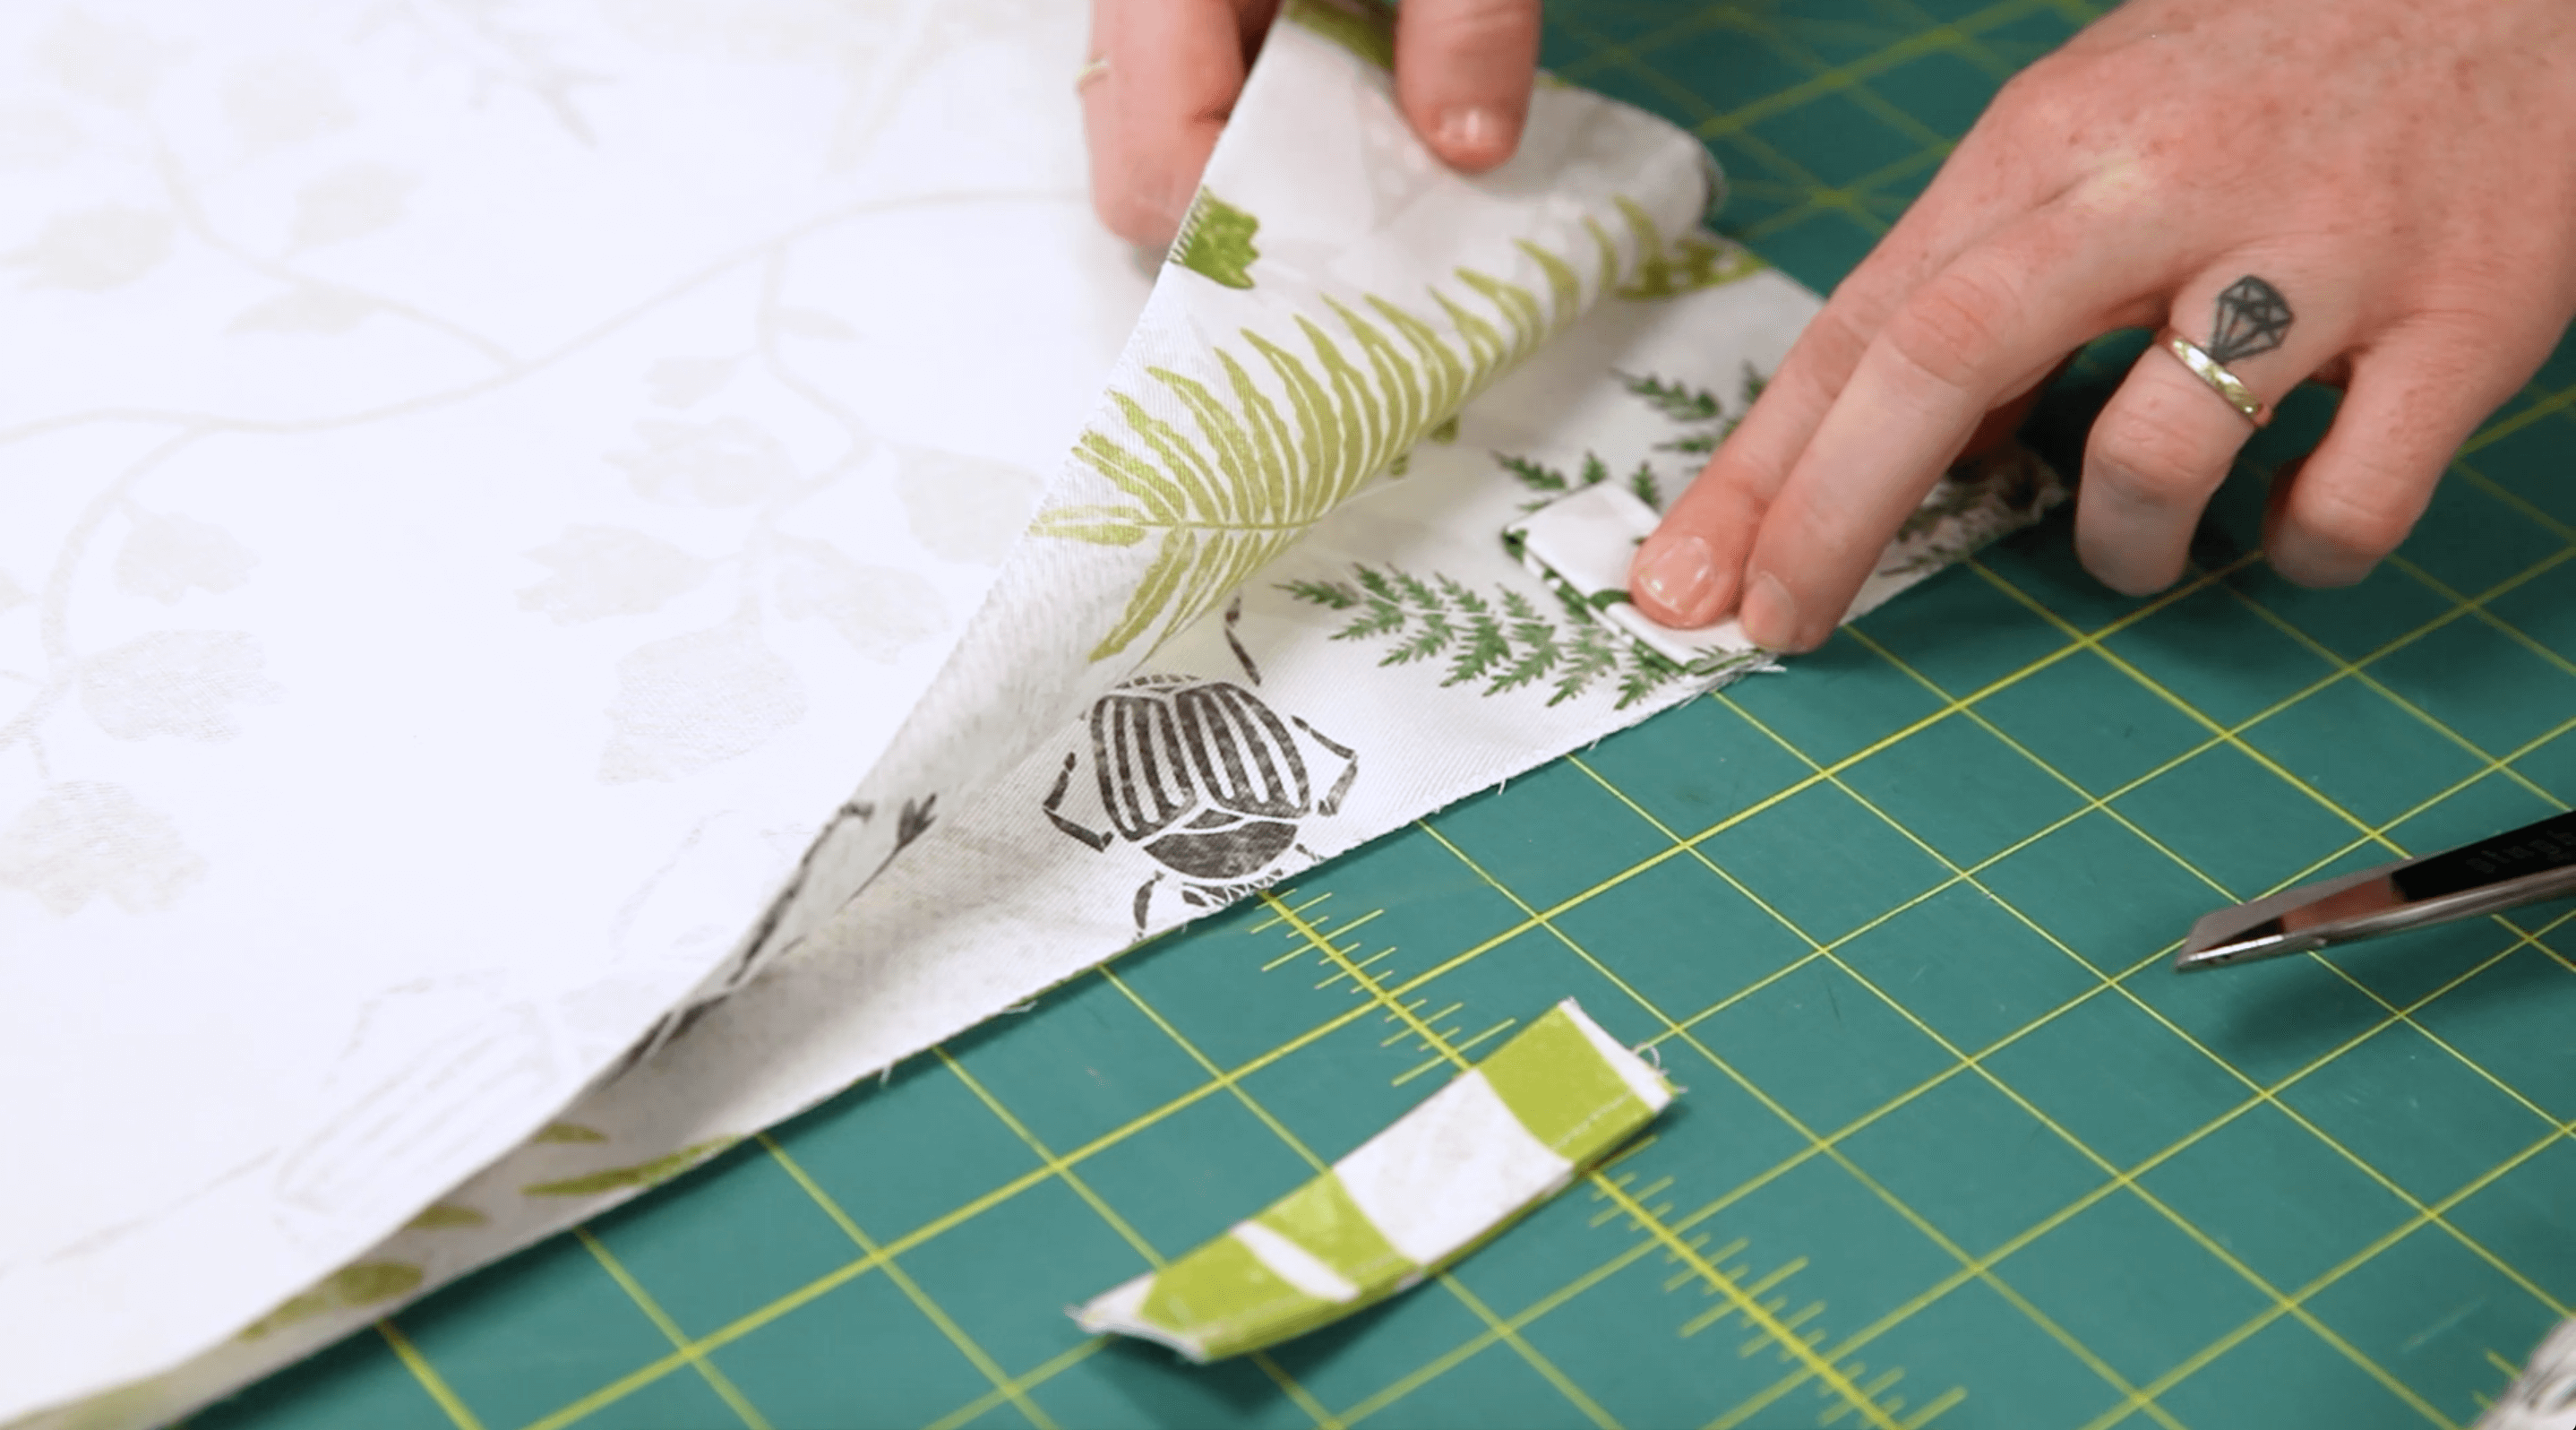


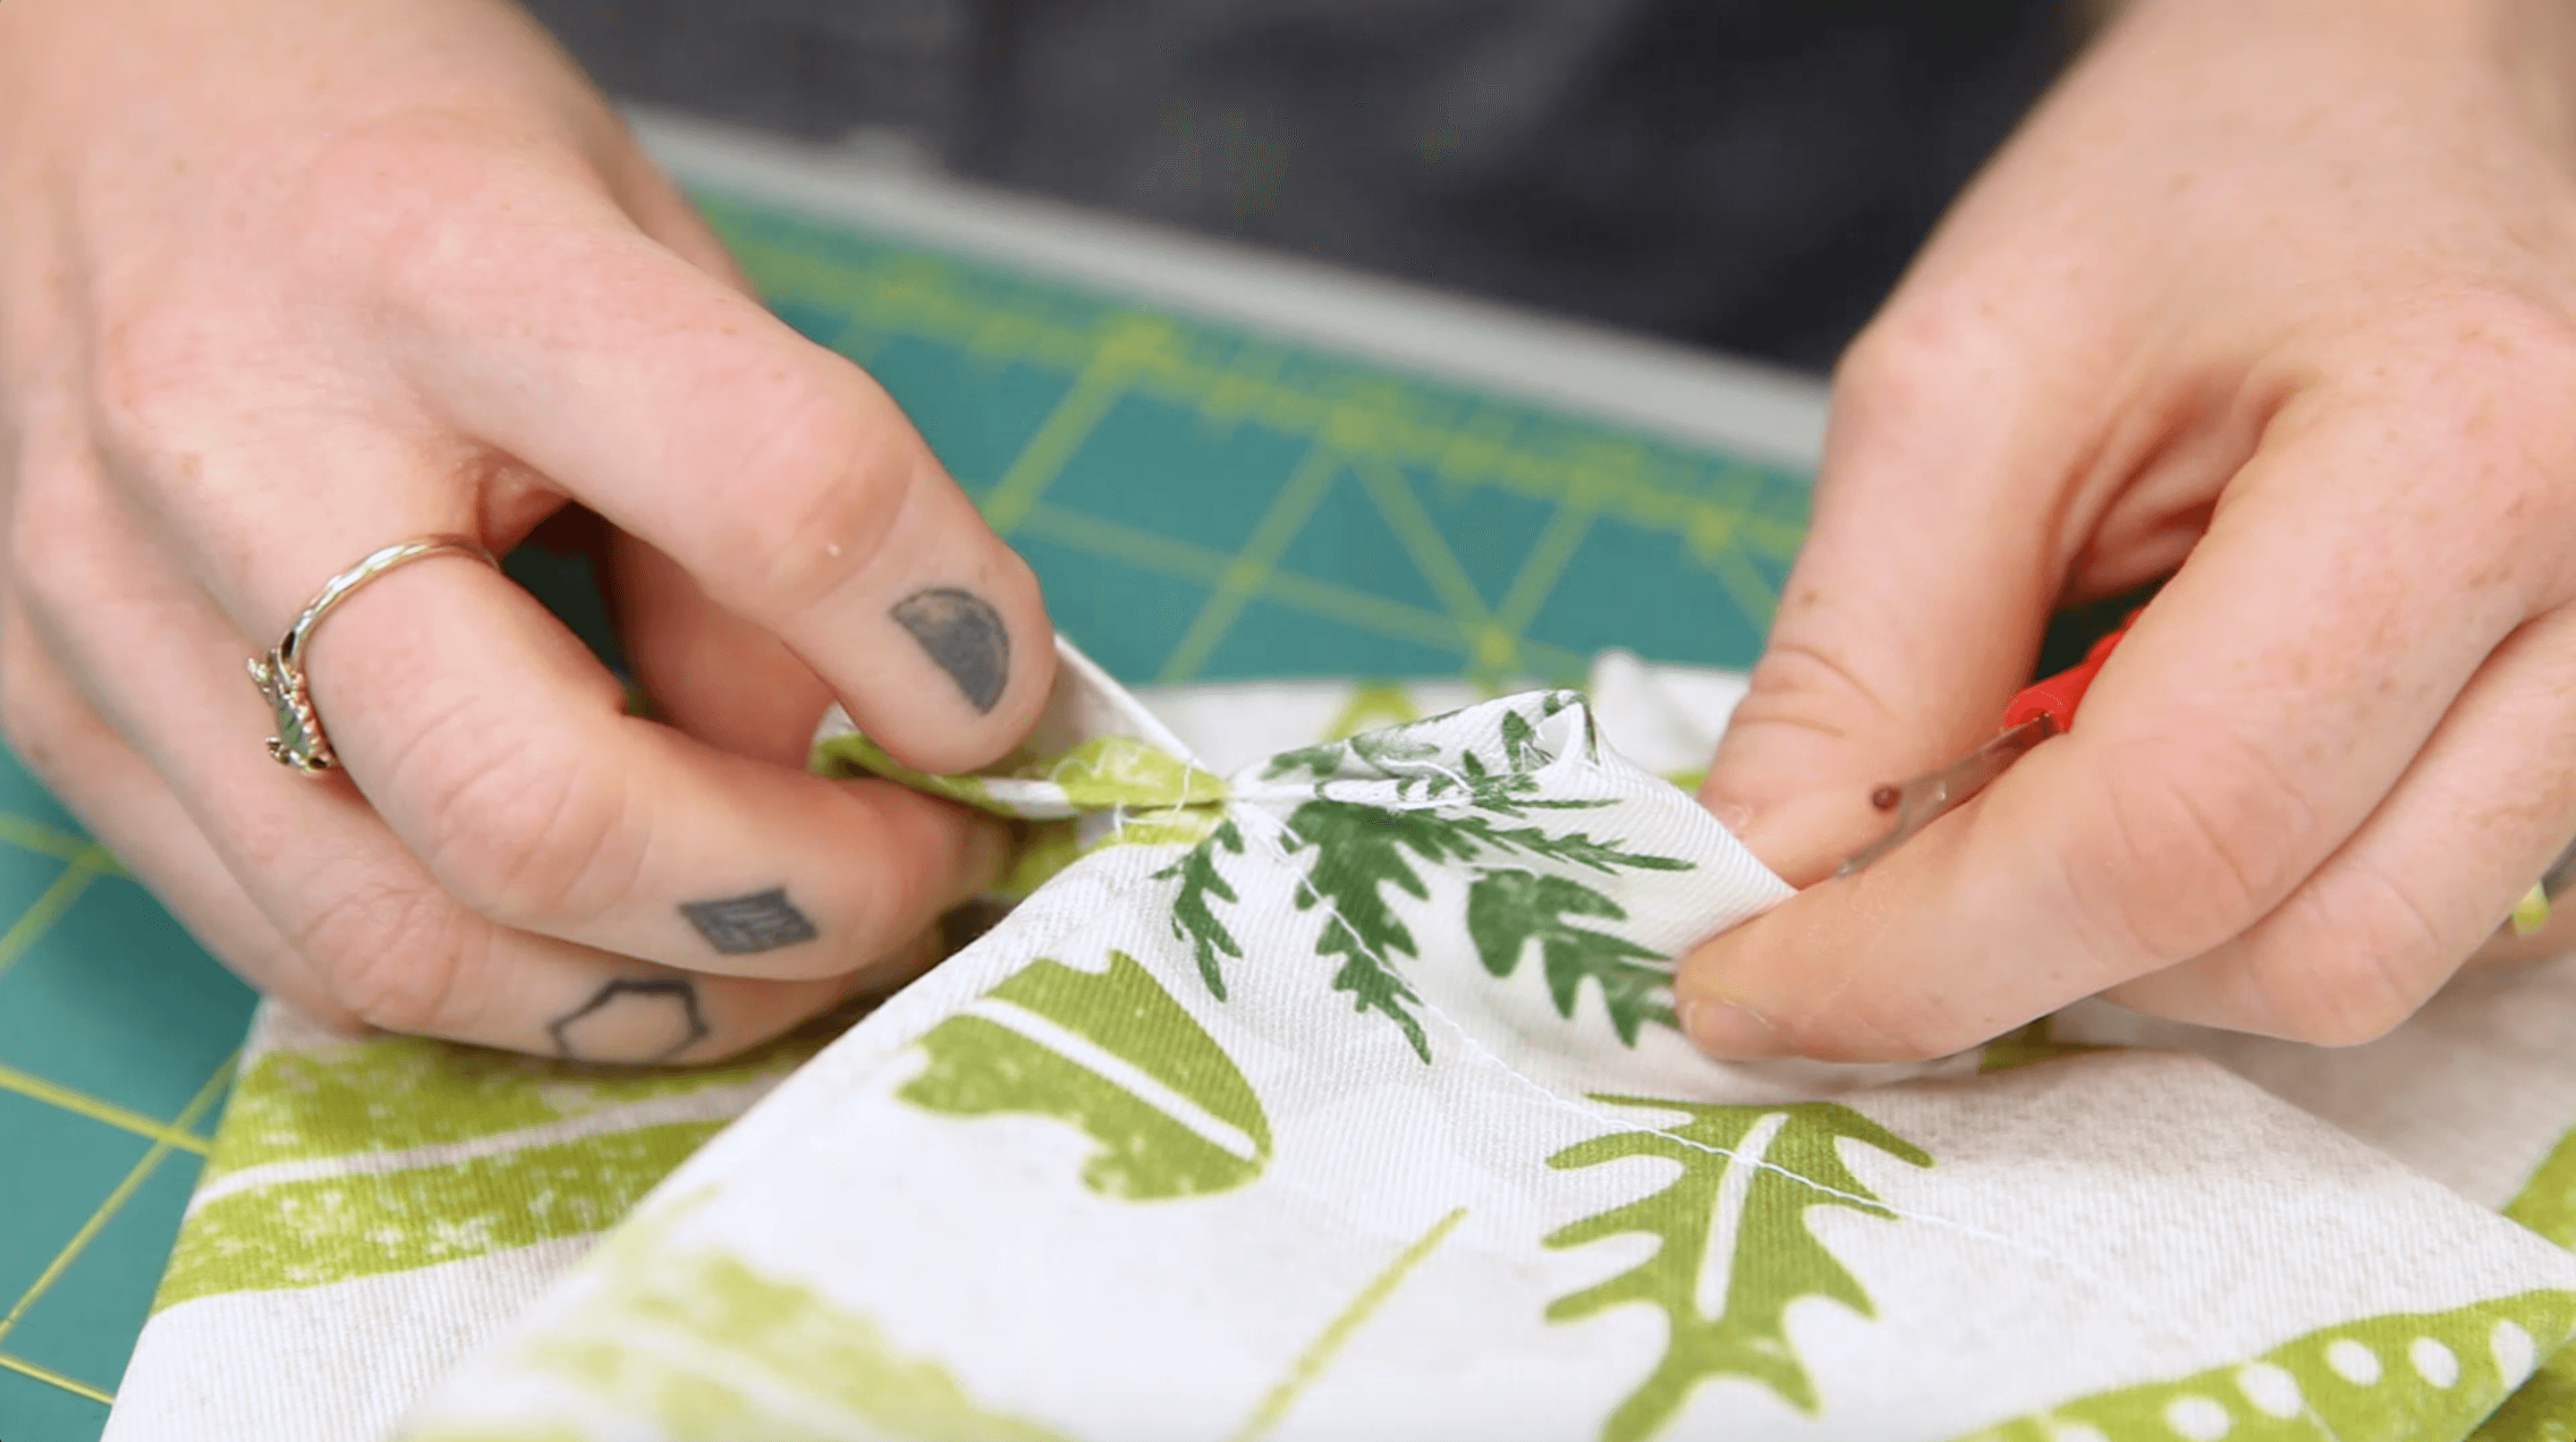
Step 4. Finish the bag

Cut-and-Sew Easter Treat Bag
Make a small Easter drawstring bag using this cut-and-sew design by cynthiafrenette.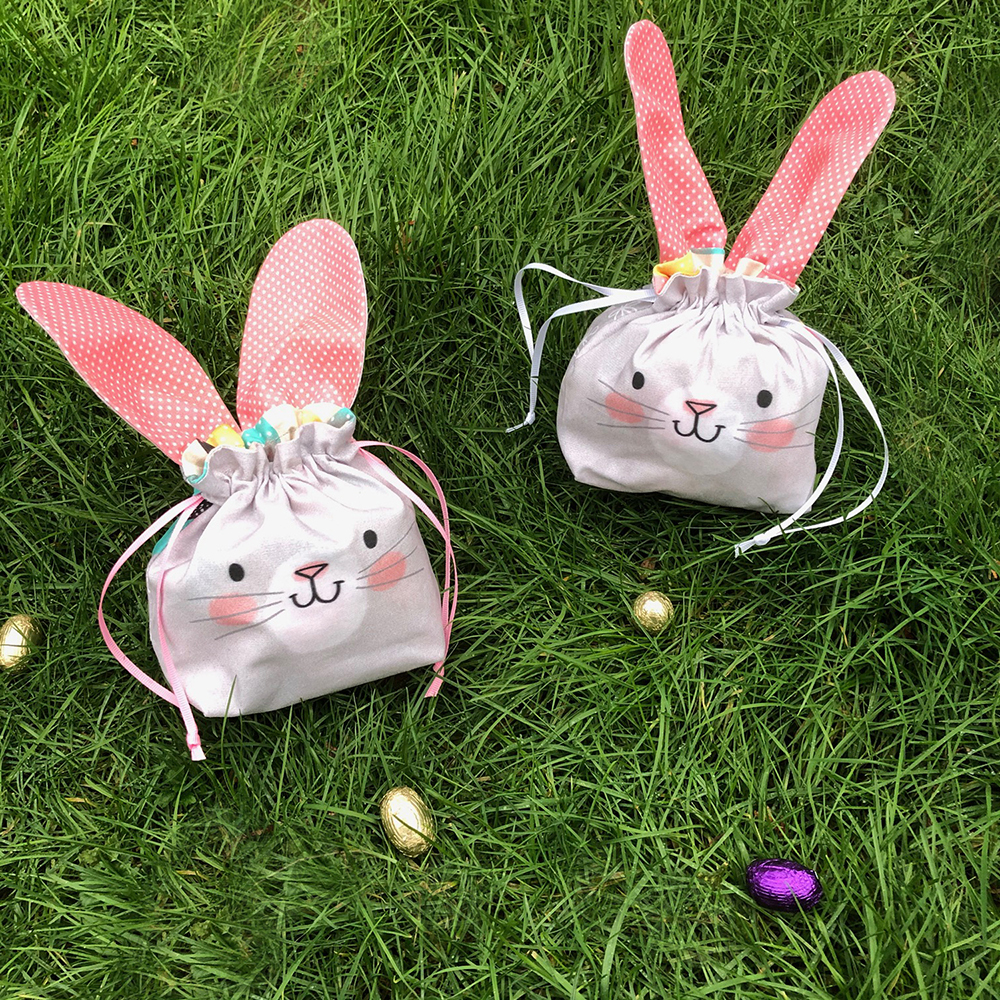
Violin Case Bag
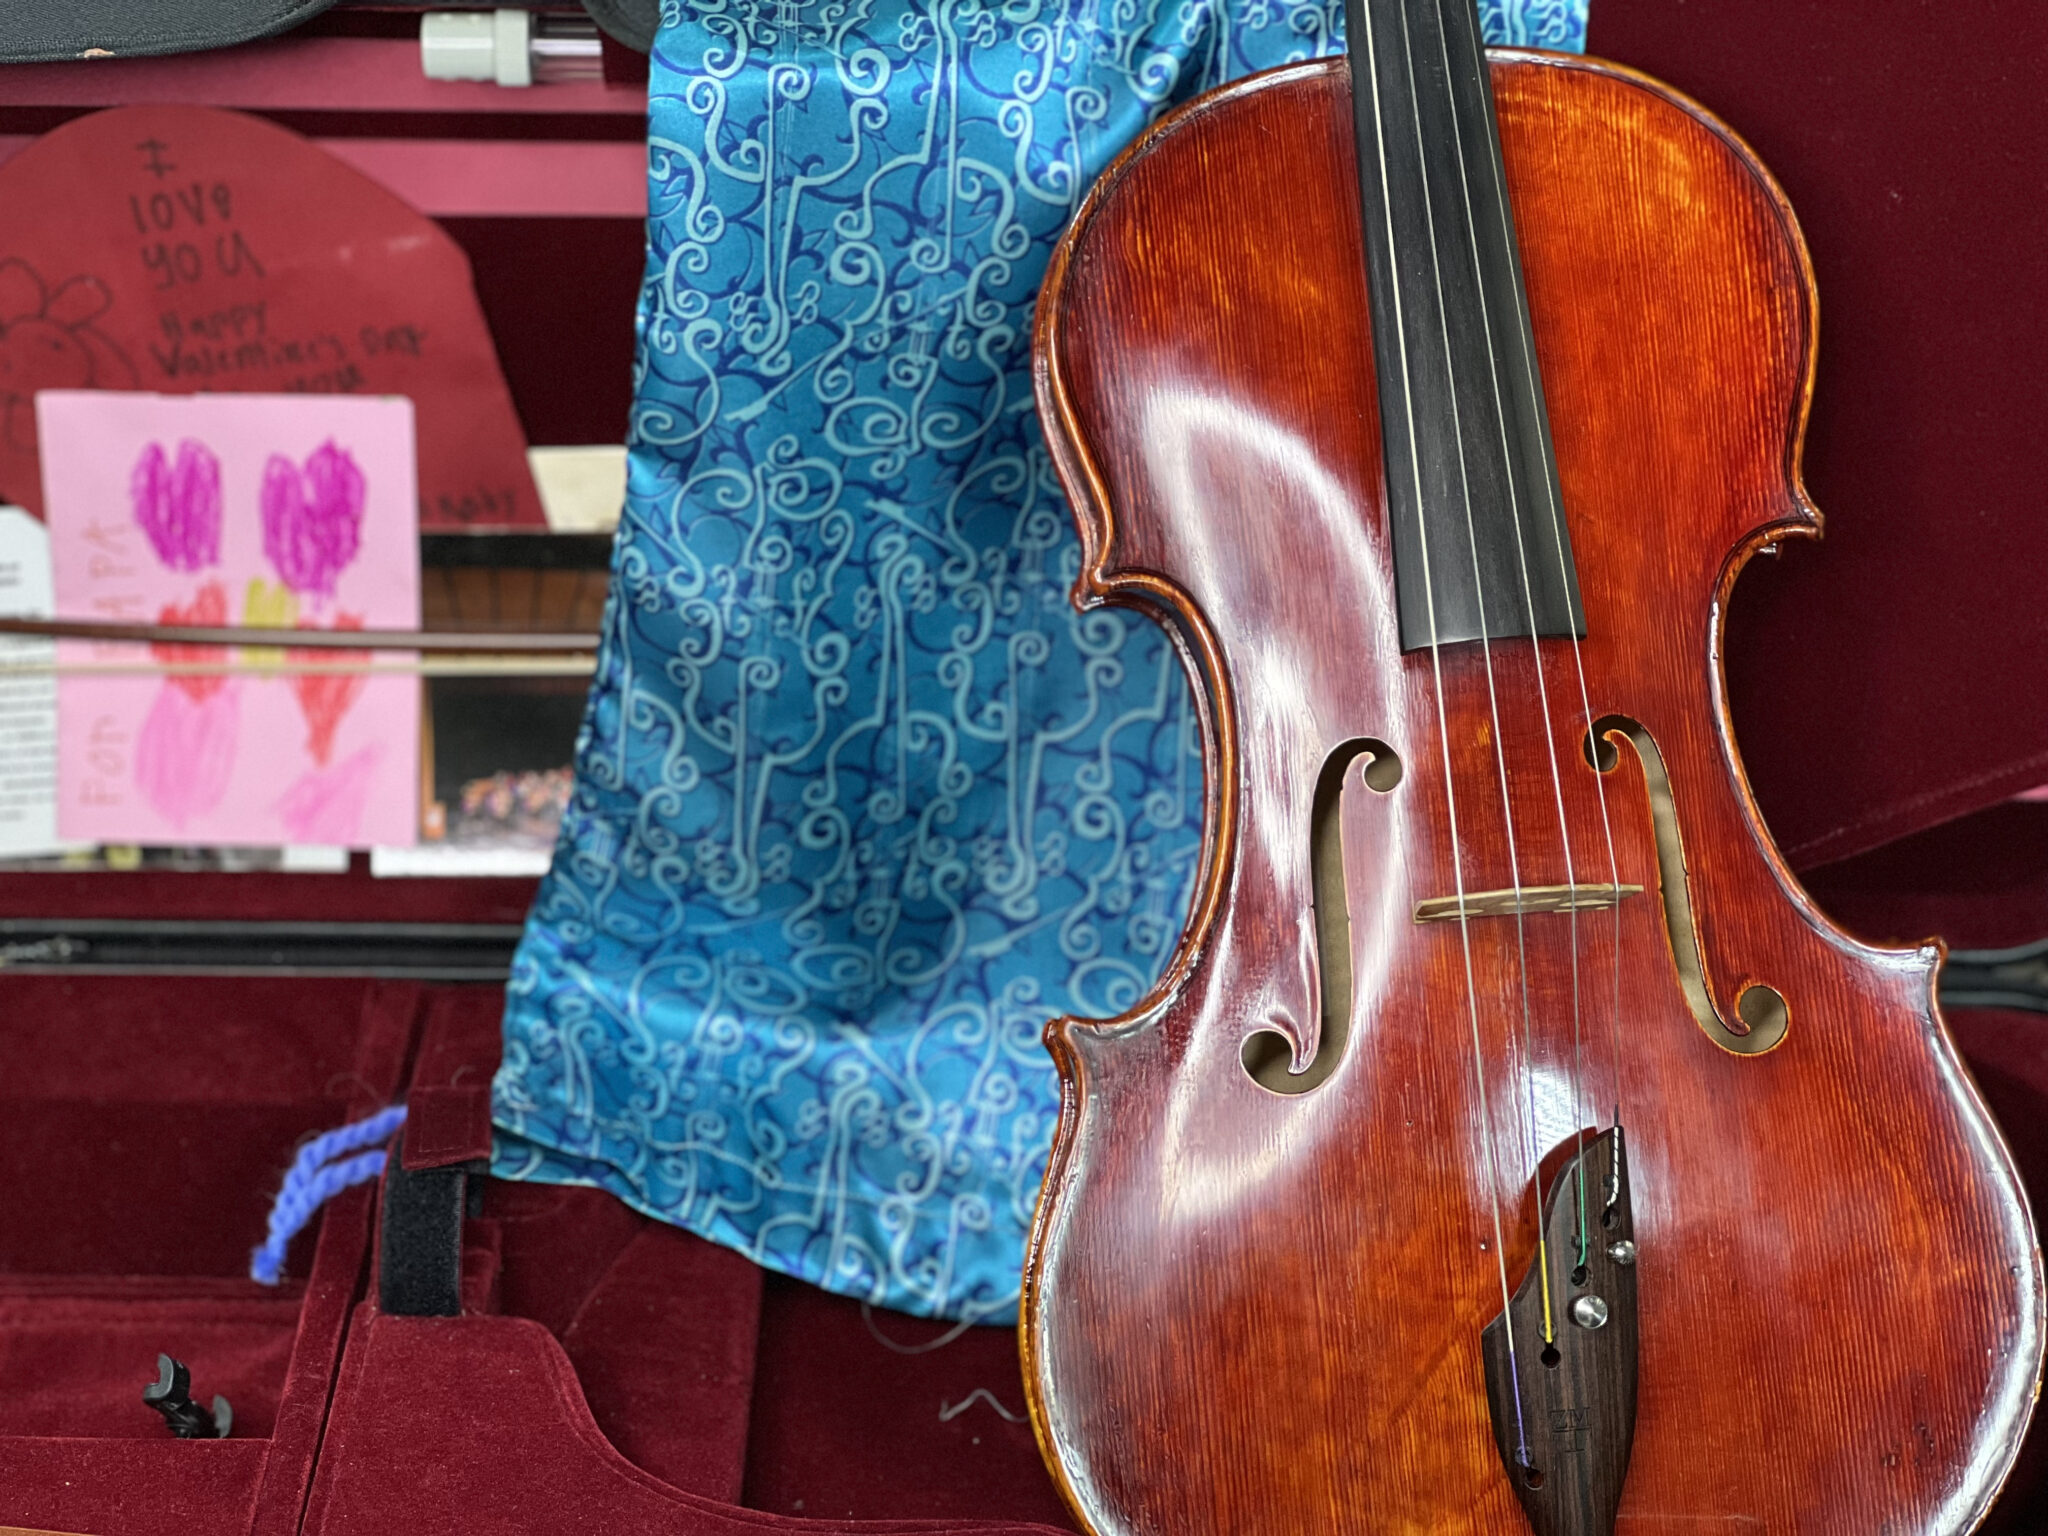
Made to order using unique designs from artists worldwide.

The World’s Largest Design Library for Wallpaper and Textiles
Discover a world of design—from minimalist to maximalist. Thousands of global artists, with new styles added constantly.

Custom Designs on Any Item
Our made-to-order model lets you print any design on any material. Coordinate patterns across rooms for a cohesive, personalized home.

Premium Materials, Always in Stock
Trusted by pros and enthusiasts, our responsibly sourced textiles and papers offer the perfect finish—from smooth to textured, delicate to durable.

Printed on Demand in the USA
Our print-on-demand model lets you choose your design, material, and quantity—minimizing waste with non-toxic inks and reduced packaging.