How to Sew a DIY Witch Hat: Free Tutorial & Sewing Pattern
Spooky season is our favorite time of year to decorate, dress up and indulge in a little trick-or-treat candy (or a lot!). Whether you’re channeling your inner Elphaba, Sabrina or a Sanderson Sister for this year’s costume, a custom witch hat will be sure to make heads turn.

Does my witch hat have to be Halloween-themed?
As Keiko fashionably indicates, your witch hat can have any design you like! Spoonflower has a vast Design Library so you can find exactly the right design to fit your aesthetic. To find what you’re looking for, you can scroll through some of our curated collections. Check out what’s new in our monthly design challenges to see the latest designs on Spoonflower.- How to sew a witch hat with a free sewing pattern
- How to make a hanging witch hat
DIY Witch Hat Tutorial
Materials Needed
- Fabric of choice — Keiko is using 3 yards of Rose Spray by bradbury_&_bradbury in Cypress Cotton Canvas
- Heavy interfacing
- Sewing pins
- Measuring tape
- Pen for marking
- Scissors
- Sewing machine (I use a 3/8″ (1 cm) seam unless otherwise noted)
- Needle —Spoonflower suggests a 90 (14) size
- Thread
- Keiko’s free witch hat sewing pattern
Fabric Suggestion:
Heavier fabrics like Linen Cotton Canvas, Dogwood Denim® or felt are great for this, but a heavy interfacing (or a stabilizer!) can lend weight and shape to any fabric.Step 1: Create the cone of the hat
Choose the template you want to use
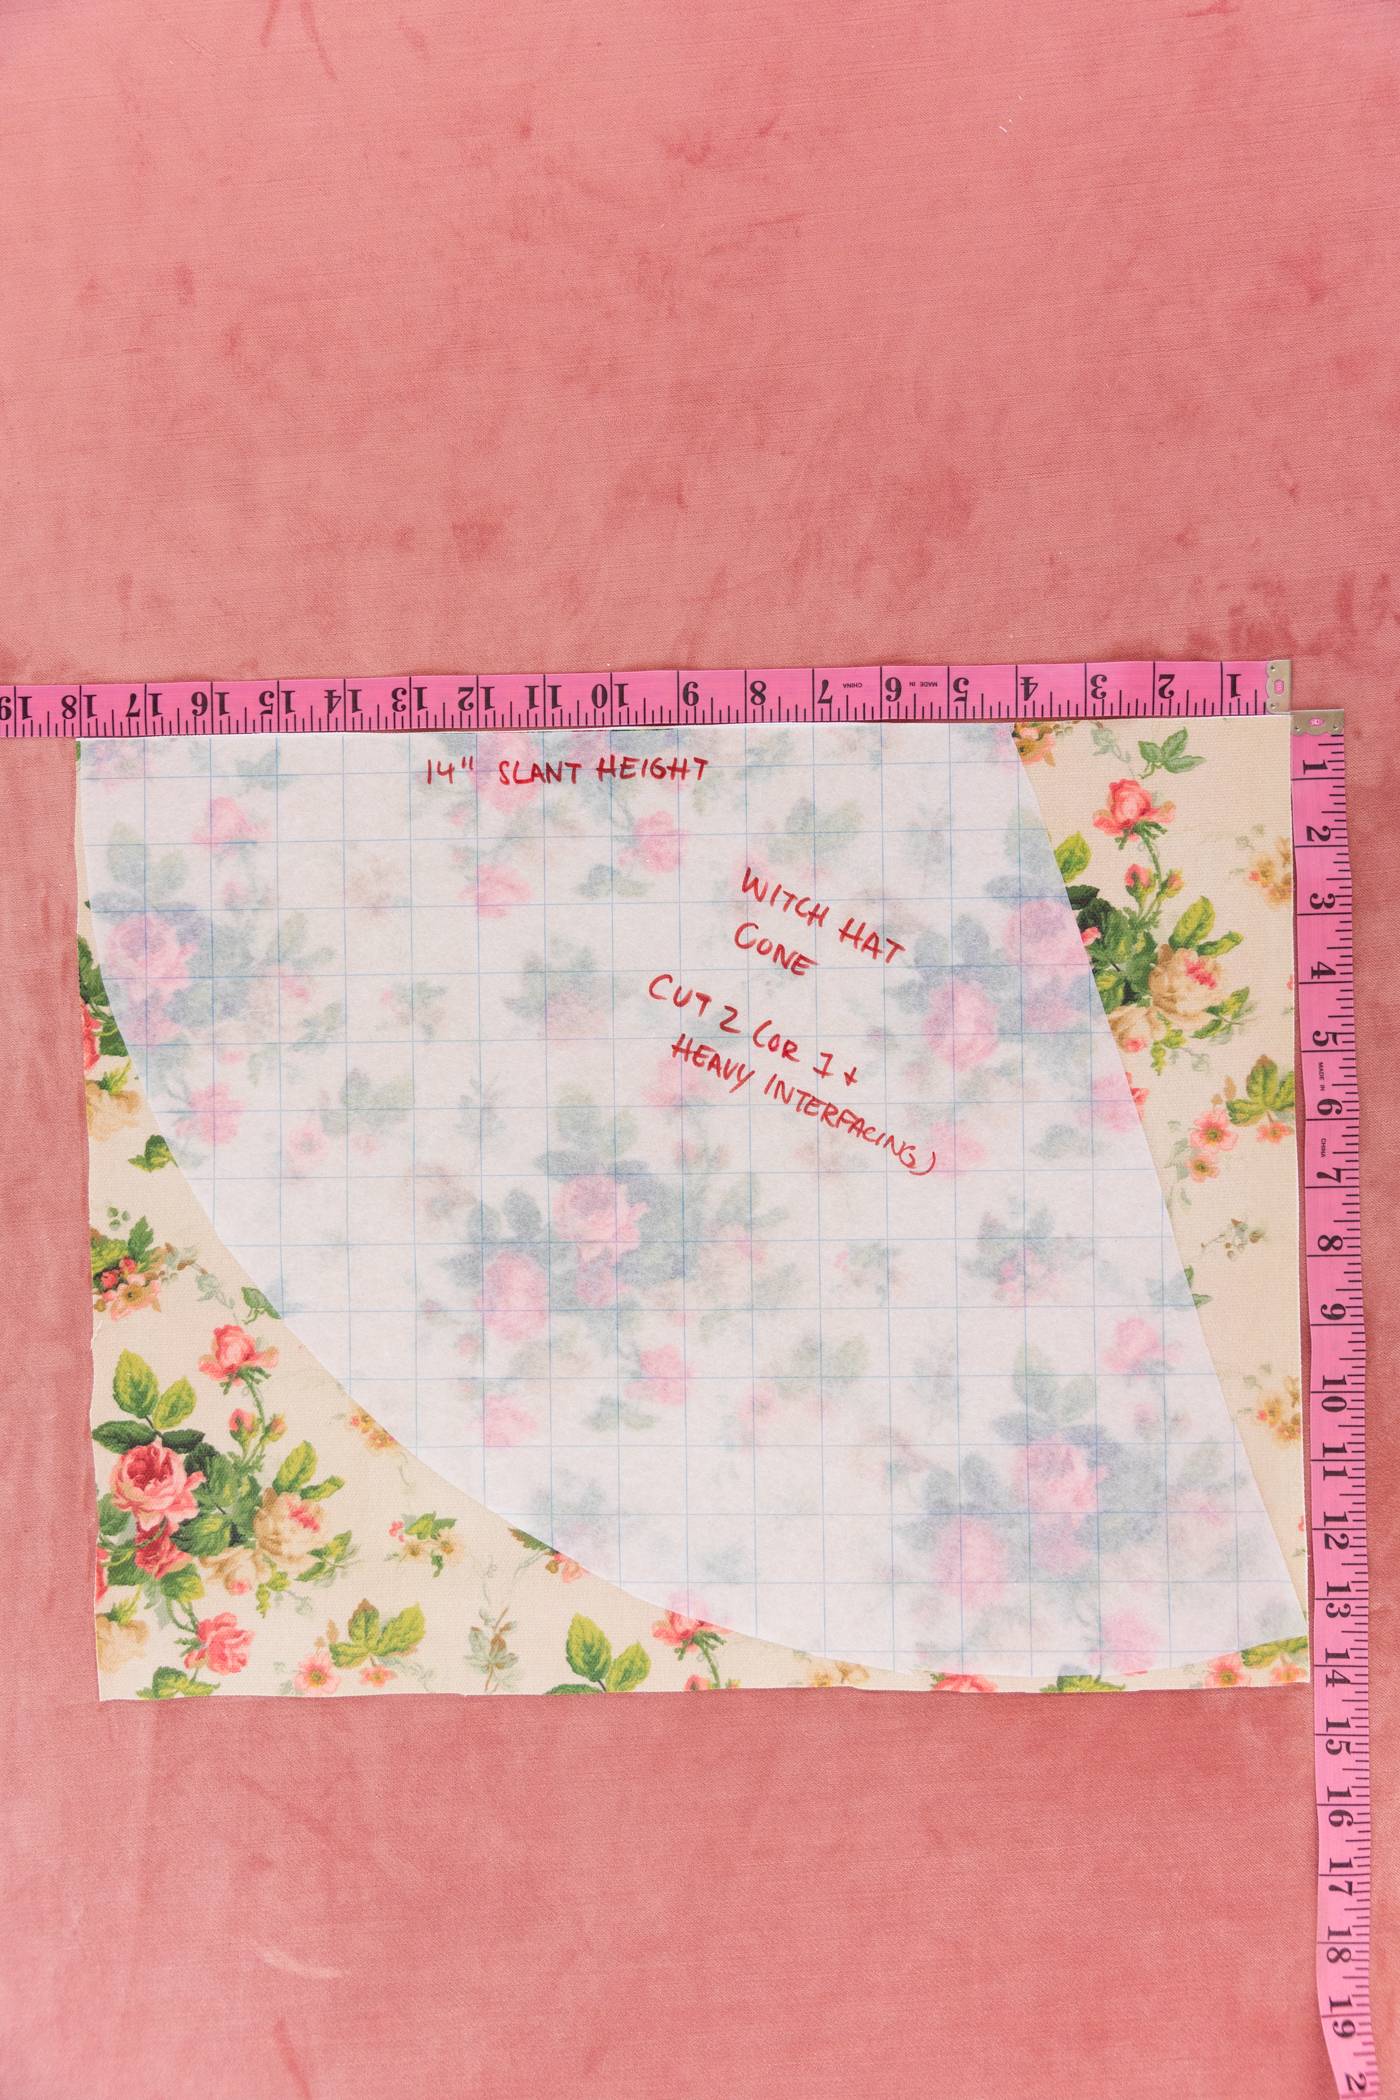
Keiko: We’re going to start our witch hat by making the cone first. I have a witch hat cone template you can print out or you can create your own with a measuring tape, a pin, paper and a pen. Start with your 18″ x 14″ (46 cm x 36 cm) fabric. You can use two pieces if you are using a lighter material or you want a lined inside.
Trace your template onto your fabric
On the 18” (46 cm) side of the fabric, pin the top of the measuring tape 4” (10 cm) down at 14” (36 cm). This will be where the tip of your cone starts. Using the measuring tape like a compass, guide it to the other edge of the fabric to create the curve of your cone. Mark it with a pen little by little, starting at the 14″ (36 cm) mark until you hit the bottom right edge of your fabric. That’s where you’ll cut the other side of the cone.Cut out your cone
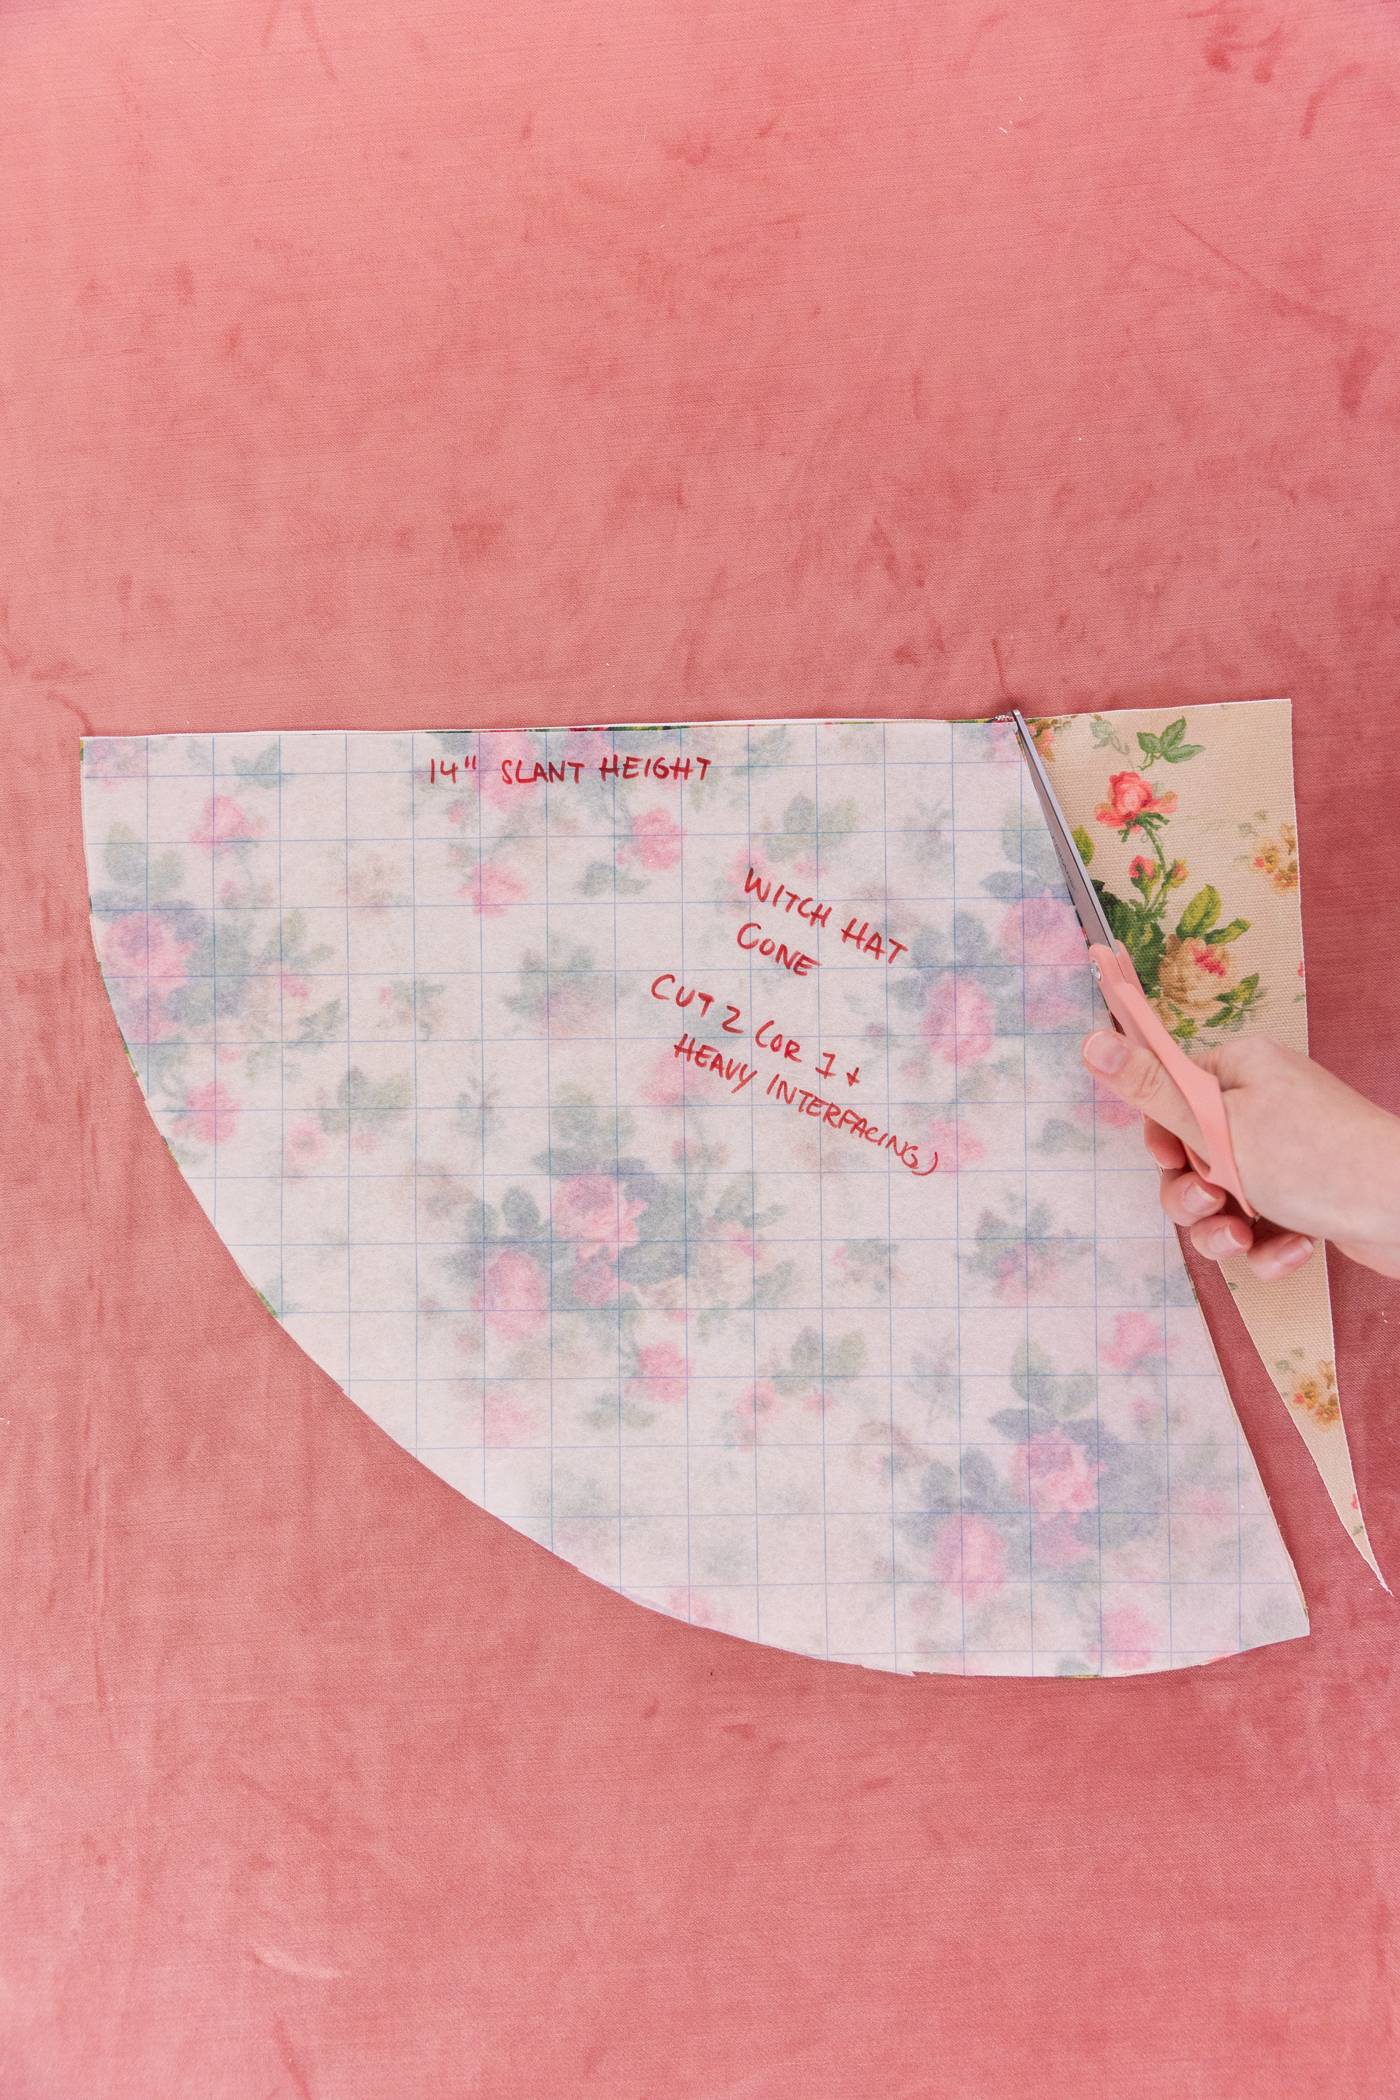
Using your template as a guide, cut the excess fabric.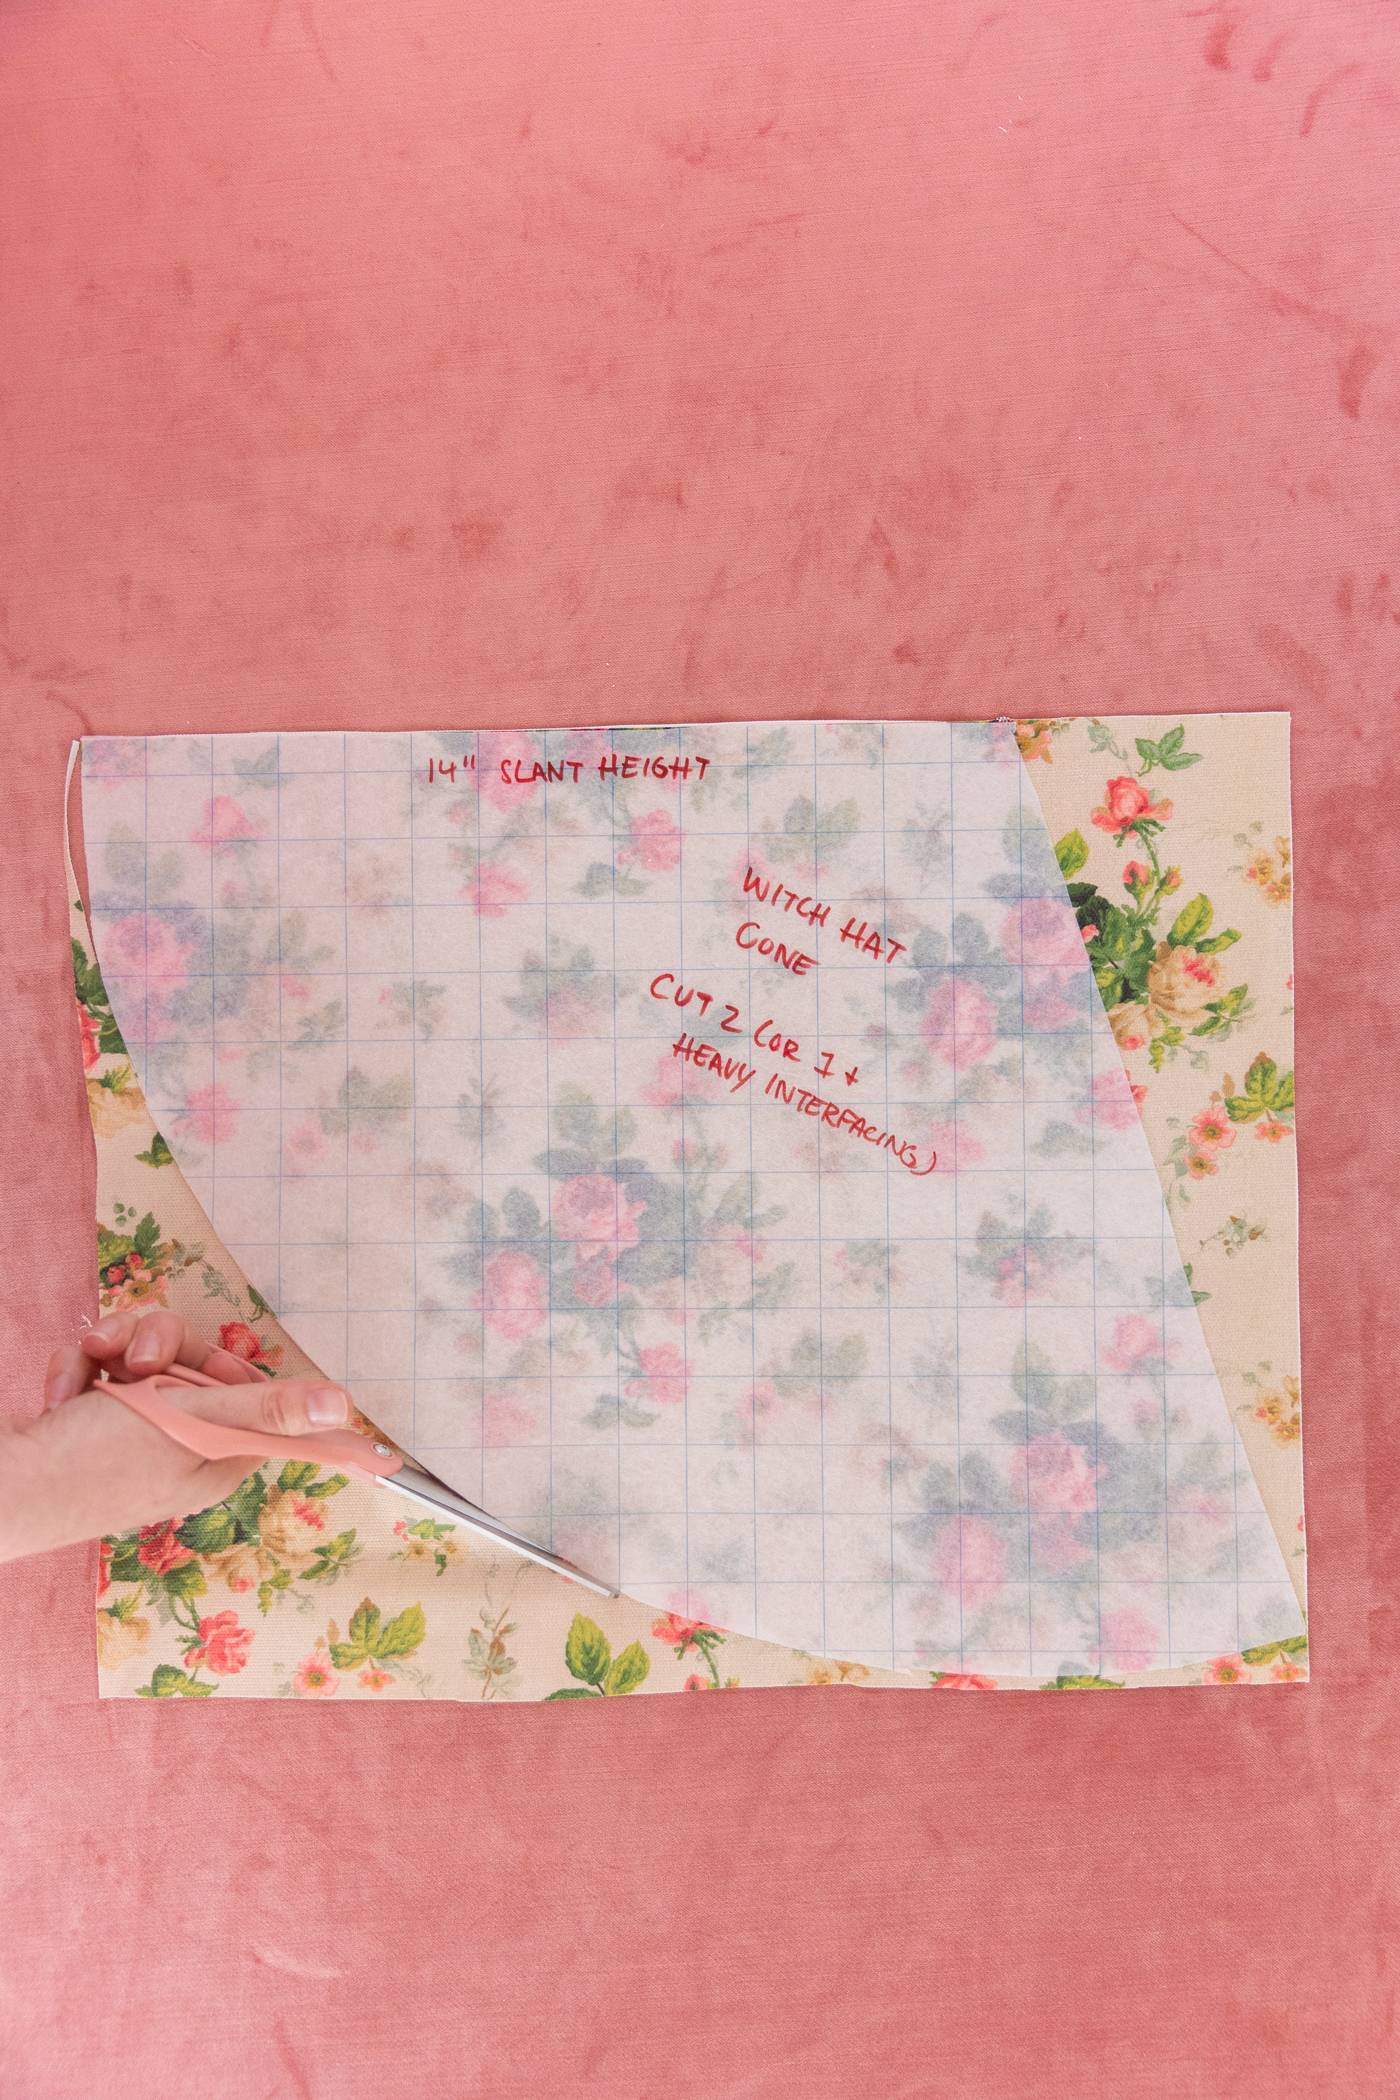
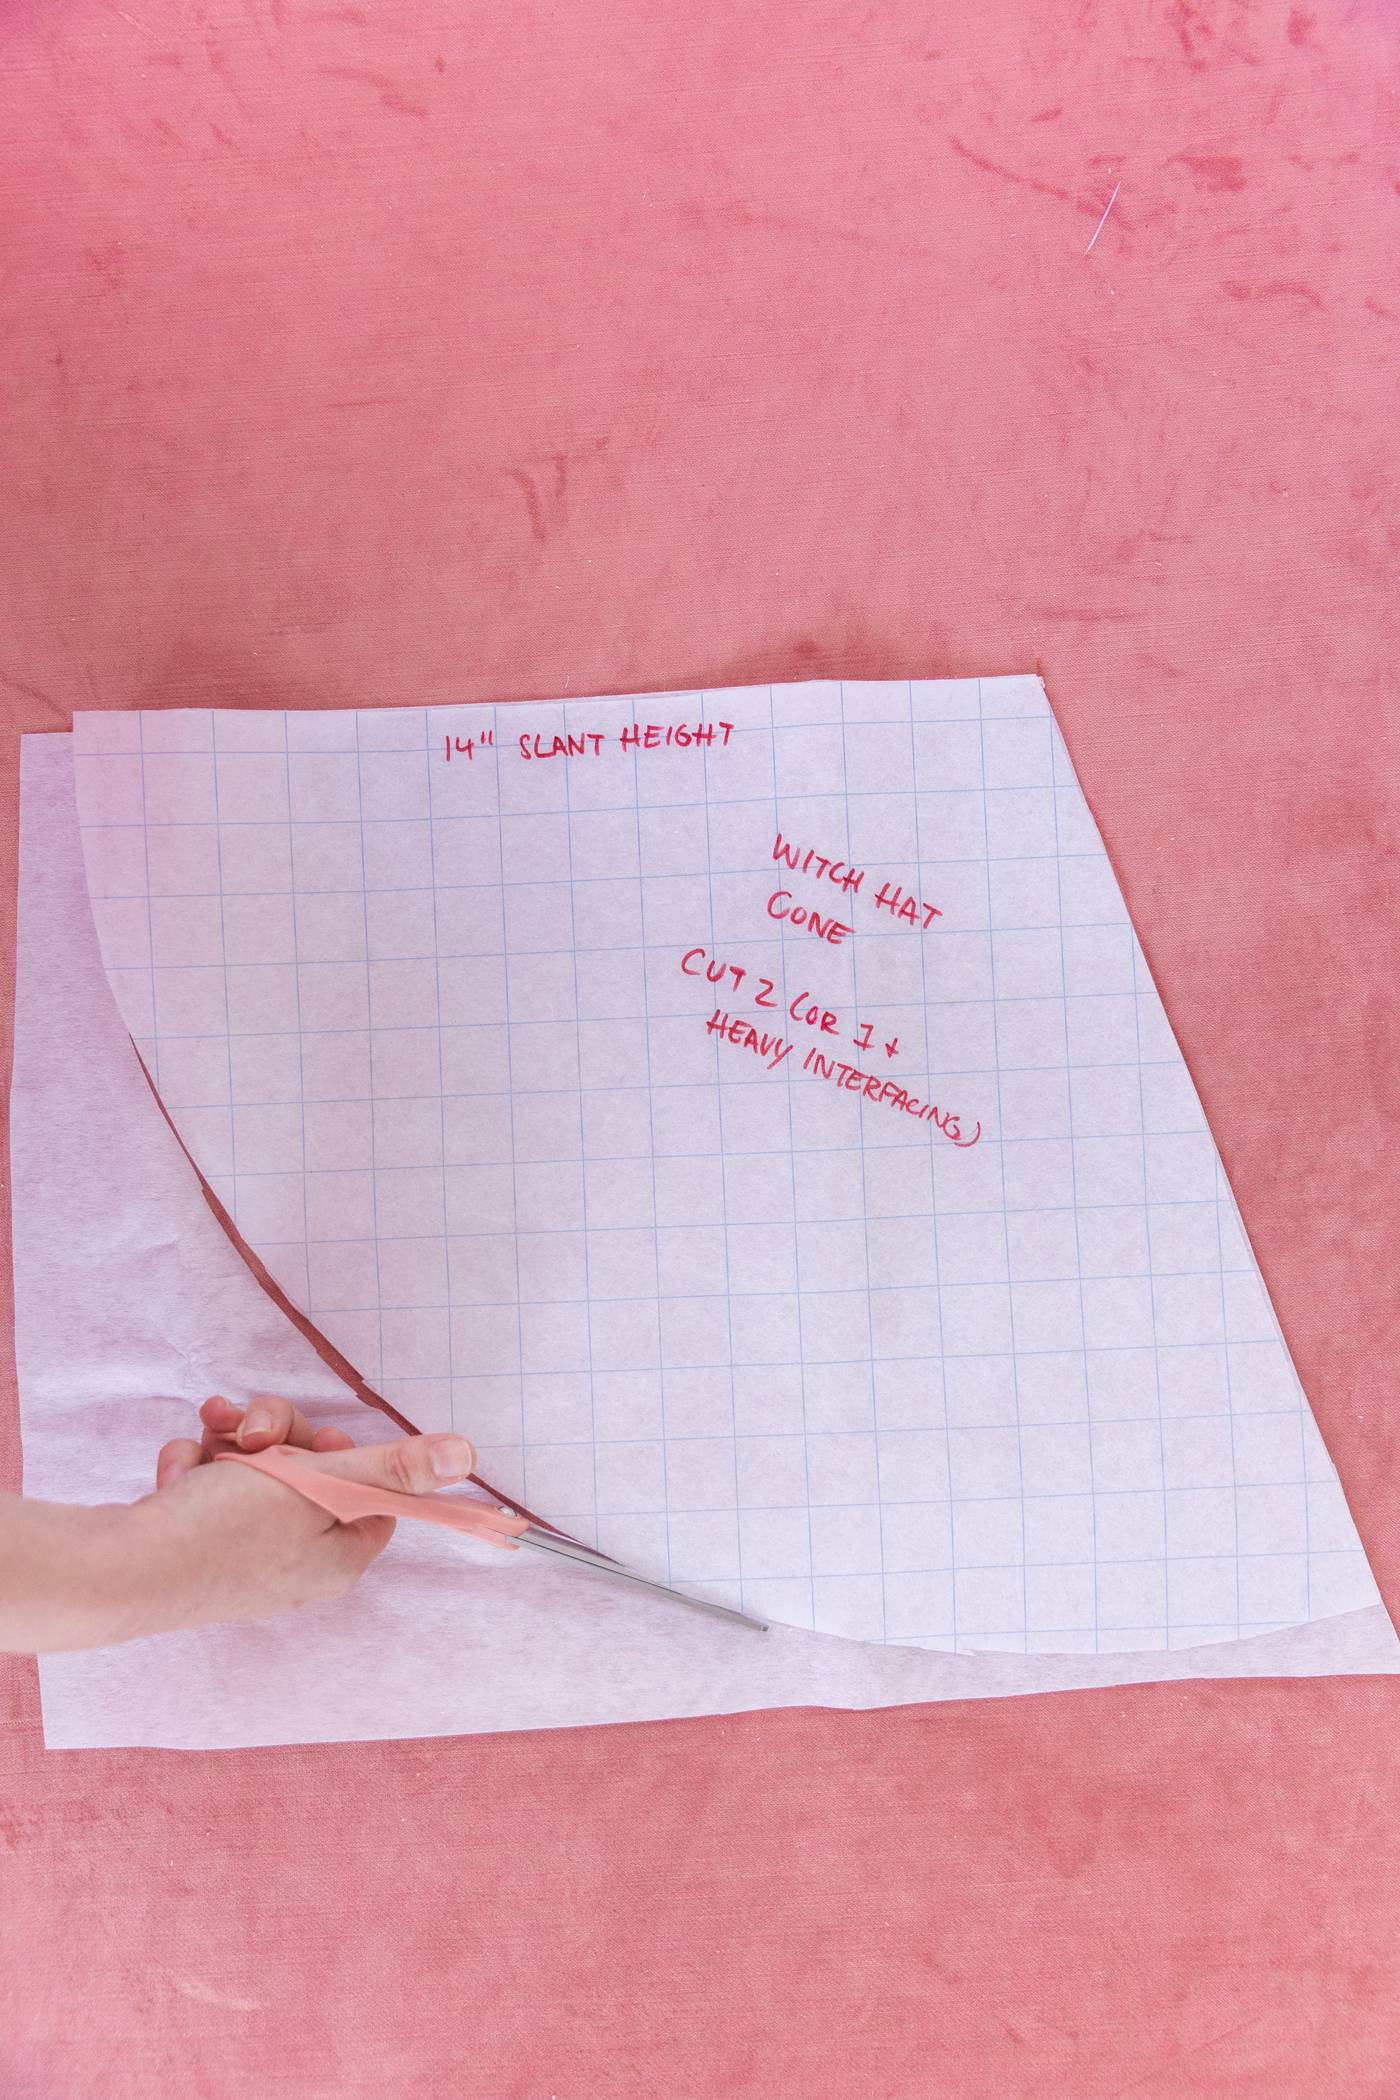
Cut out your cone interfacing
Place your template on top of your heavy interfacing and cut out another cone. This will give your cone more structure. If you want a lining for the inside of your hat, cut an extra piece of fabric for that. I usually skip the extra step of lining it unless I’m making it reversible.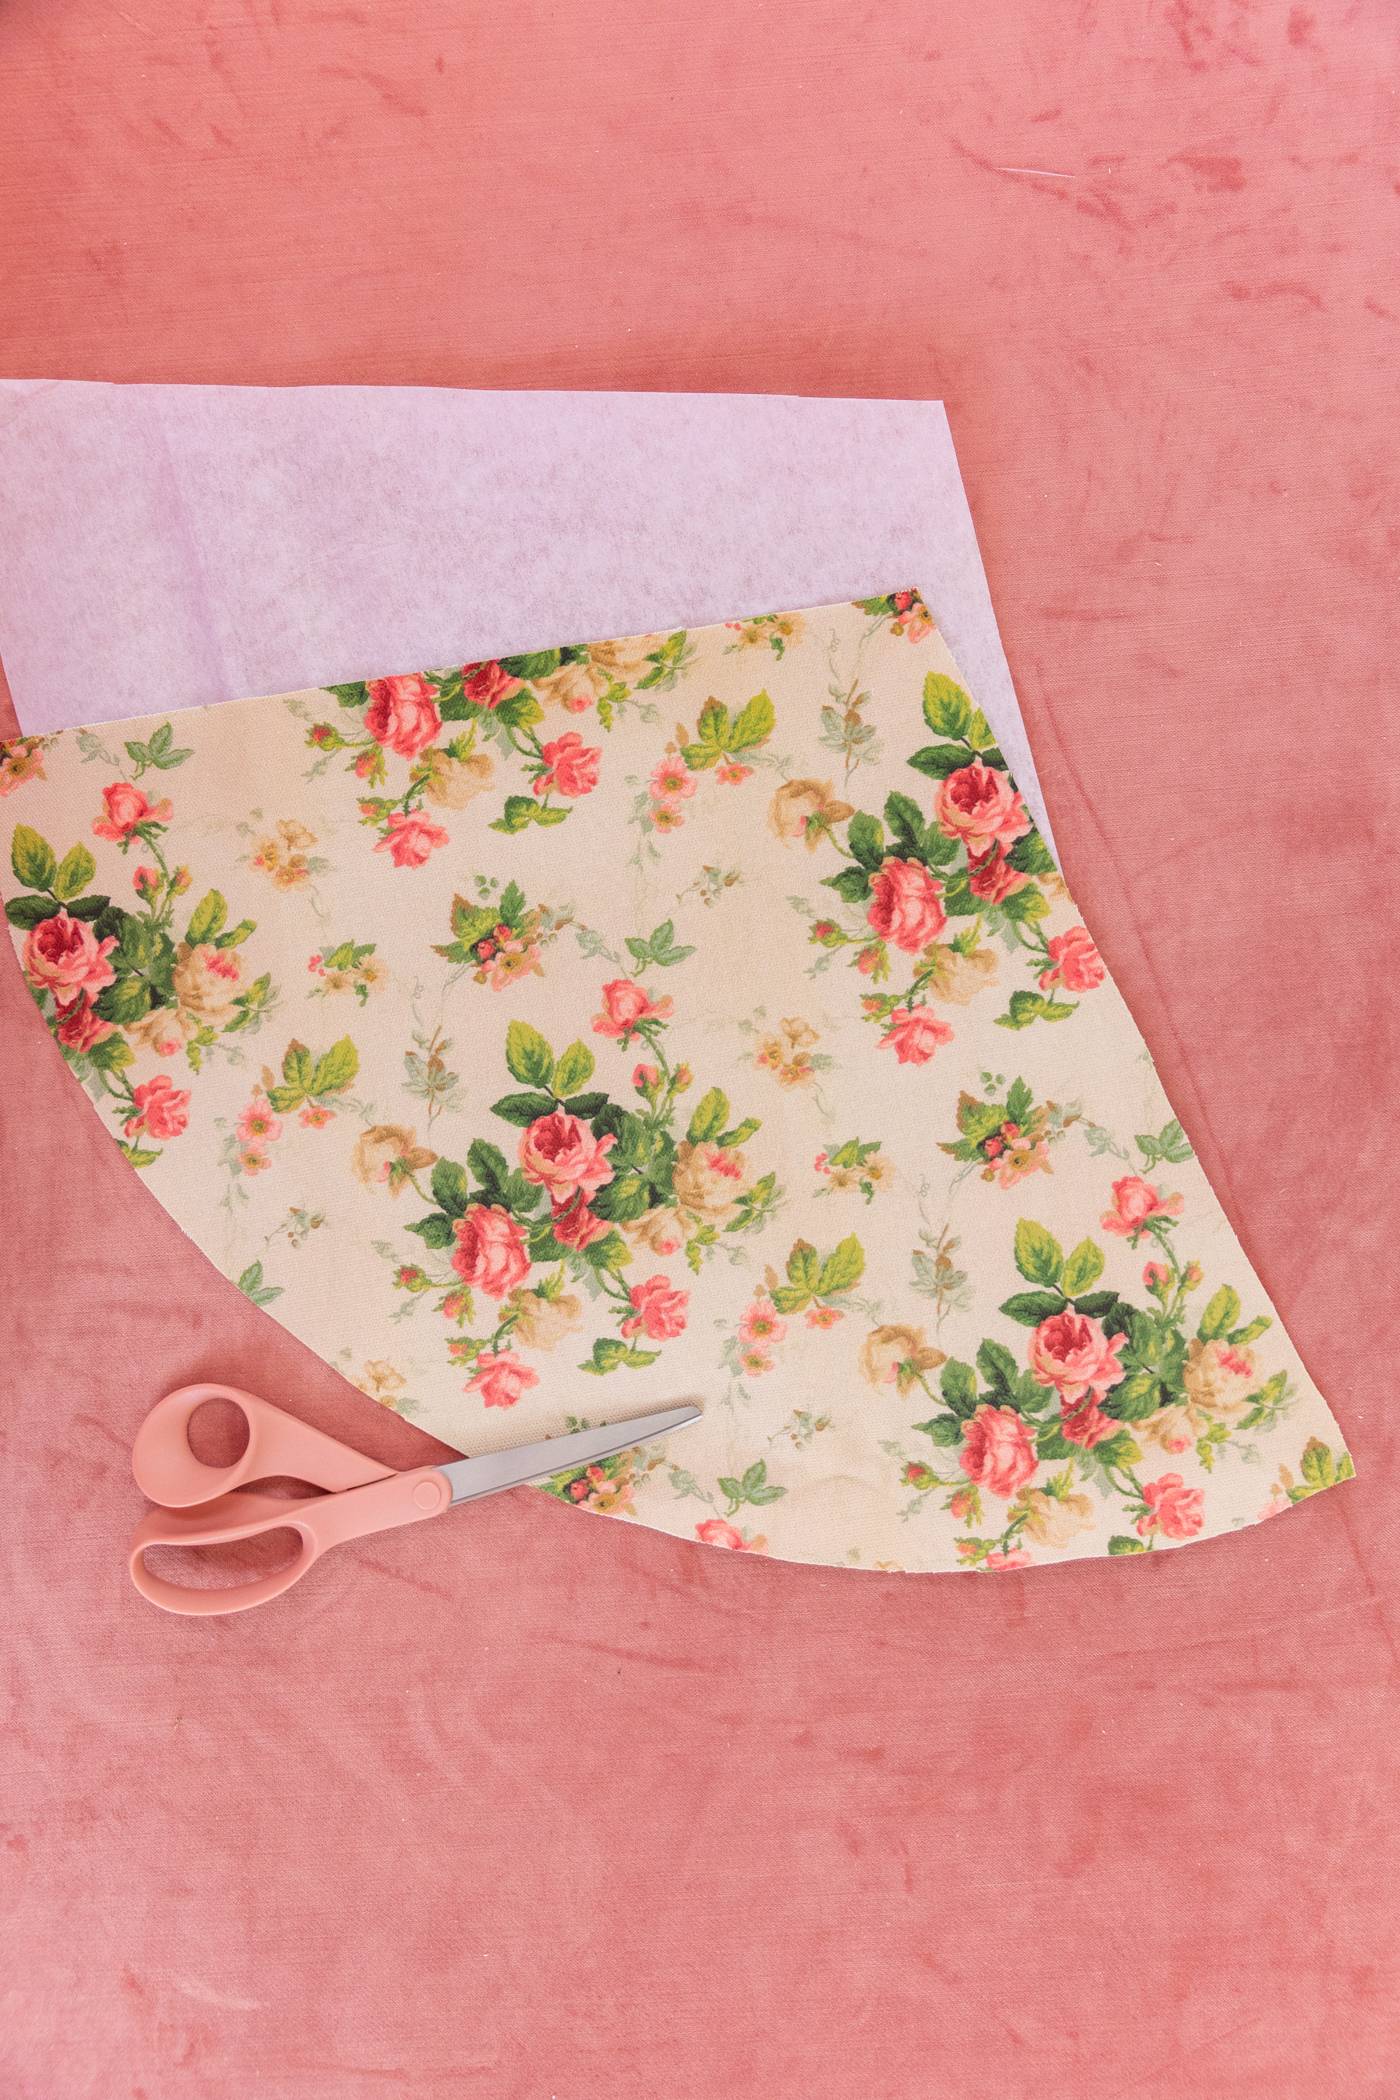
Step 2: Create the brim of the hat
Organize your fabrics and interfacing
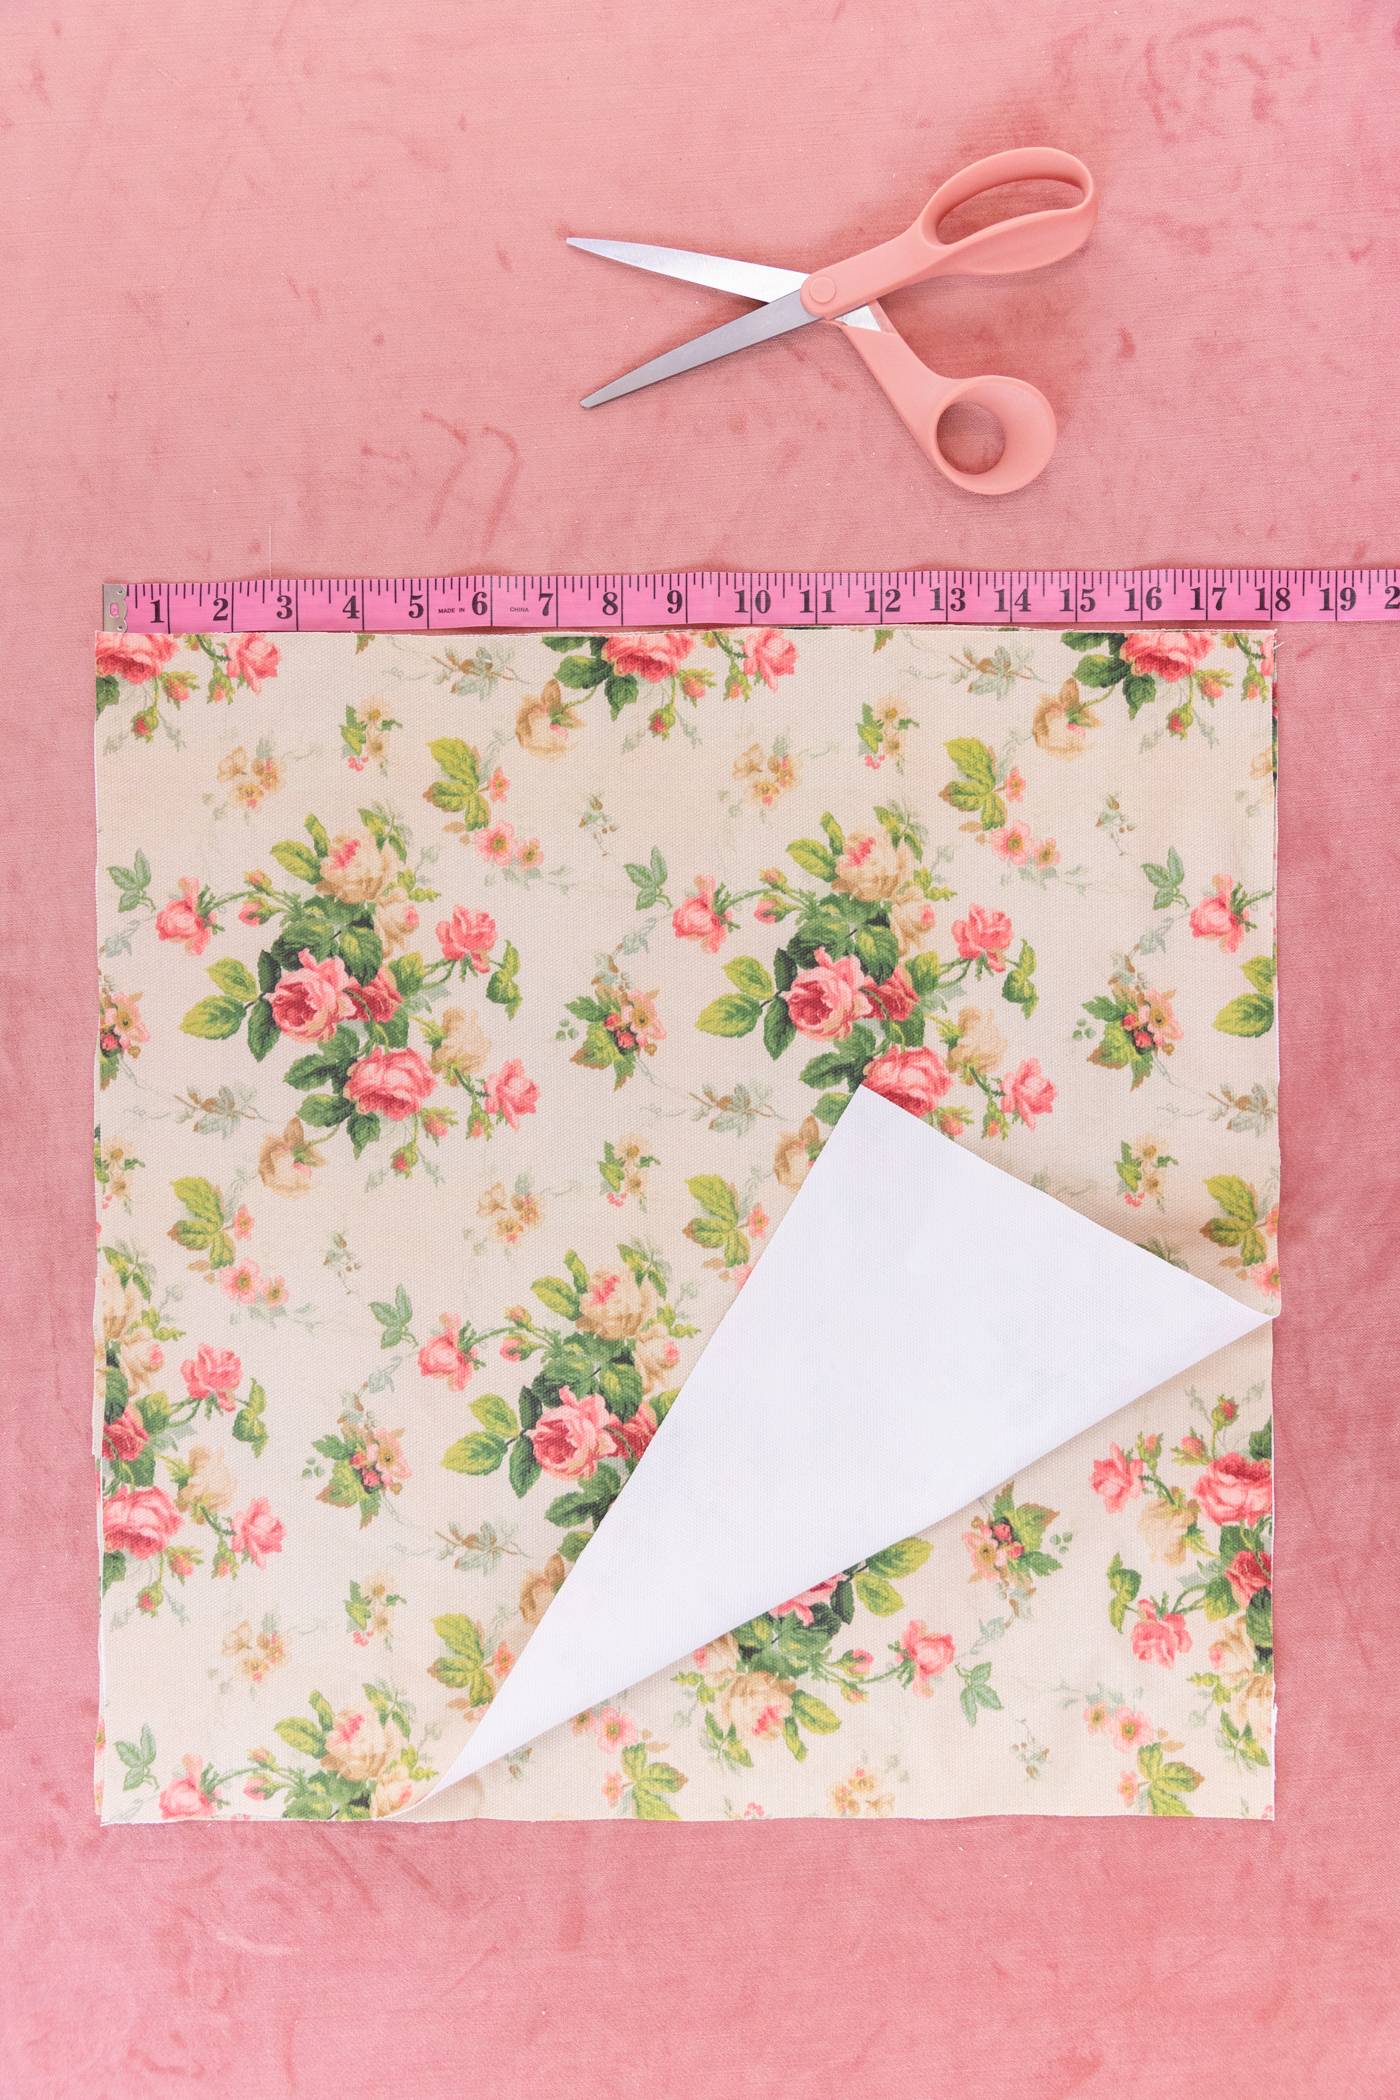
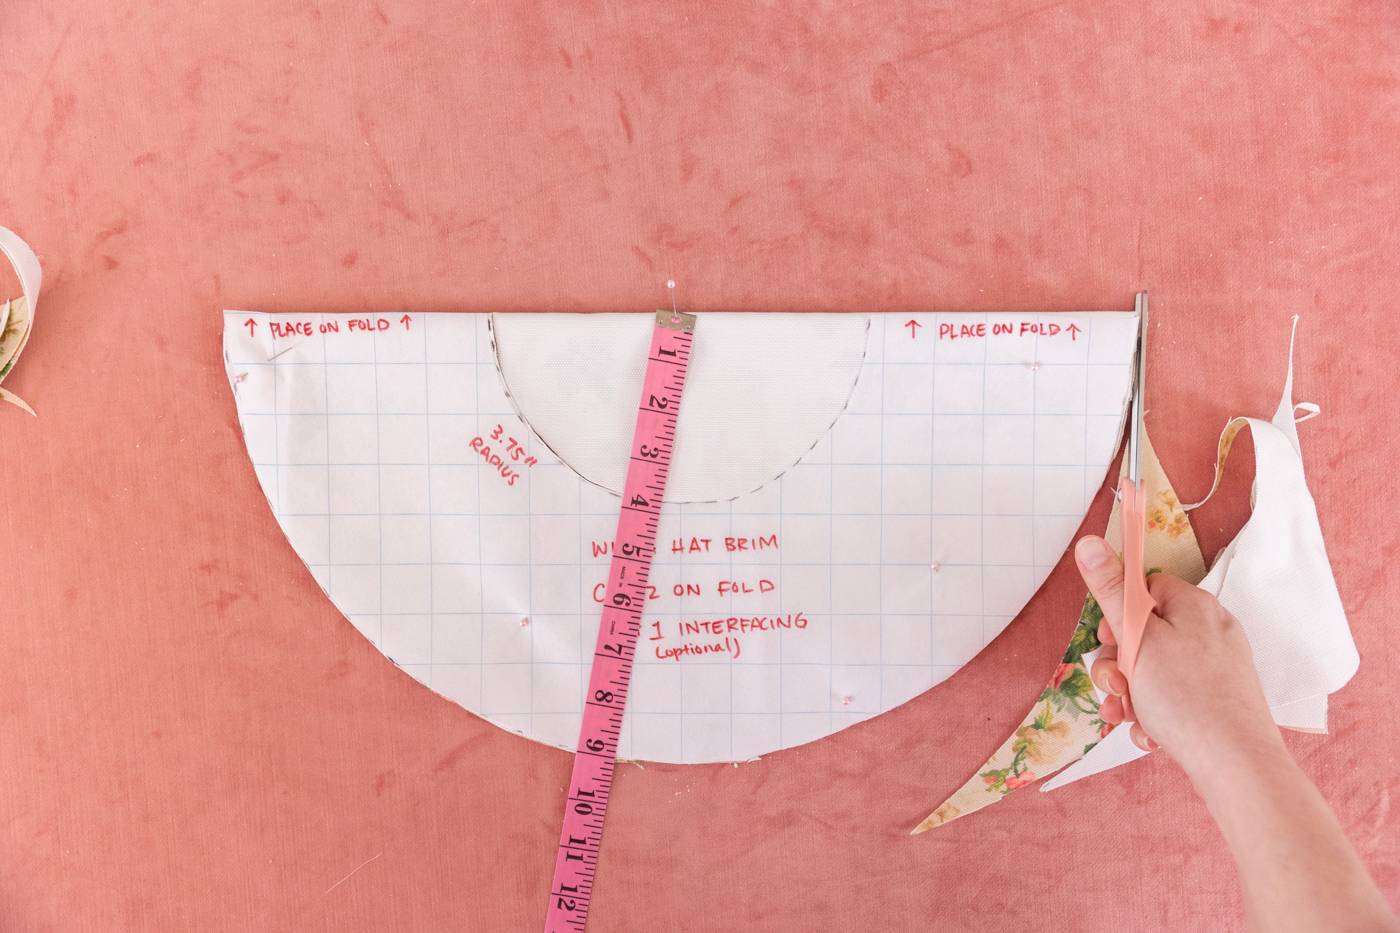
We’ll create the brim similar to the way we did the cone, with just a pin, paper, measuring tape and something to mark and cut with. You can make your own template (below) or download my free witch hat sewing pattern. Start with your two square pieces of 18” x 18″ (46 cm x 46 cm) fabric. You can fold these in half to make it a little easier to evenly cut out the circles.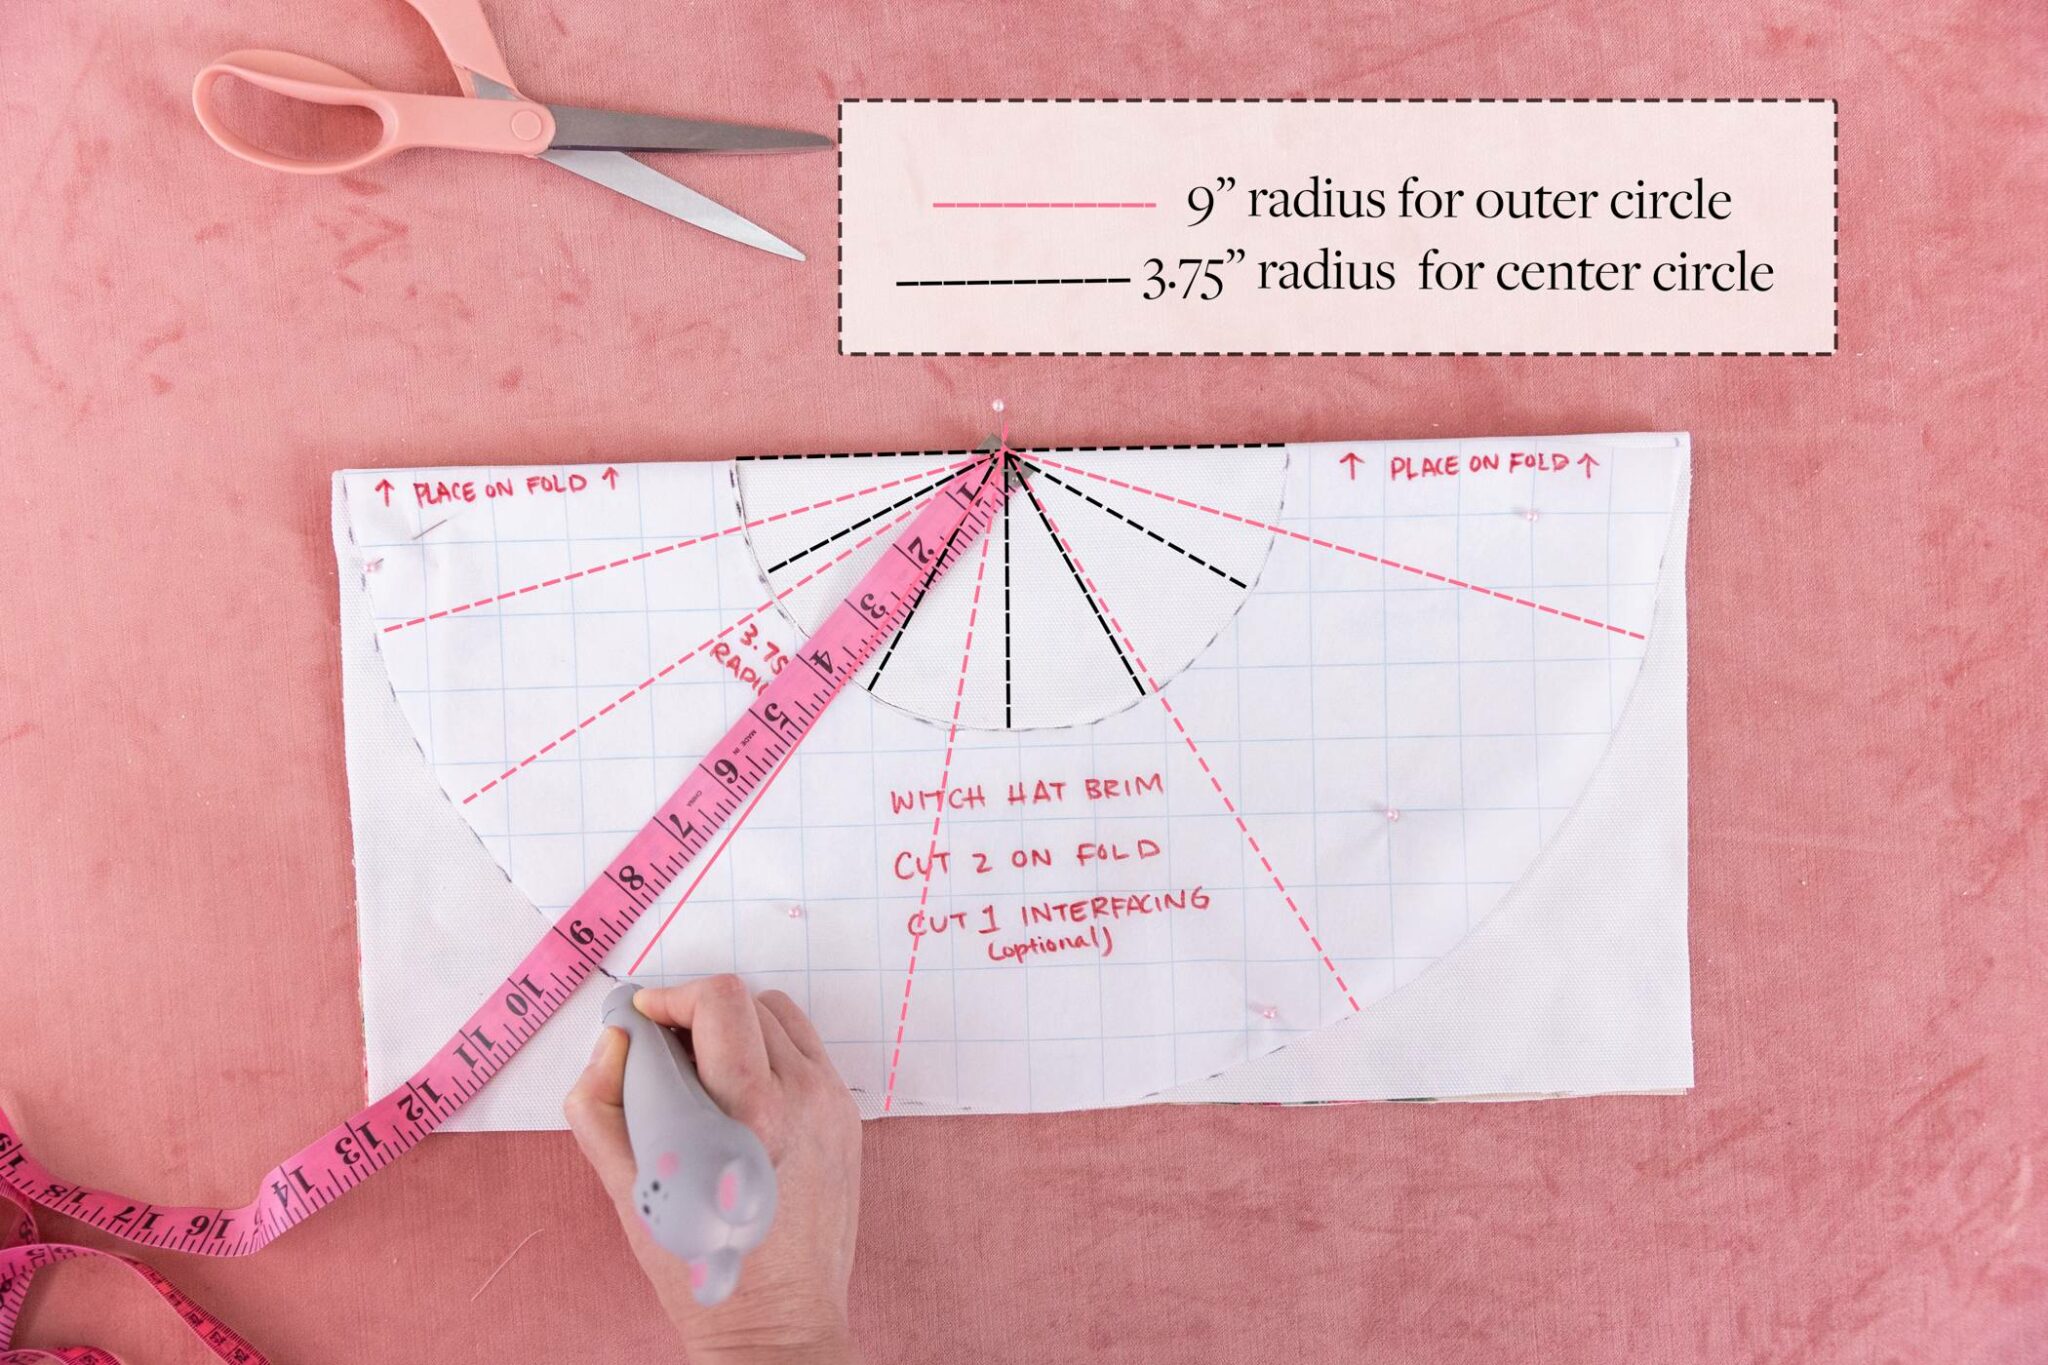
Trace out your template onto your fabric
Pin the measuring tape in the center of your folded fabric, making sure to pin on the fold. Let’s start by measuring for the outside of the brim. To do this, measure and mark in 9″ (23 cm) increments. For the inside of the brim, we are going to measure and mark in 3.75″ (9.5 cm) increments.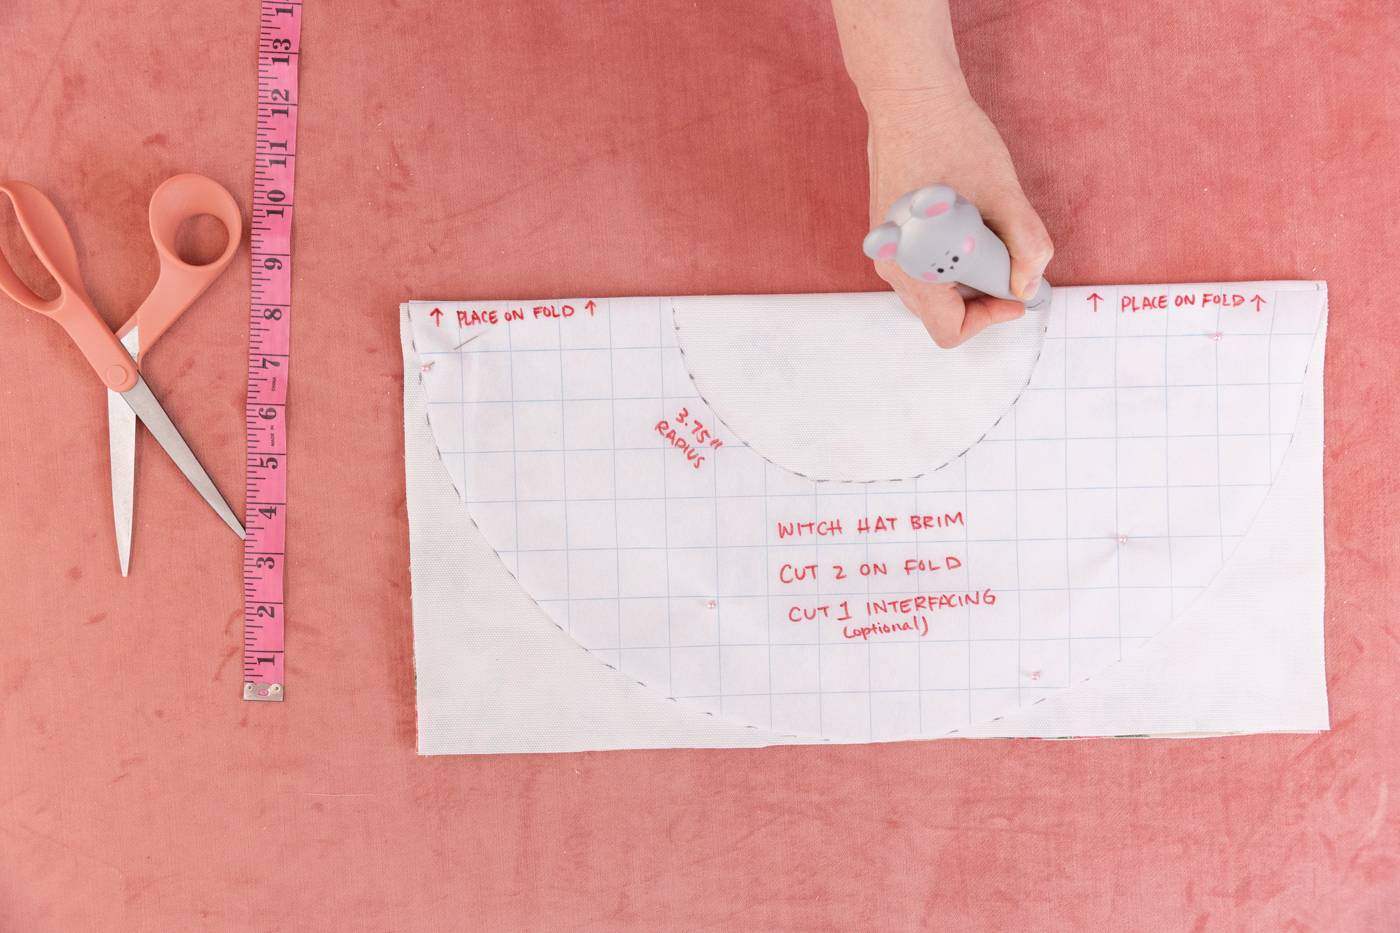
Cut out your brim
Here’s a better visual of what that should look like! Cut along the marked edge you made, both for the outside and inside of the brim.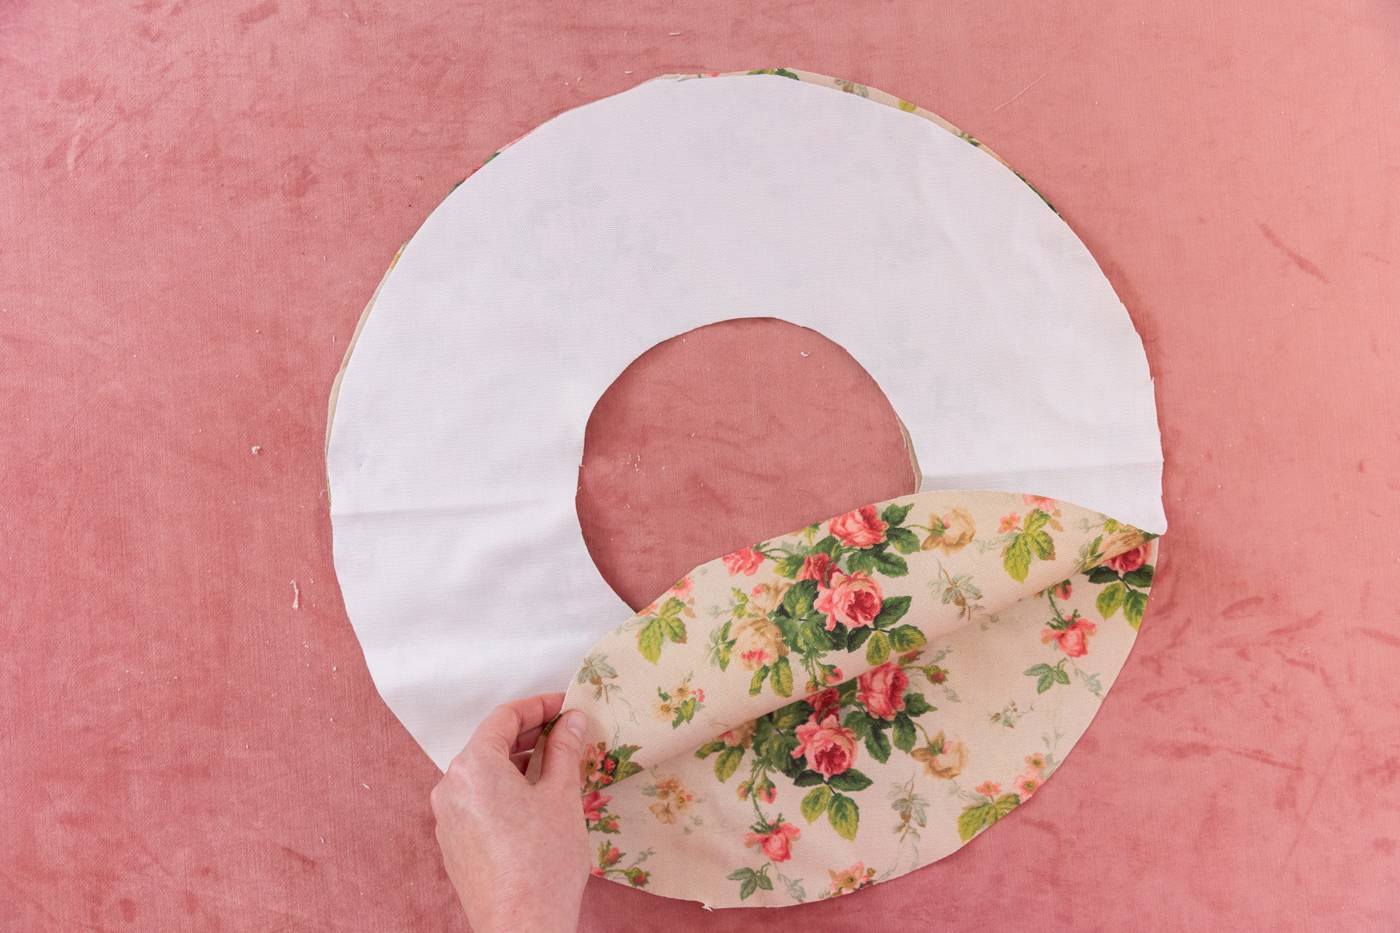
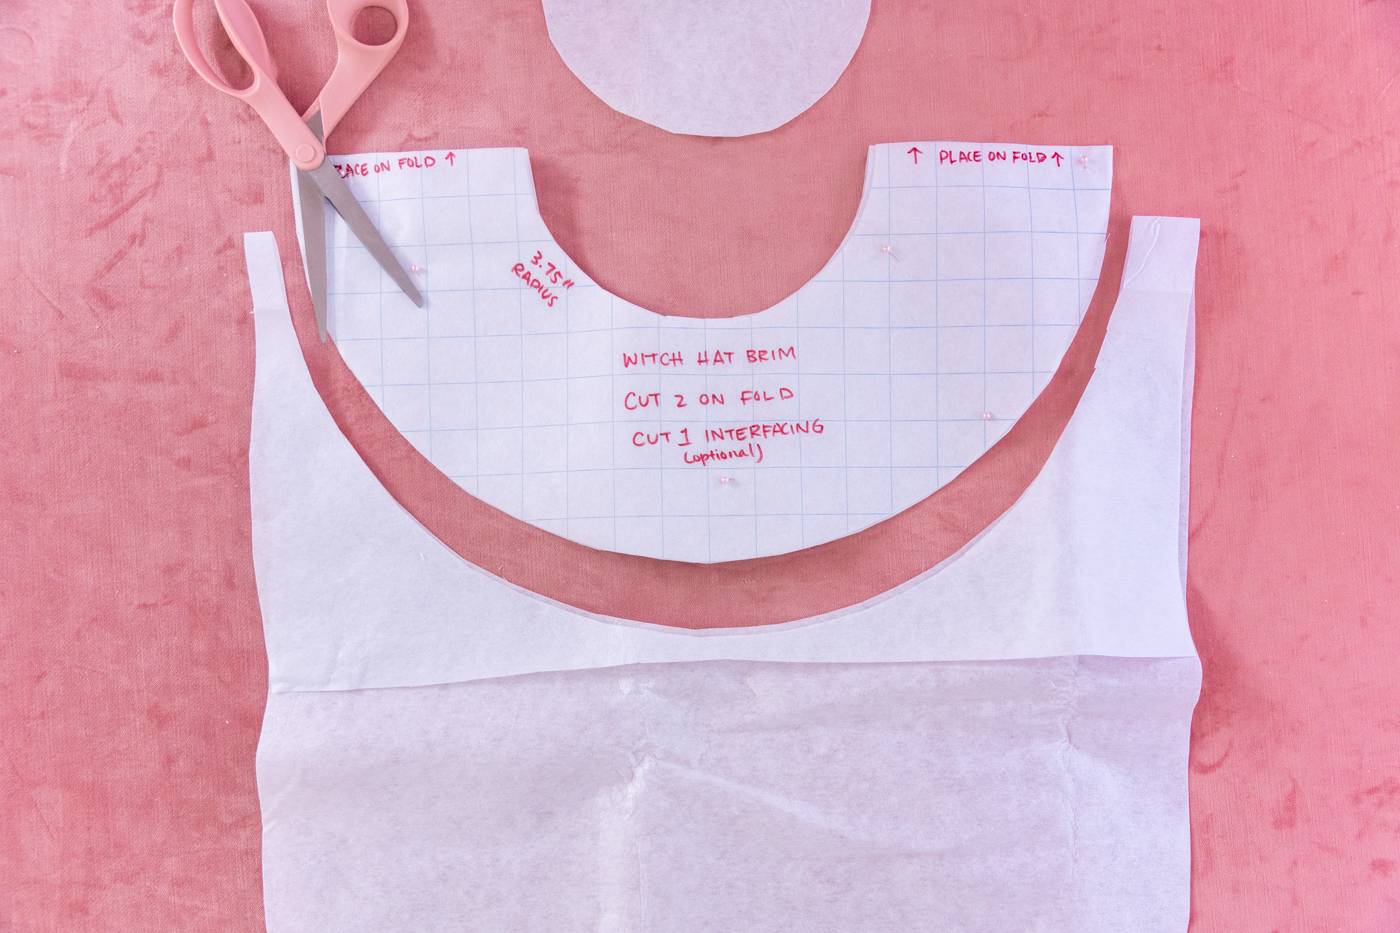
Trace and cut out your interfacing
Now that you’ve cut out your fabrics, let’s cut out your interfacing. You can do this by using your template or repeating the previous steps.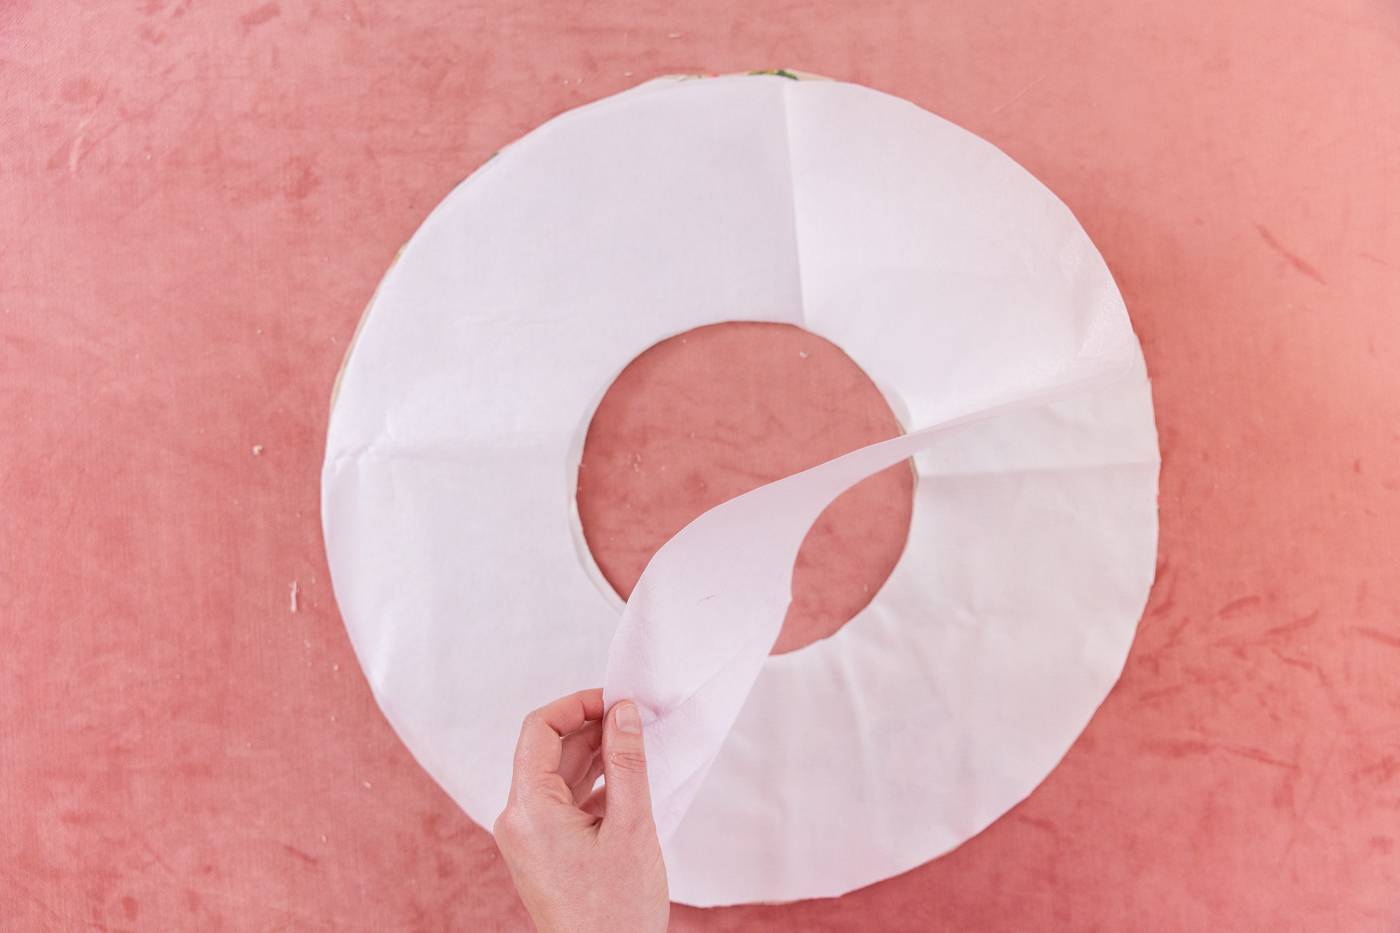
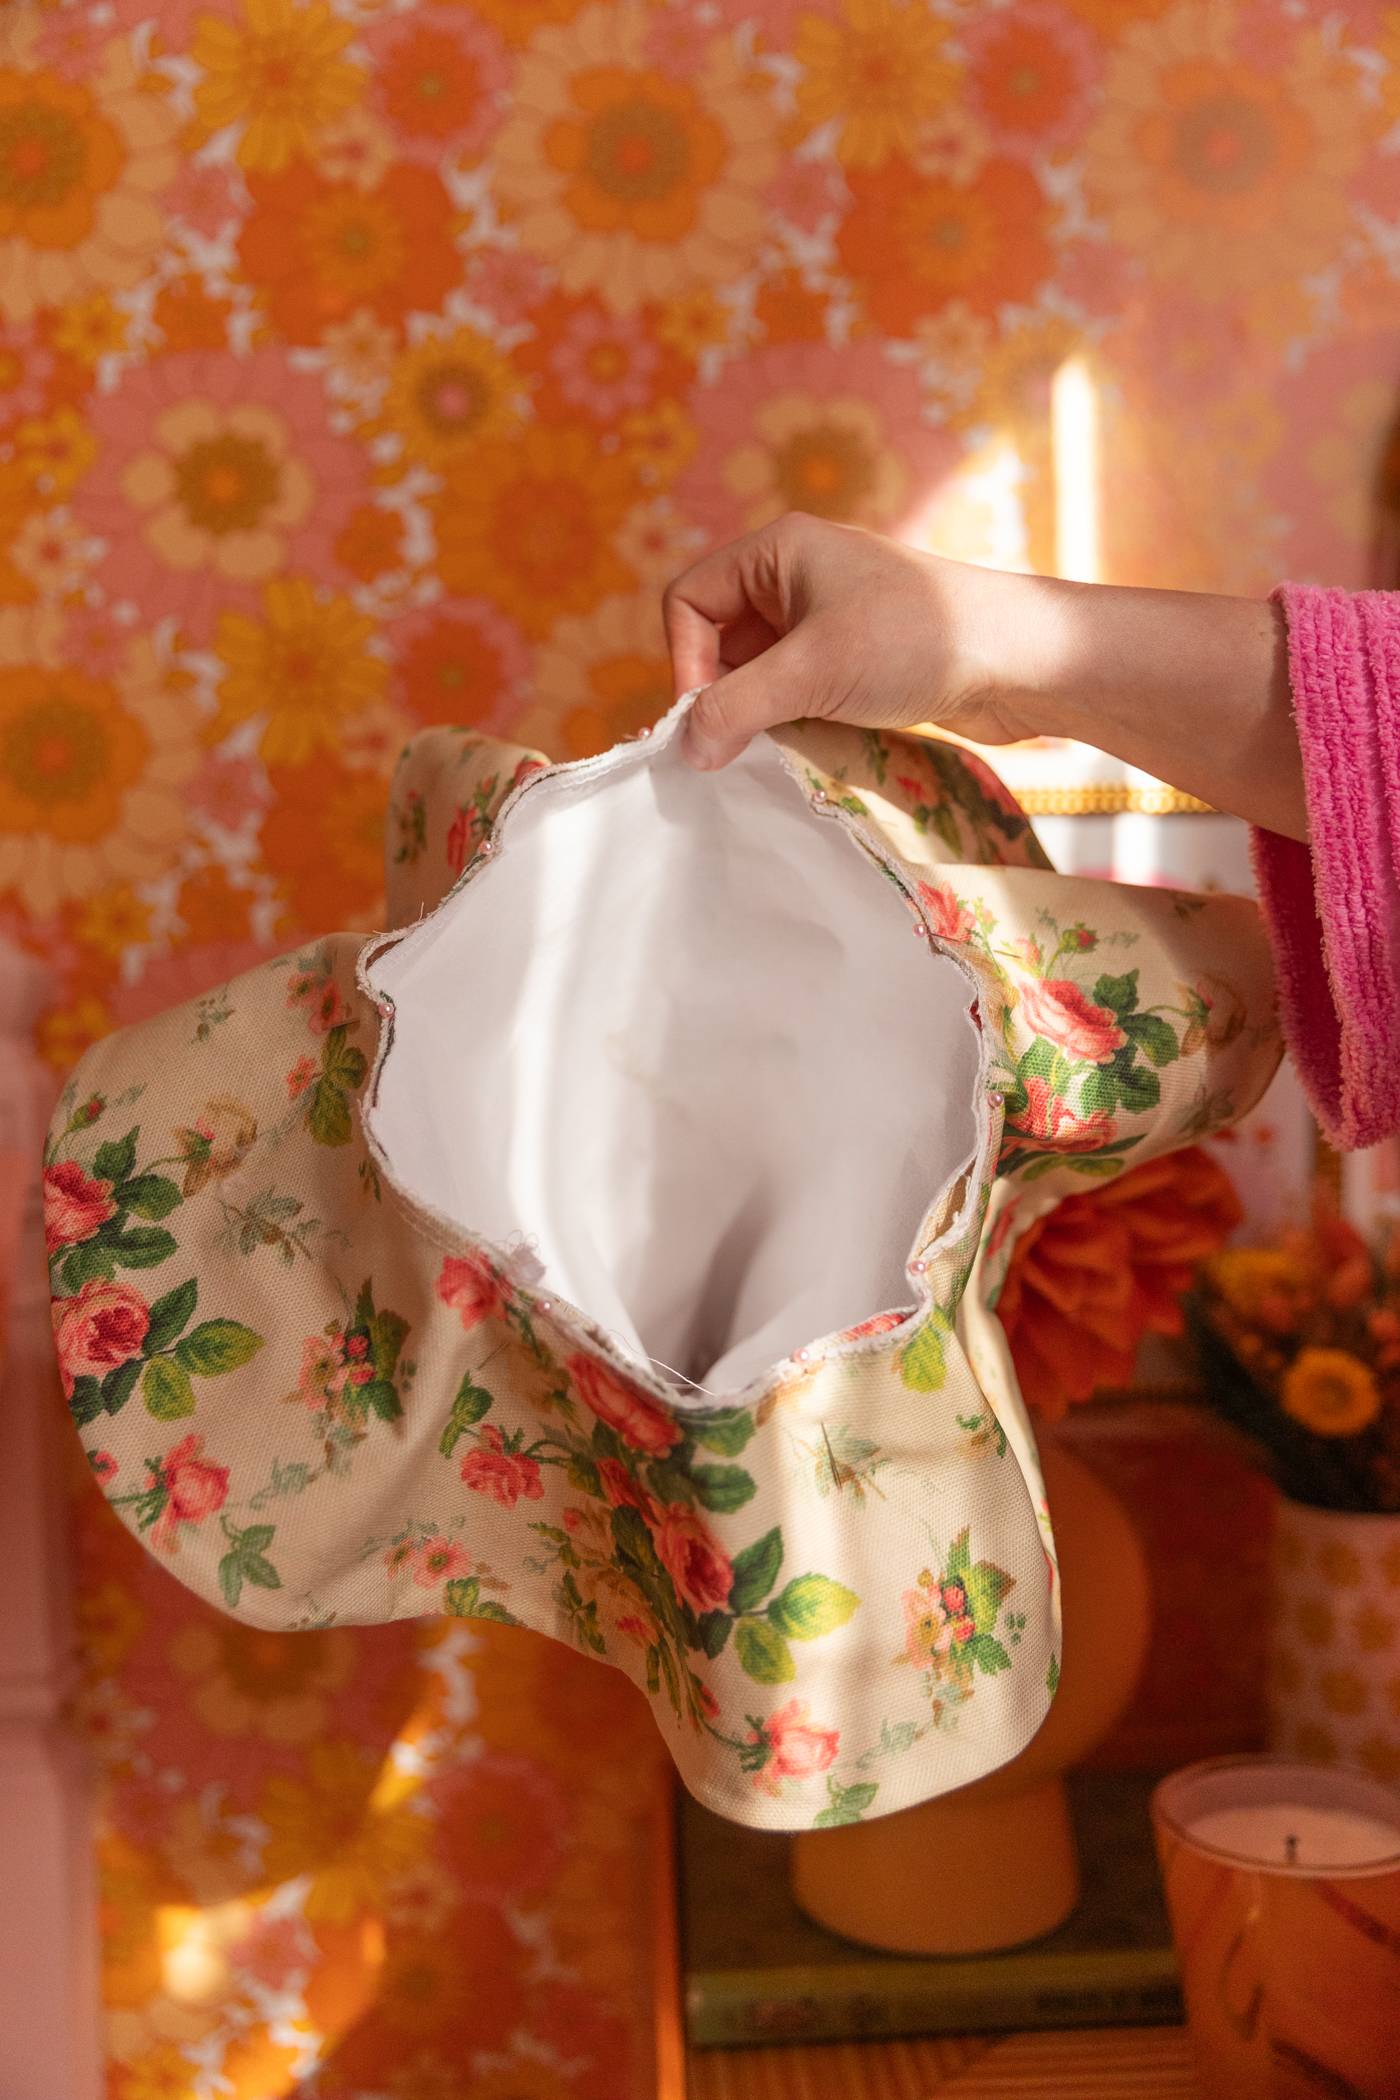
Layer all three pieces
Think of the brim as three donuts stacked into one — two of your fabric, and one of heavy interfacing that is sandwiched between. Let’s get these layers ready to sew! Your interface should be on top, followed by your fabric. Have the right sides of the fabric facing inward towards each other. Now, let’s start sewing!Step 3: Sewing the brim
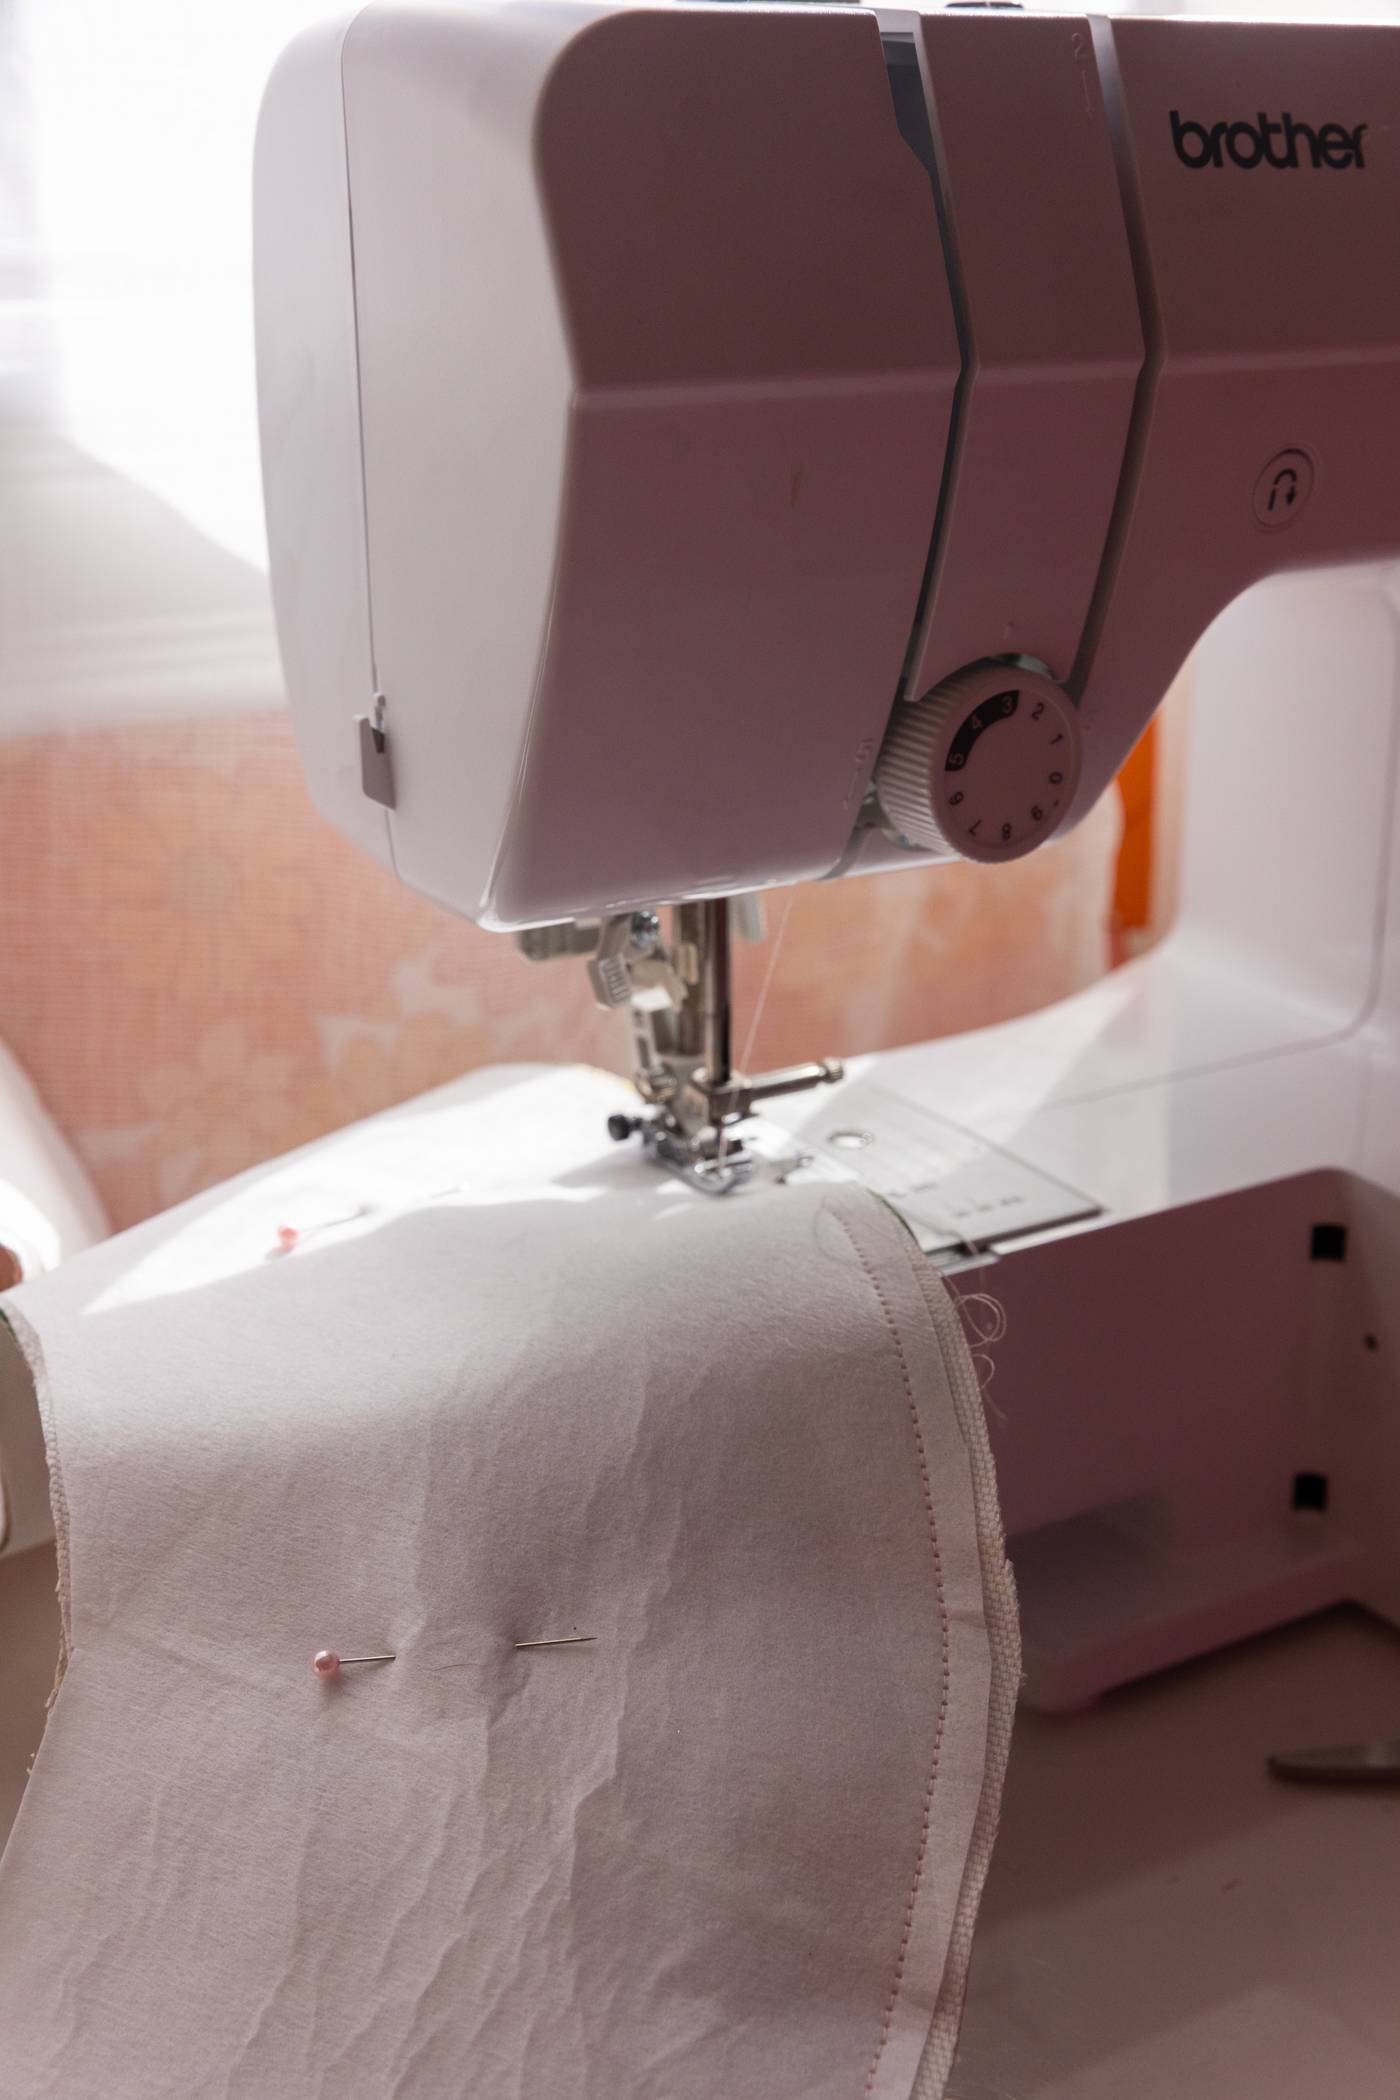
Sew the outer edge
Sew the three pieces together along the outside edge.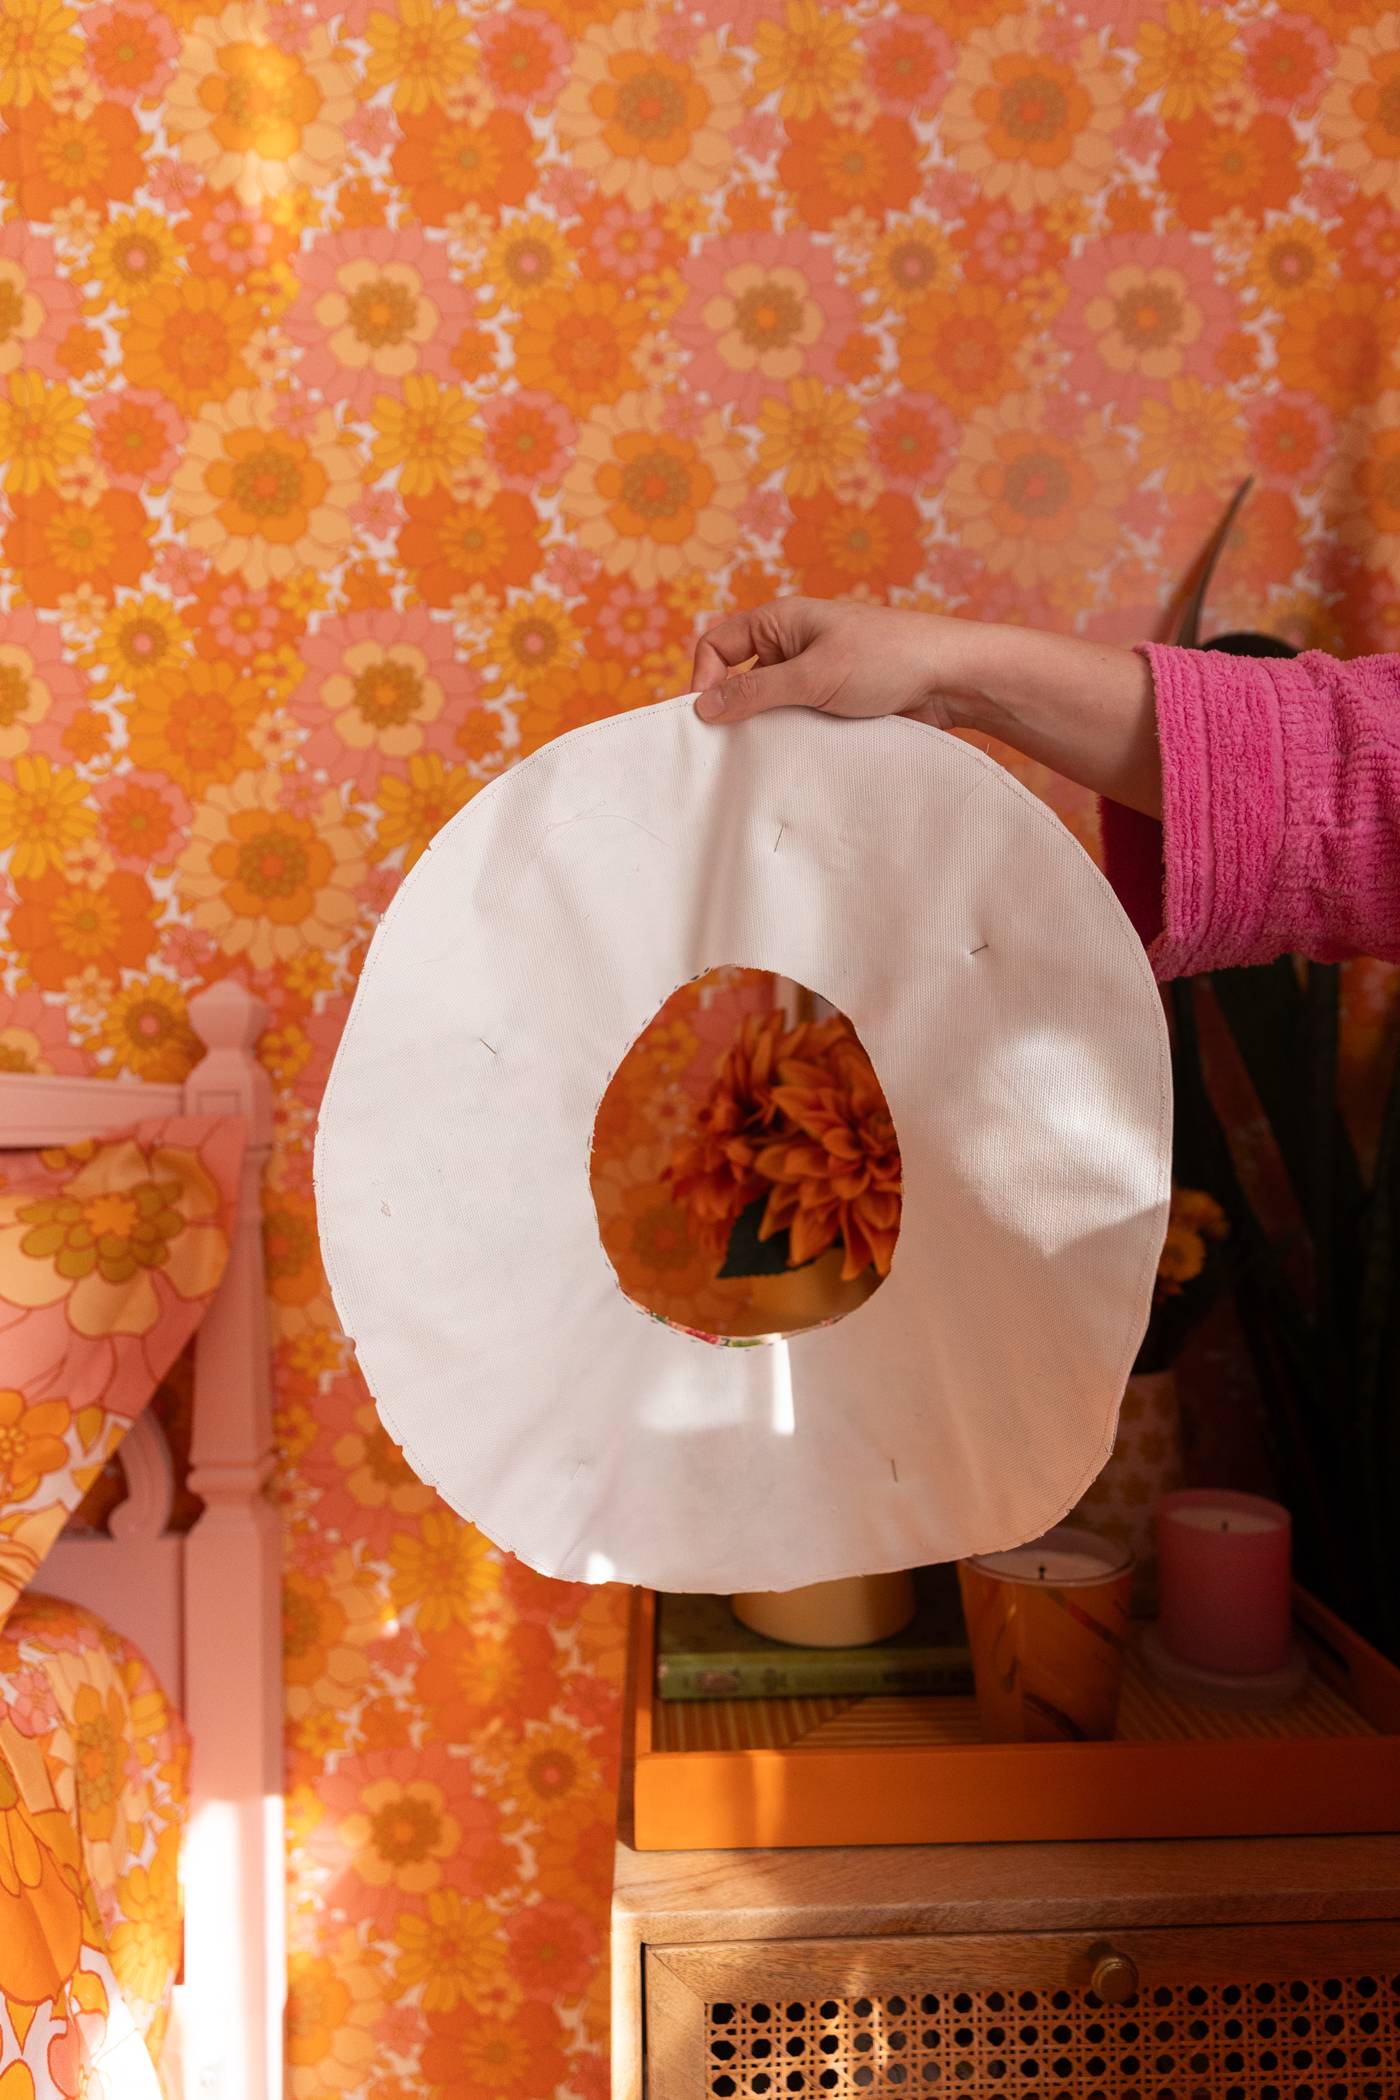
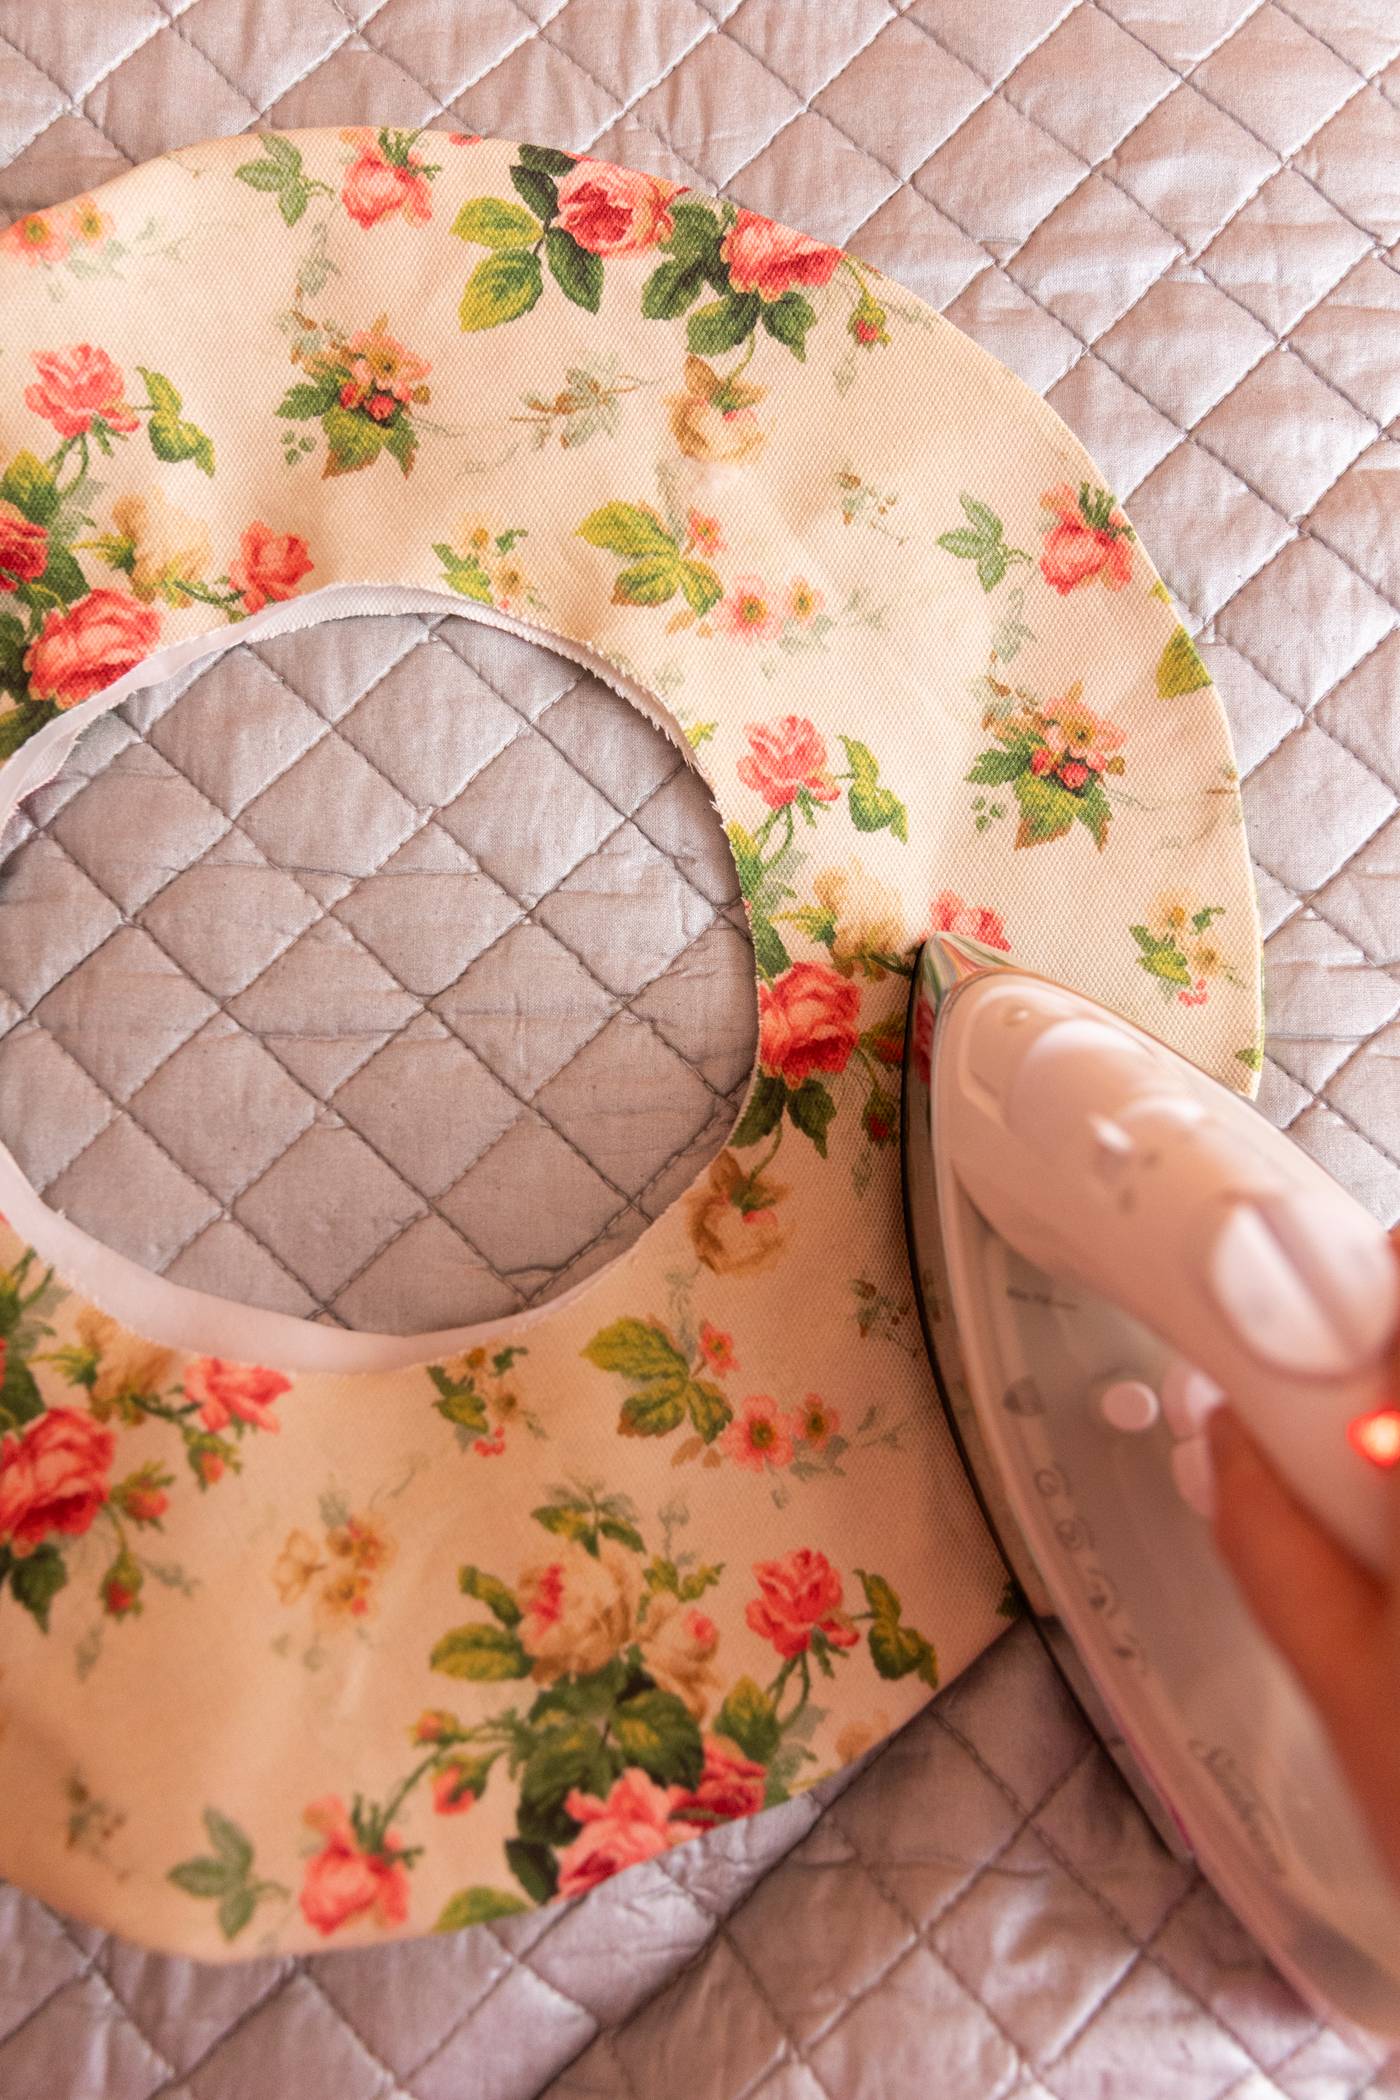
Sew the center circle
Turn the brim right side out, so the interfacing is now between the two pieces of fabric. Press the edges with an iron to get a nice, tidy circle. Run a stitch around the center circle to keep all 3 pieces together.Step 4: Sew the cone of the hat
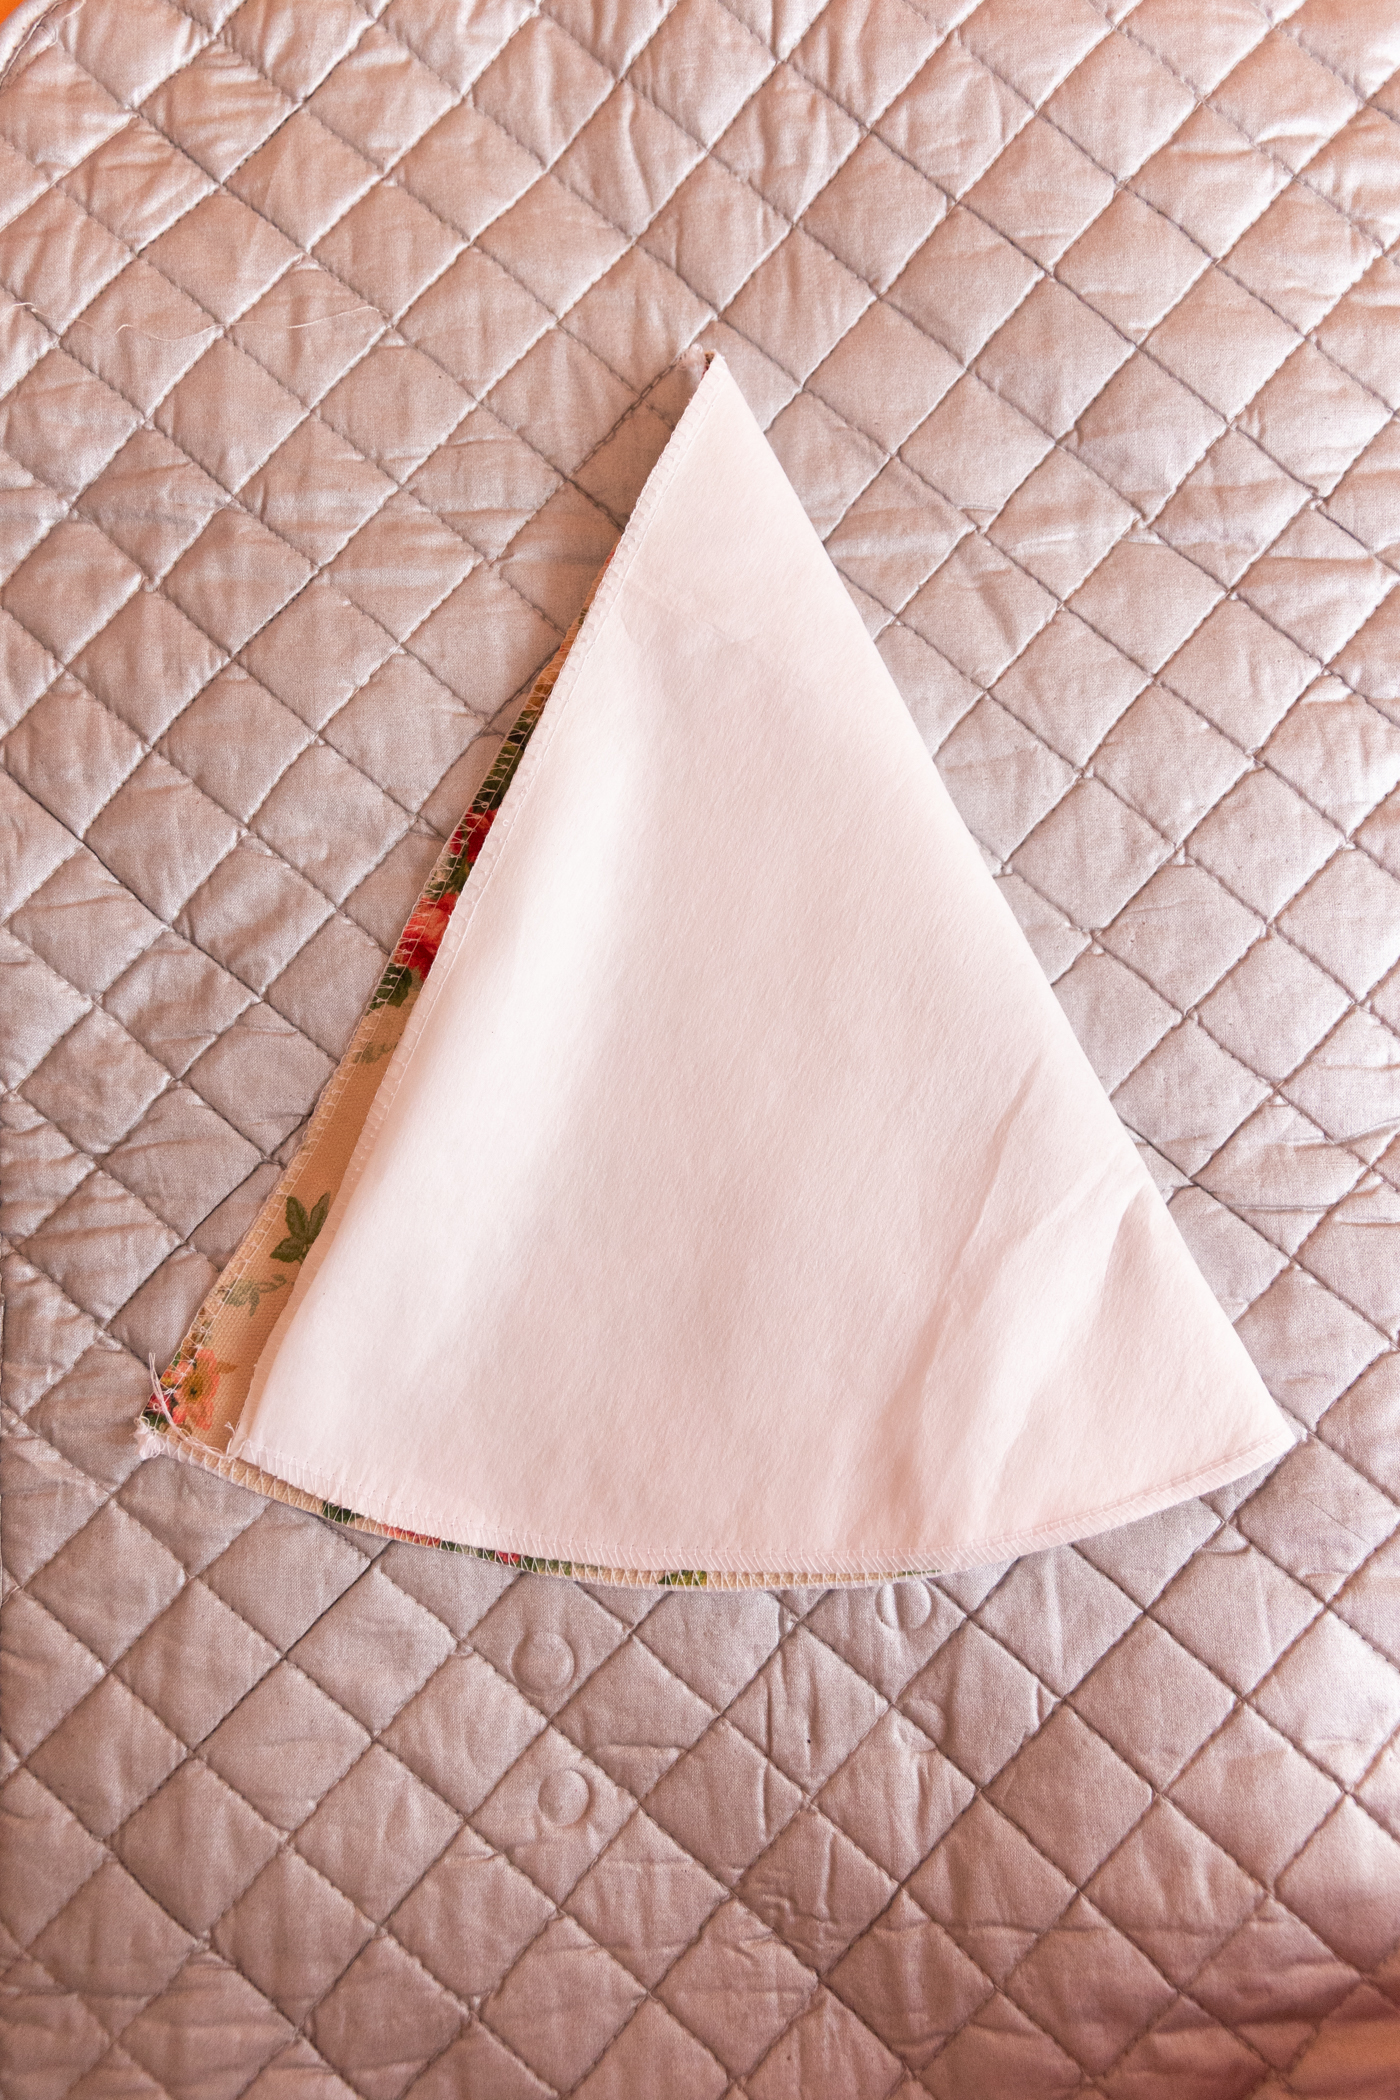
Sew your fabric and interface together
Now that the brim is done, let’s come back to our cone fabric and interface. First, sew the interface to the wrong side of the fabric. Next fold the piece in half, with the wrong side facing outward. Sew along the edge to finish the cone. Mine got super messy because a kitten was “helping” me. But that’s okay, it’s going on the inside.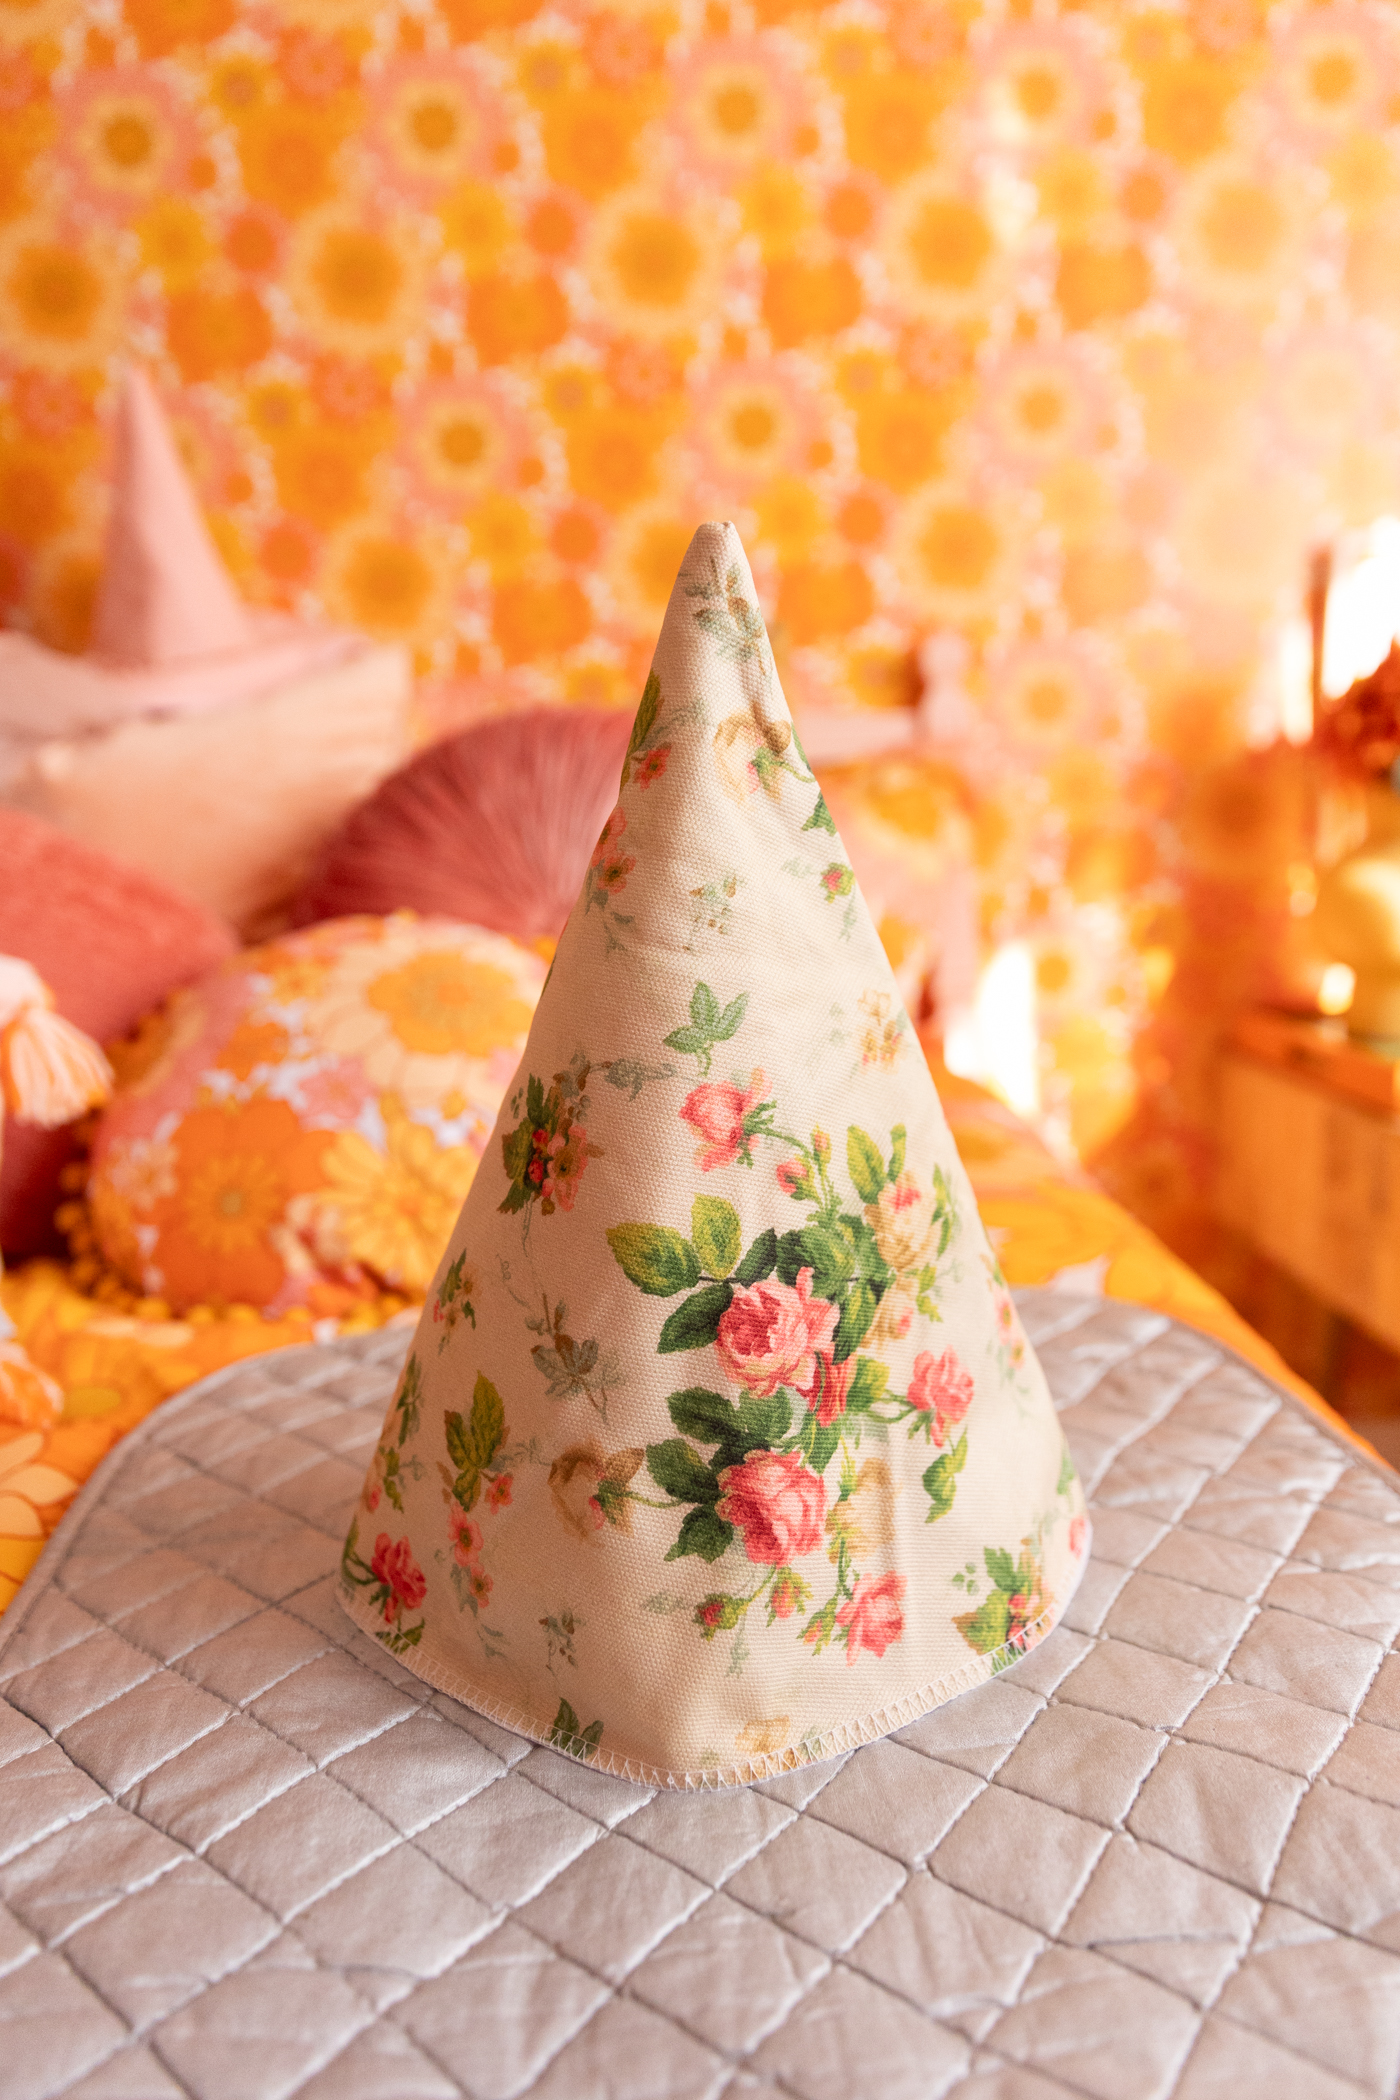
Step 5: Sew the brim and cone together to make our witch hat
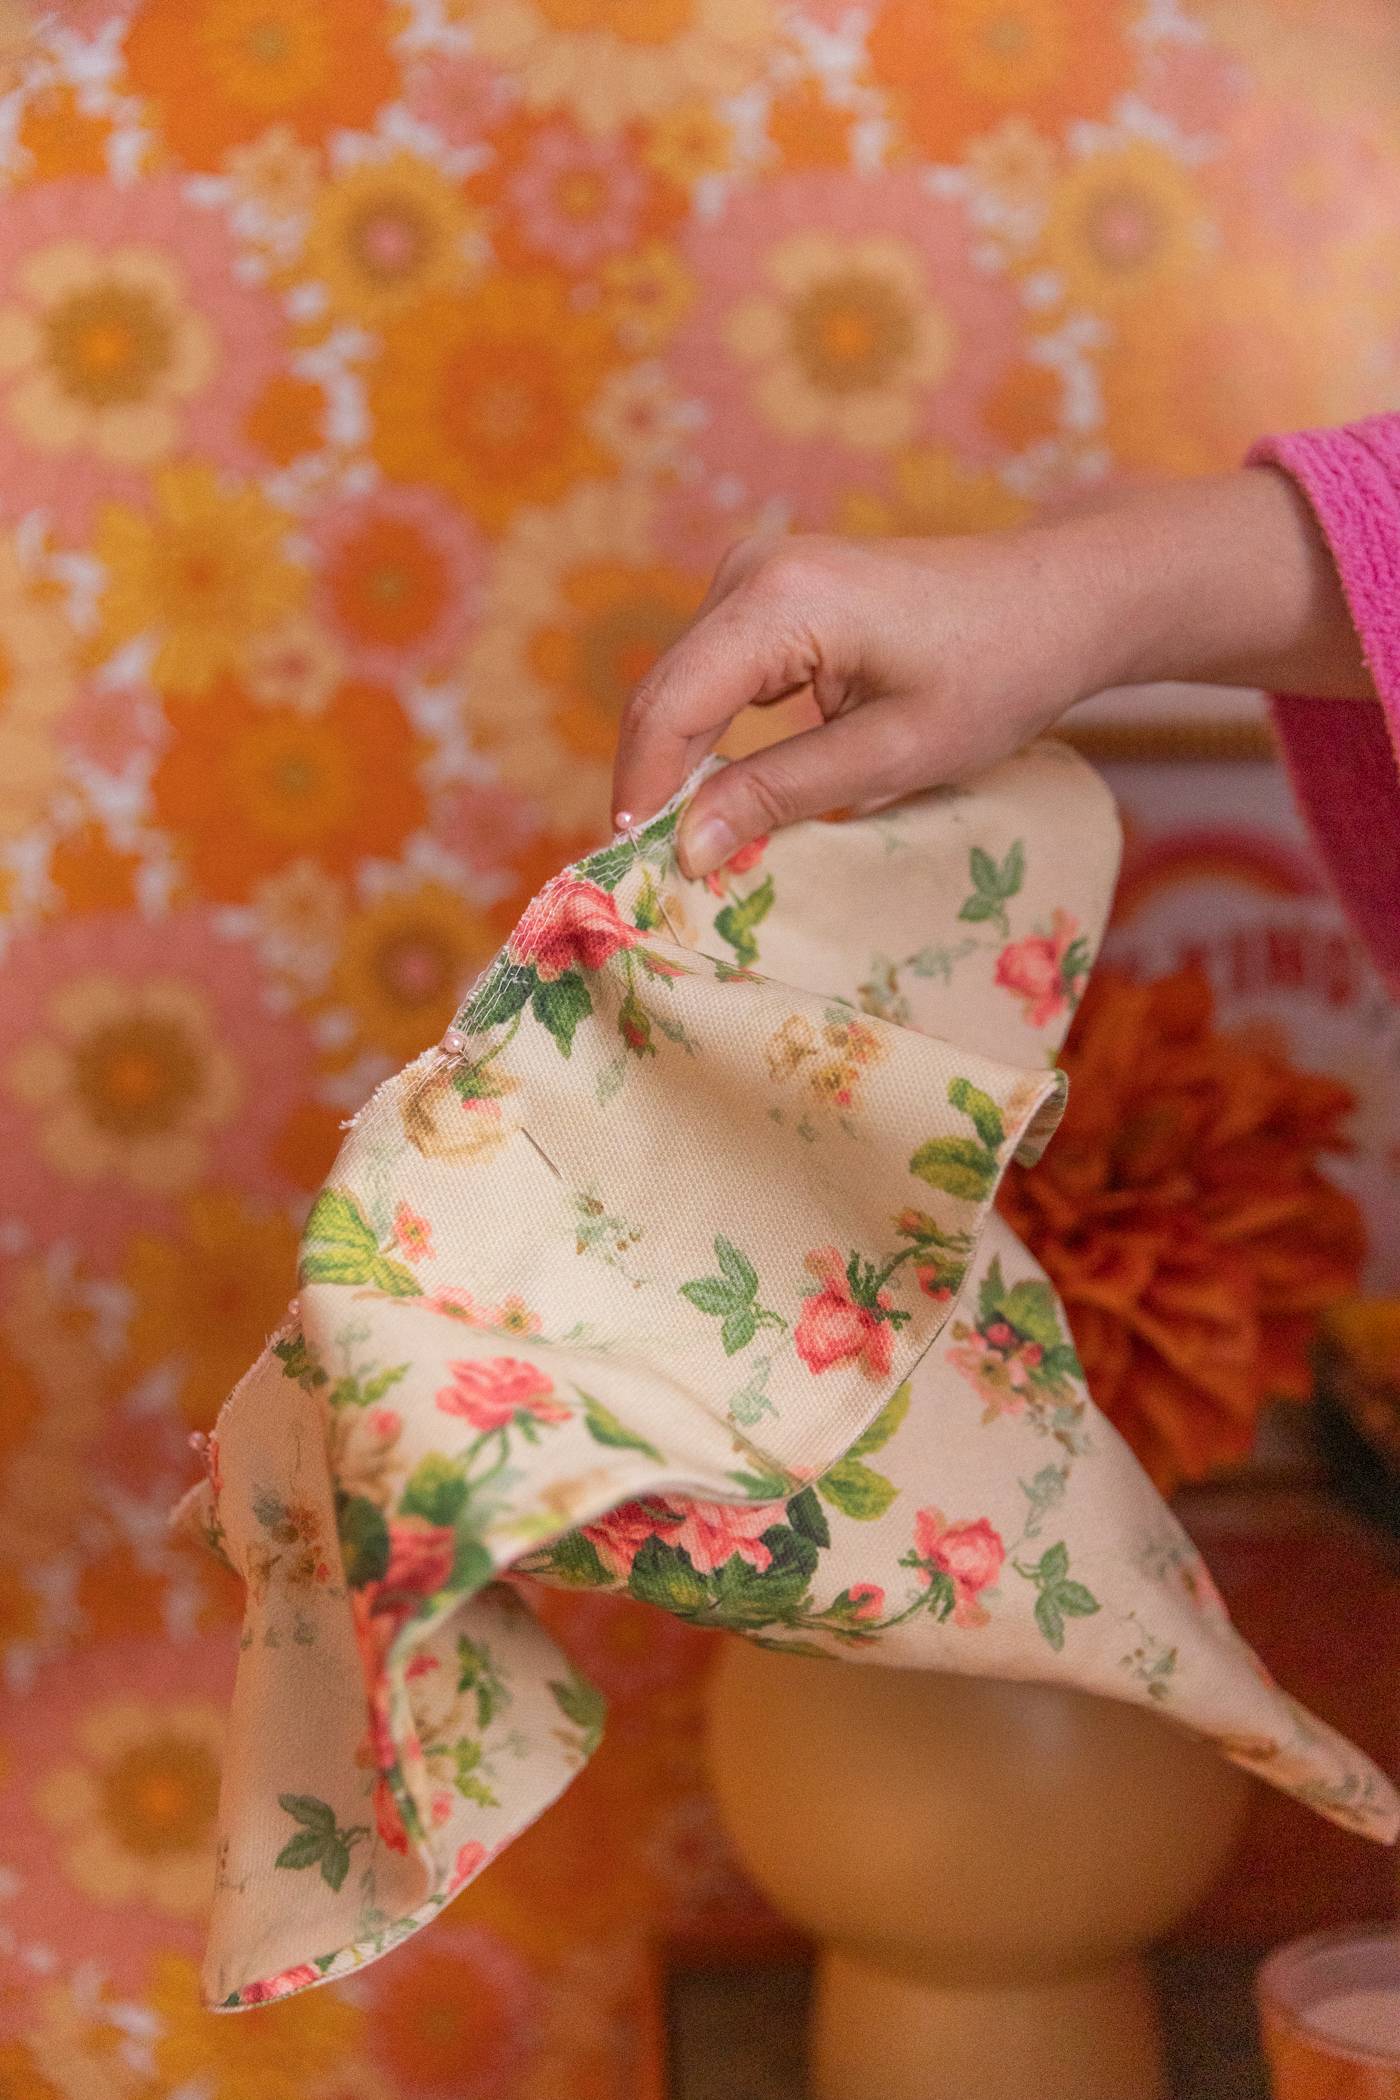
Pin the brim to the cone
Pin the brim to the cone, as seen above. When I use a heavier fabric with heavy interfacing, I do a 1/4″ (0.64 cm) seam since there is zero give on the cone when sewing to the brim. I went a little bit wider on this one and had to be very precise with my pinning. This is a very important step to remember. Pinning will keep you from having to rip stitches and start over.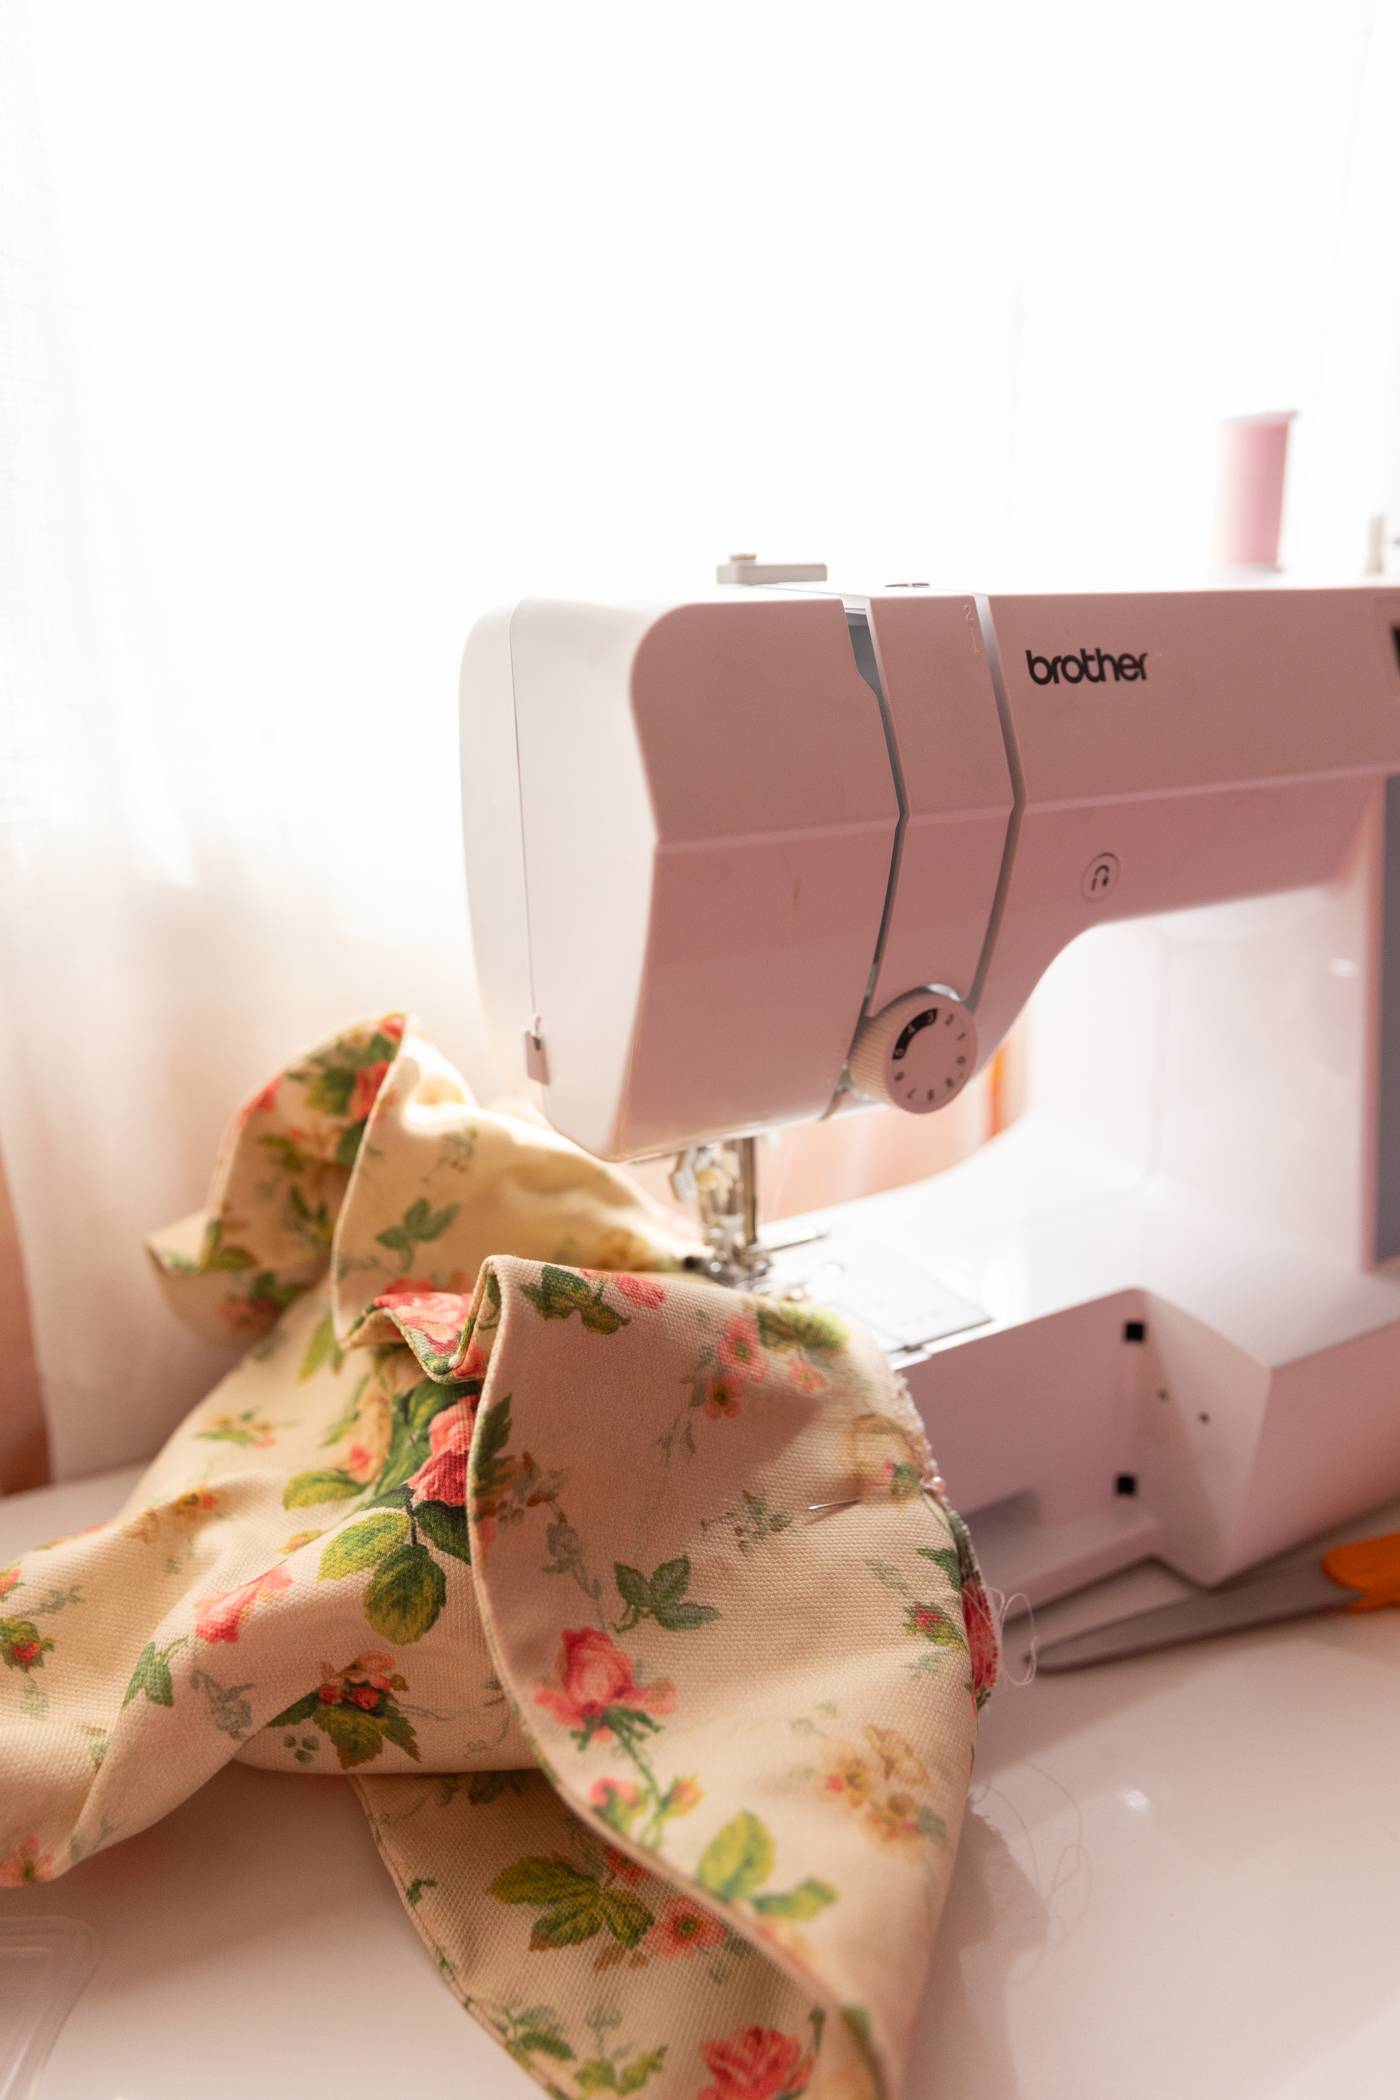
Sew the brim to the cone
Sew the two pieces together.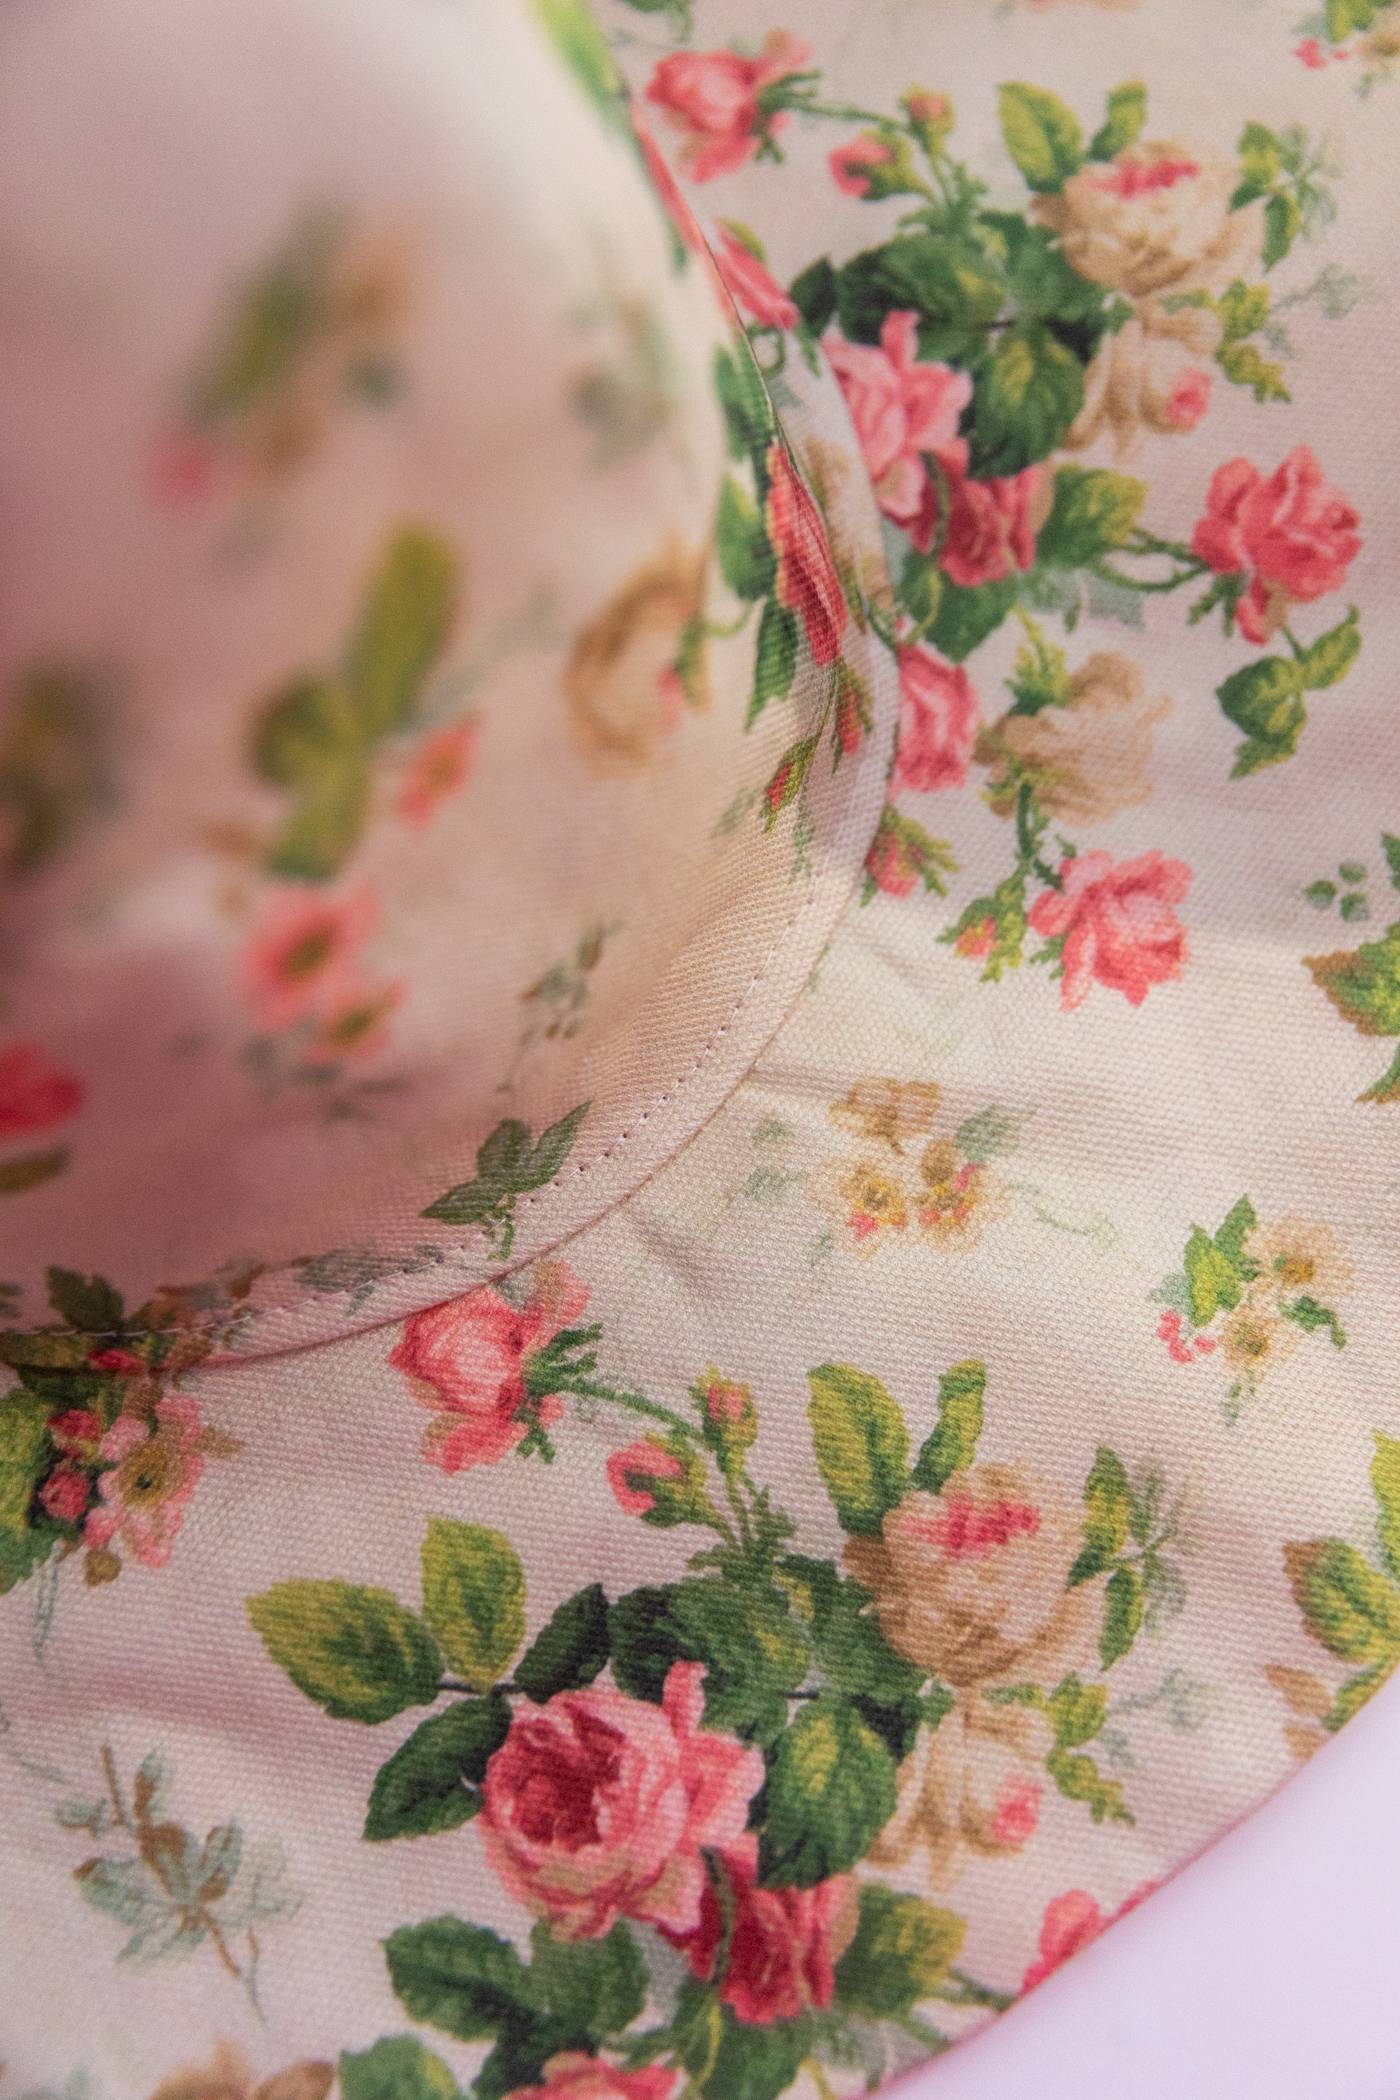
Optional: Pressing the seam and adding a top stitch
I like to press the seam up into the cone and do a top stitch, but that’s optional.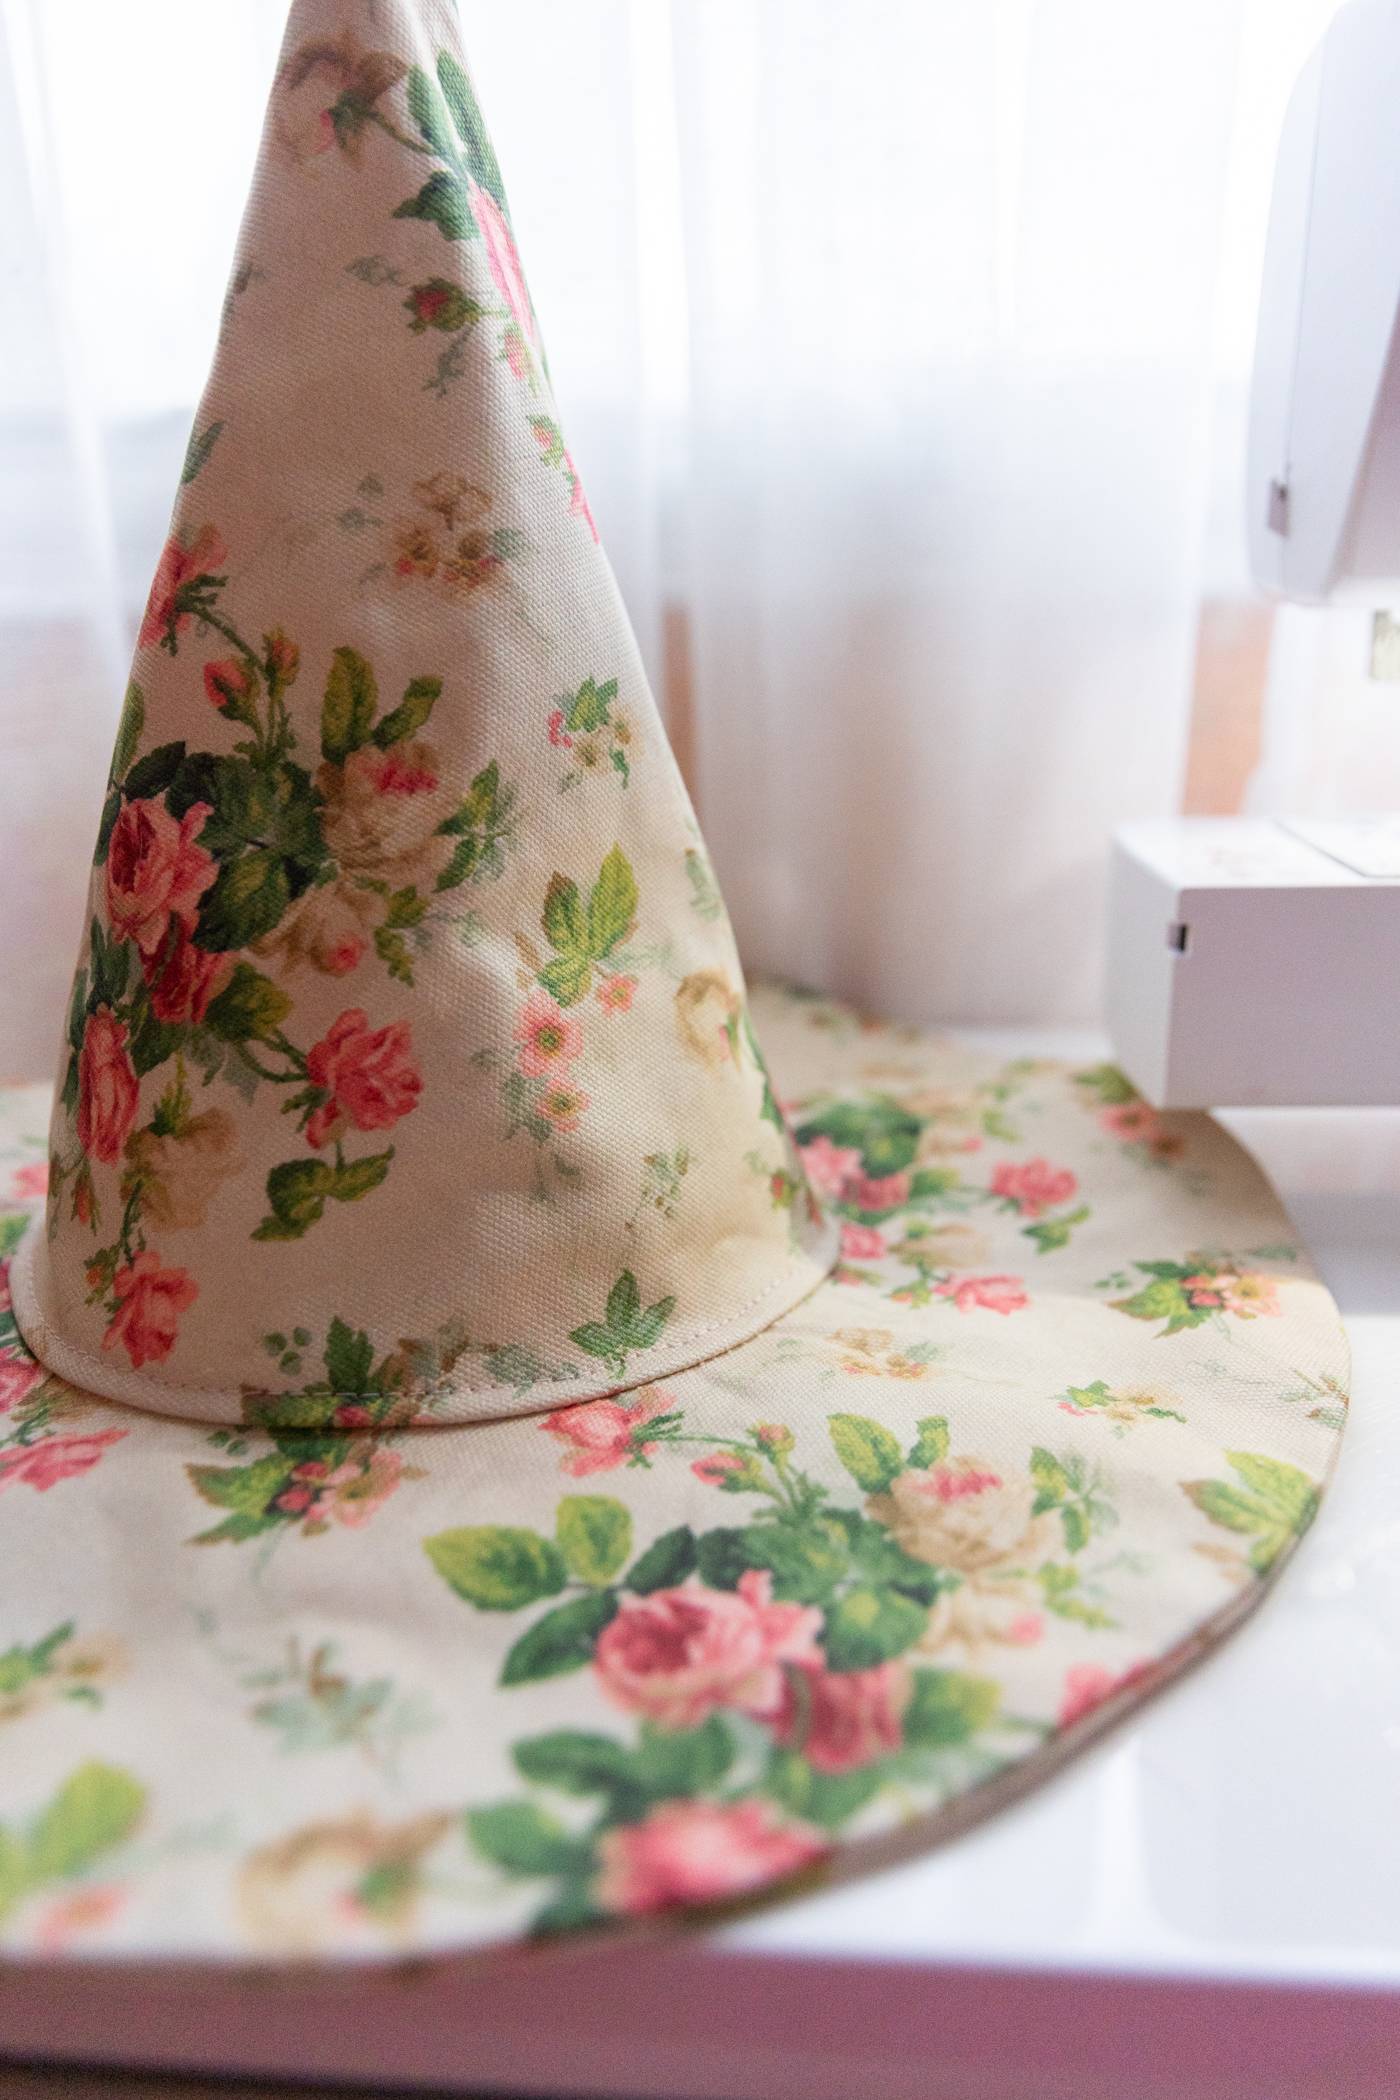

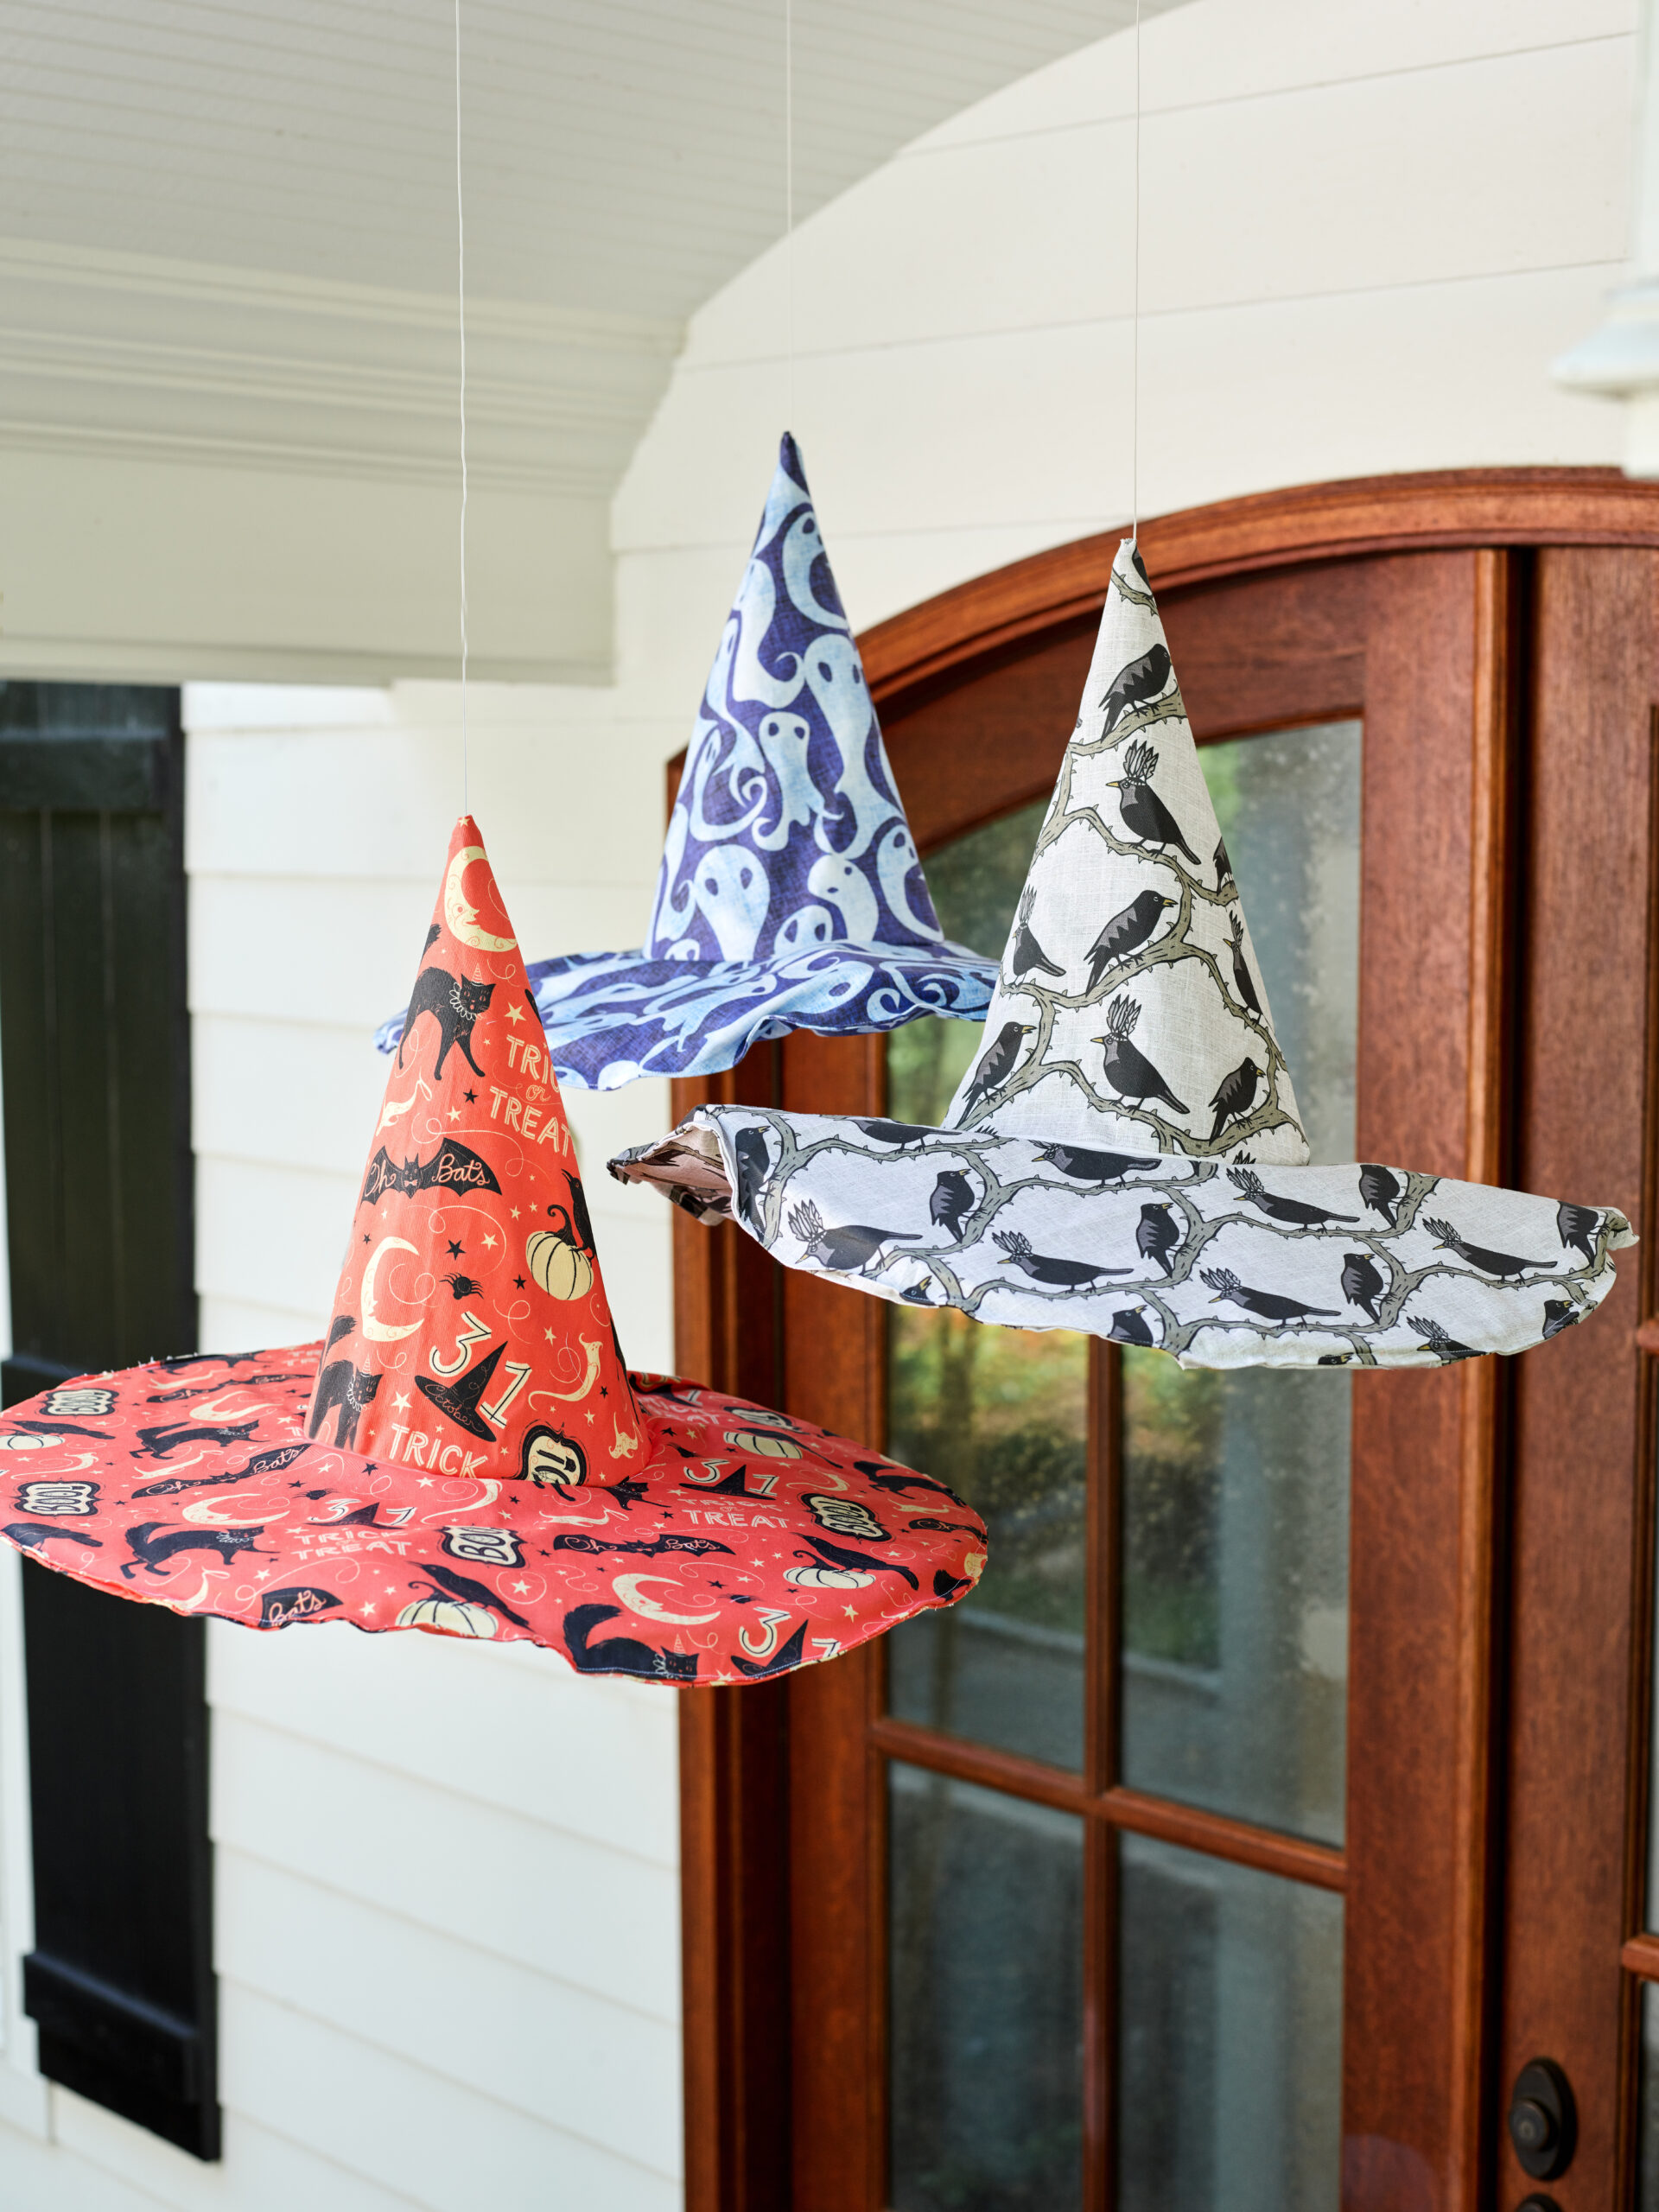
Hanging Witch Hat Tutorial
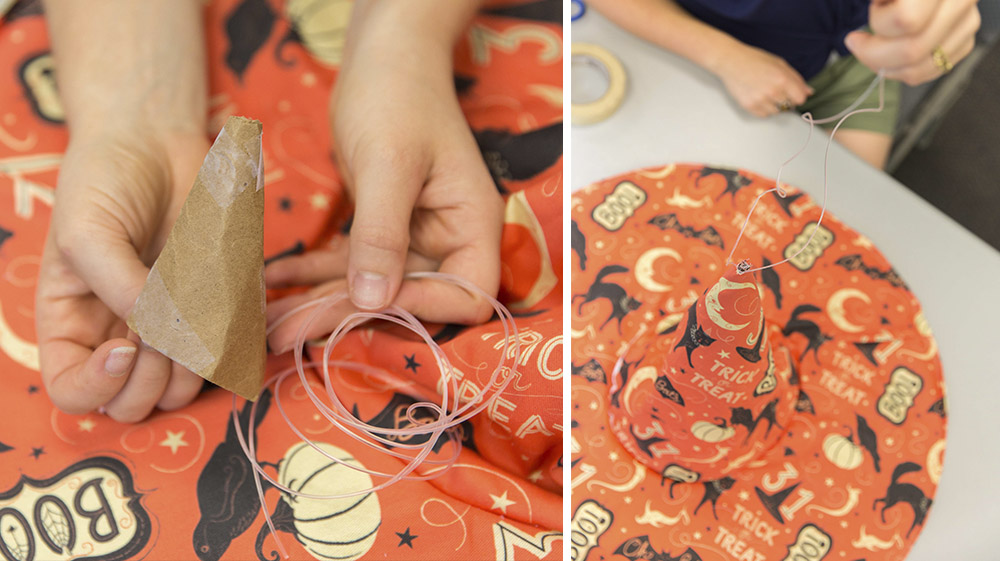
- Cut a small hole – snip the tip of your hat’s cone. Start small. You can always make it bigger.
- Reinforce the tip – on the inside, glue or stitch a small cardboard or chipboard triangle over the hole to prevent fraying.
- Add hanging line – thread fishing line, clear cord or twine through the hole, knotting securely inside. For extra hold, dab the knot with hot glue.
- Hang and enjoy – suspend your hat from a hook, branch or beam for a floating illusion. For outdoor use, spray with a waterproofing treatment.
Find a Spellbinding Design
Frequently Asked Questions
What is the best material for a witch hat?
Cypress Cotton Canvas was used for this tutorial. Heavier fabrics like canvas, denim or felt are great for these types of projects, but interfacing (or a stabilizer) can add weight and shape to any fabric.What designs do you suggest for a witch hat?
Which witch will you be? No matter the theme, we suggest using designs that repeat and are not too big so they don’t get cut off in construction.How would I adjust measurements for a bigger hat?
To adjust the size of the brim, you would adjust the outer circumference.What can I wear with my witch hat?
Go full on cosplay, donning a costume of your favorite witch’s, or modernize it with a matching corset along with a skirt, jeans or pants. You can also keep it simple yet sophisticated with a black dress, or make a statement like Keiko with a matching outfit.What do I need to make a witch hat?
Check out our materials list at the top of this post.How do I hang witch hats?
Check out the “Hanging Witch Hat Tutorial” step above to learn how to hang your witch hat.Made to order using unique designs from artists worldwide.

The World’s Largest Design Library for Wallpaper and Textiles
Discover a world of design—from minimalist to maximalist. Thousands of global artists, with new styles added constantly.

Custom Designs on Any Item
Our made-to-order model lets you print any design on any material. Coordinate patterns across rooms for a cohesive, personalized home.

Premium Materials, Always in Stock
Trusted by pros and enthusiasts, our responsibly sourced textiles and papers offer the perfect finish—from smooth to textured, delicate to durable.

Printed on Demand in the USA
Our print-on-demand model lets you choose your design, material, and quantity—minimizing waste with non-toxic inks and reduced packaging.