How to Make Your Own Bowl Covers - Spoonflower Blog
You finished your delicious dish for the dinner party and now all you need to do is get it to the venue. Food sitting out or traveling in the car without a cover? No thank you! You can buy lovely – yet pricey – cotton bowl, but why not make your own to match your style? After a bit of searching and some trial-and-error, we settled on two easy techniques to make our own using Lightweight Cotton Twill. Whether you choose the no-sew option or get out your sewing machine, these covers are perfect for resting your dough for baked goods, covering pasta or salad for a picnic, or even protecting your stand mixer bowl from dust. Read on for the full tutorial for two ways how to make your own bowl covers!


Supplies List
- 1 fat quarter of Lightweight Cotton Twill (yield: one bowl cover)
- Hole punch
- Compass (optional)
- Washable pencil or marker
- Pinking shears or rotary cutter
- 1/4″ (0.61 cm) wide elastic (5″-6″ (12.7-15.24 cm) longer than bowl diameter)
- Measuring tape
- Bowl(s) of your choice
- Sewing option: Cotton thread in any color—keep in mind it will show on the outside
- Sewing option: Small safety pin

Steps to Make a Bowl Cover
Step 1. Prepare Your Fabric
Prewash your fabric with cold water, low-heat dry, and iron it.Step 2. Measure Your Fabric


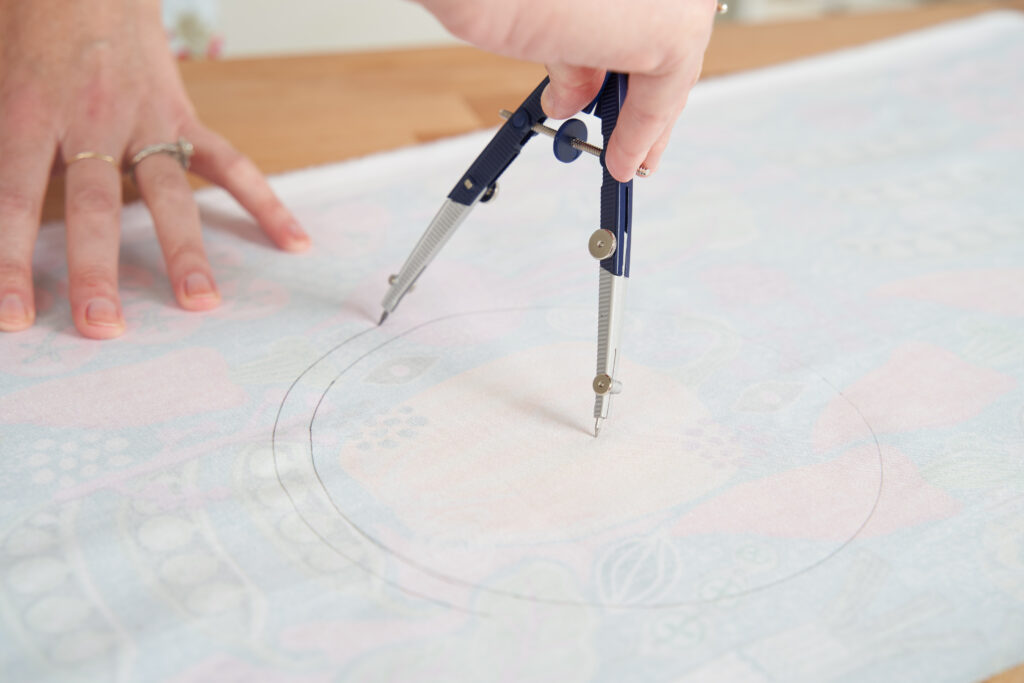
- If you use the no-sew method and the bowl does not have a lip, set your compass to 3.5″ (8.89 cm) so you have a 7″ (17.78 cm) circle.
- If you use the no-sew method your bowl does have a lip, set your compass to 4″ (10.6 cm), so you have a 8″ (20.32 cm) circle.
- If using the sewing method and the bowl does not have a lip, set your compass to 4.25″ (10.76 cm) for an 8.5″ (21.59 cm) circle.
- If using the sewing method and the bowl does have lip, set your compass to 4.75″ you would need a 9.5″ (22.86 cm) circle

Step 3: Cut Your Fabric
With your pinking shears, cut around the second, larger circle.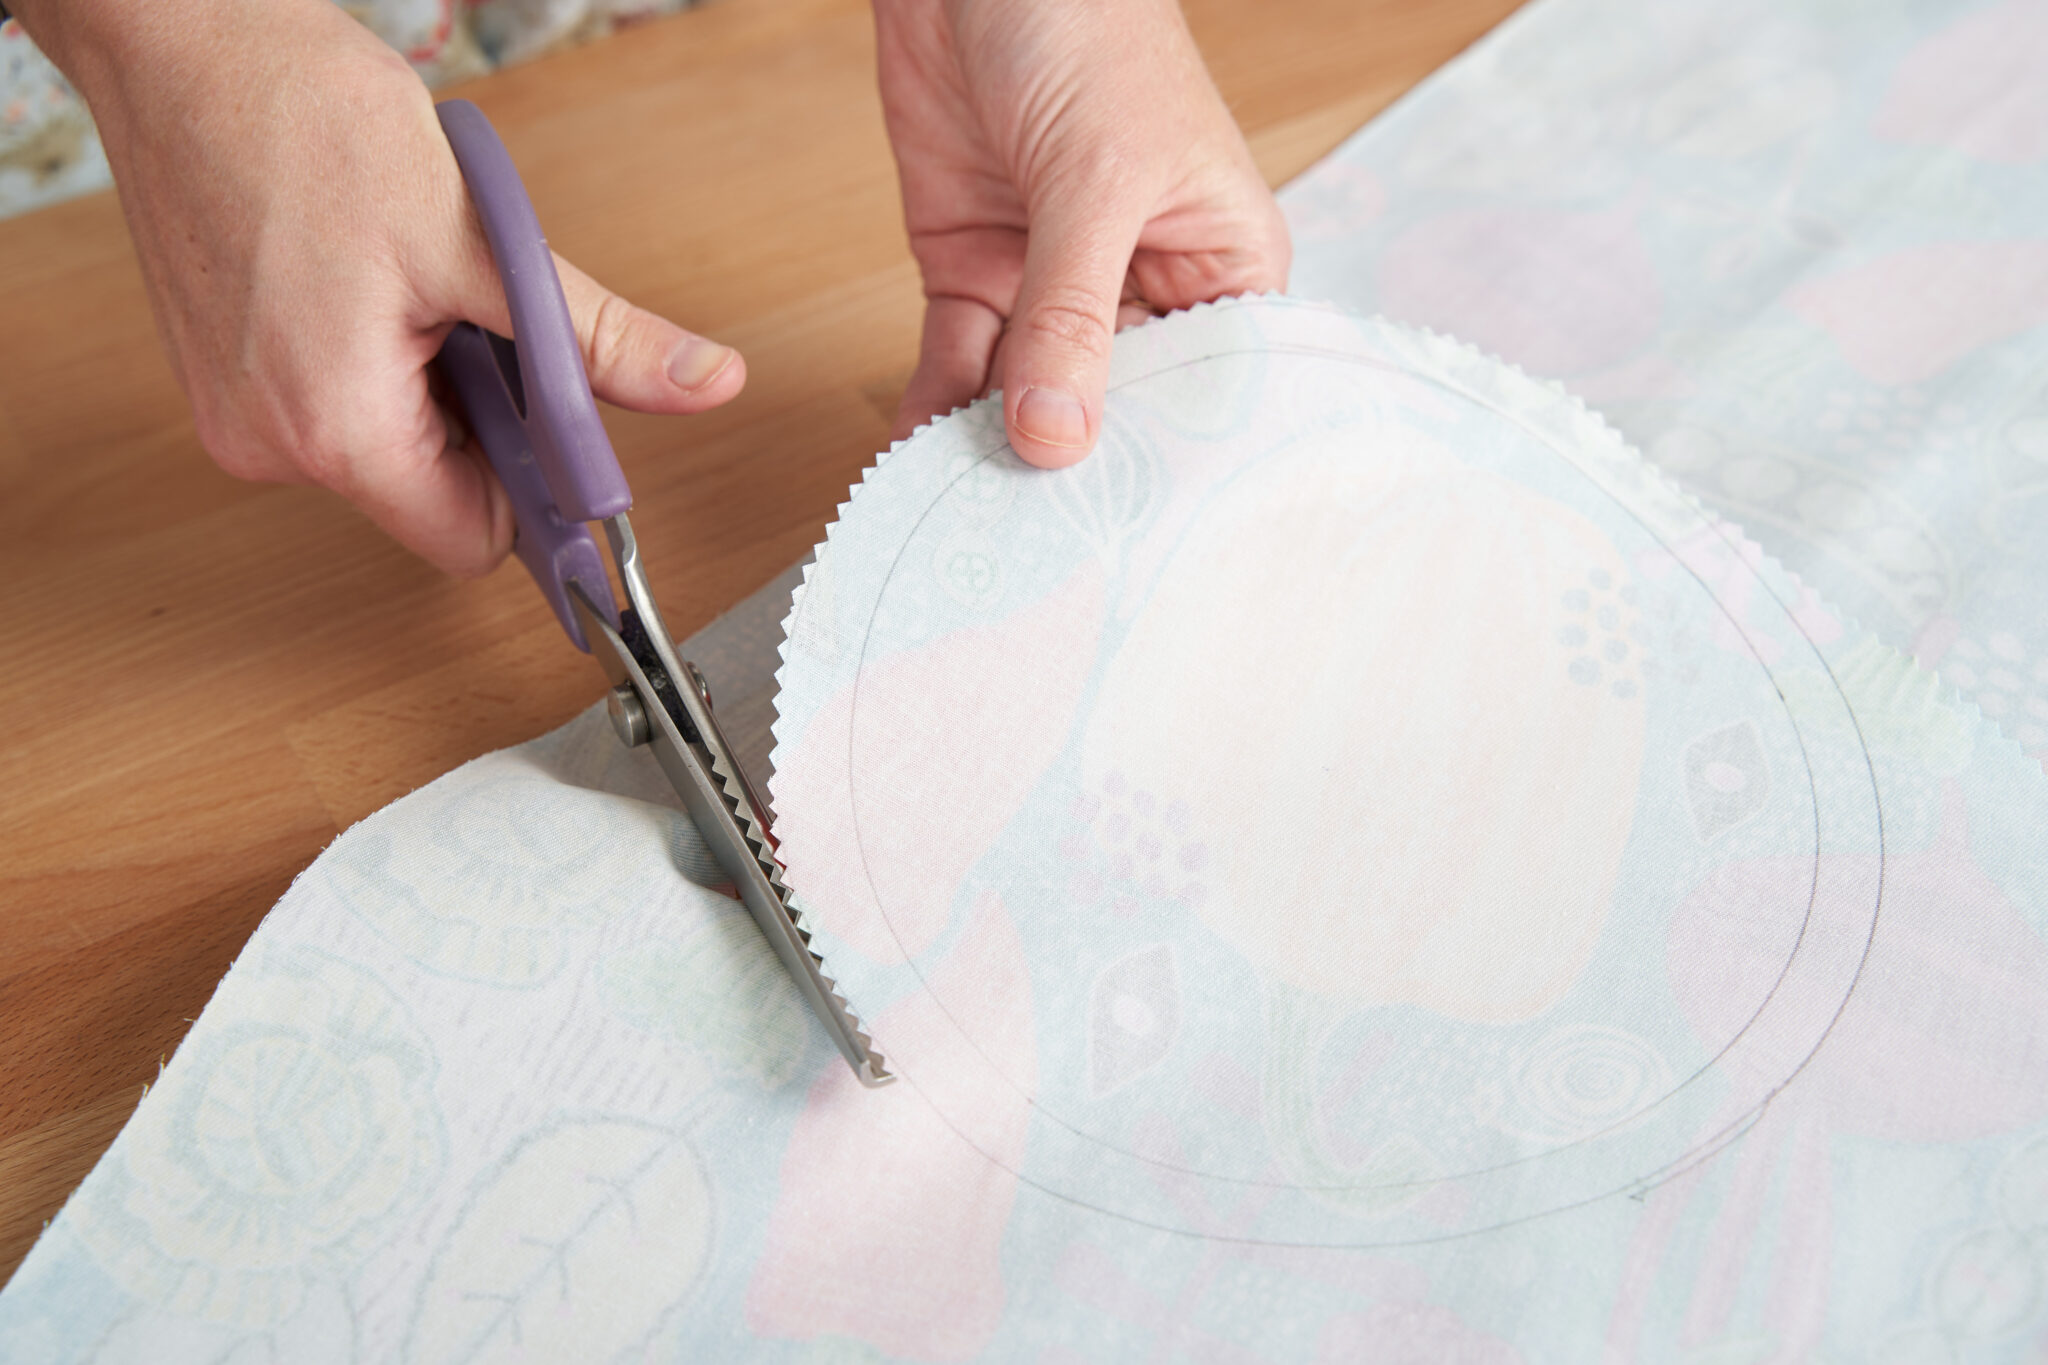
Step 4: Prepare for Adding Elastic
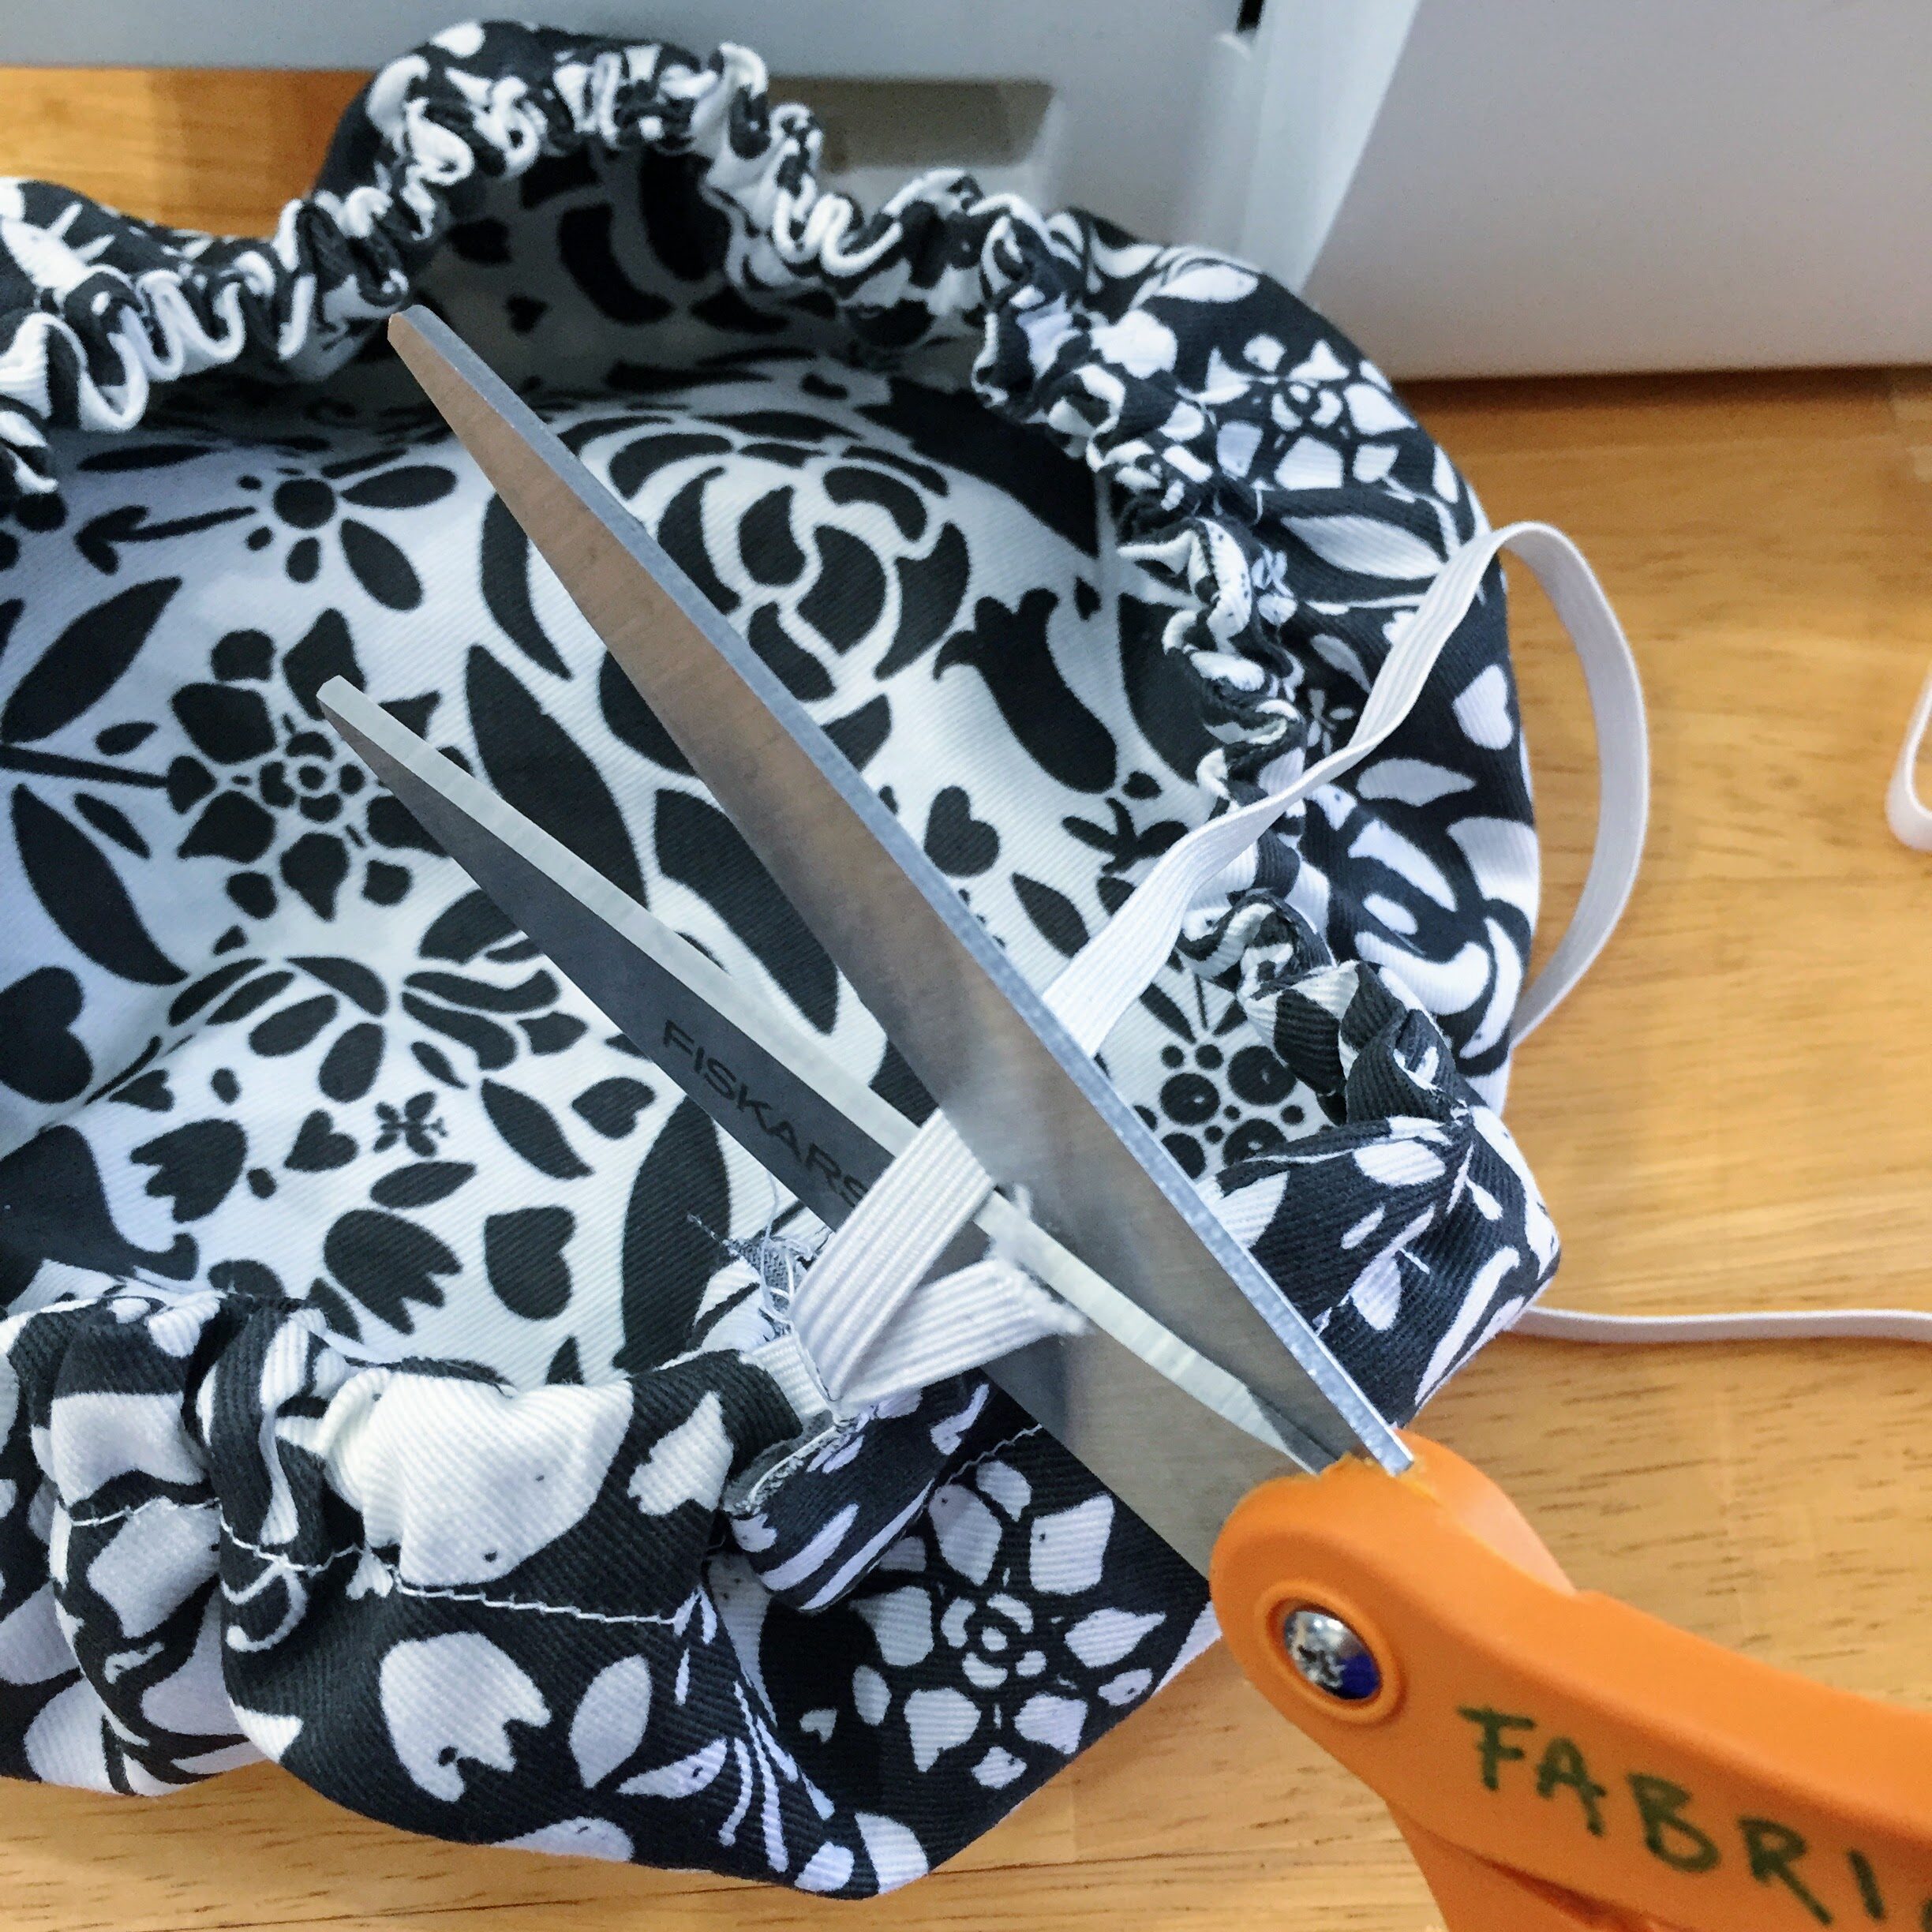
No-Sew Version: Using the hole punch, punch holes around the smaller circle you drew in step 2, spaced about 0.75″ (1.91 cm) to 1″ (2.54 cm) apart.

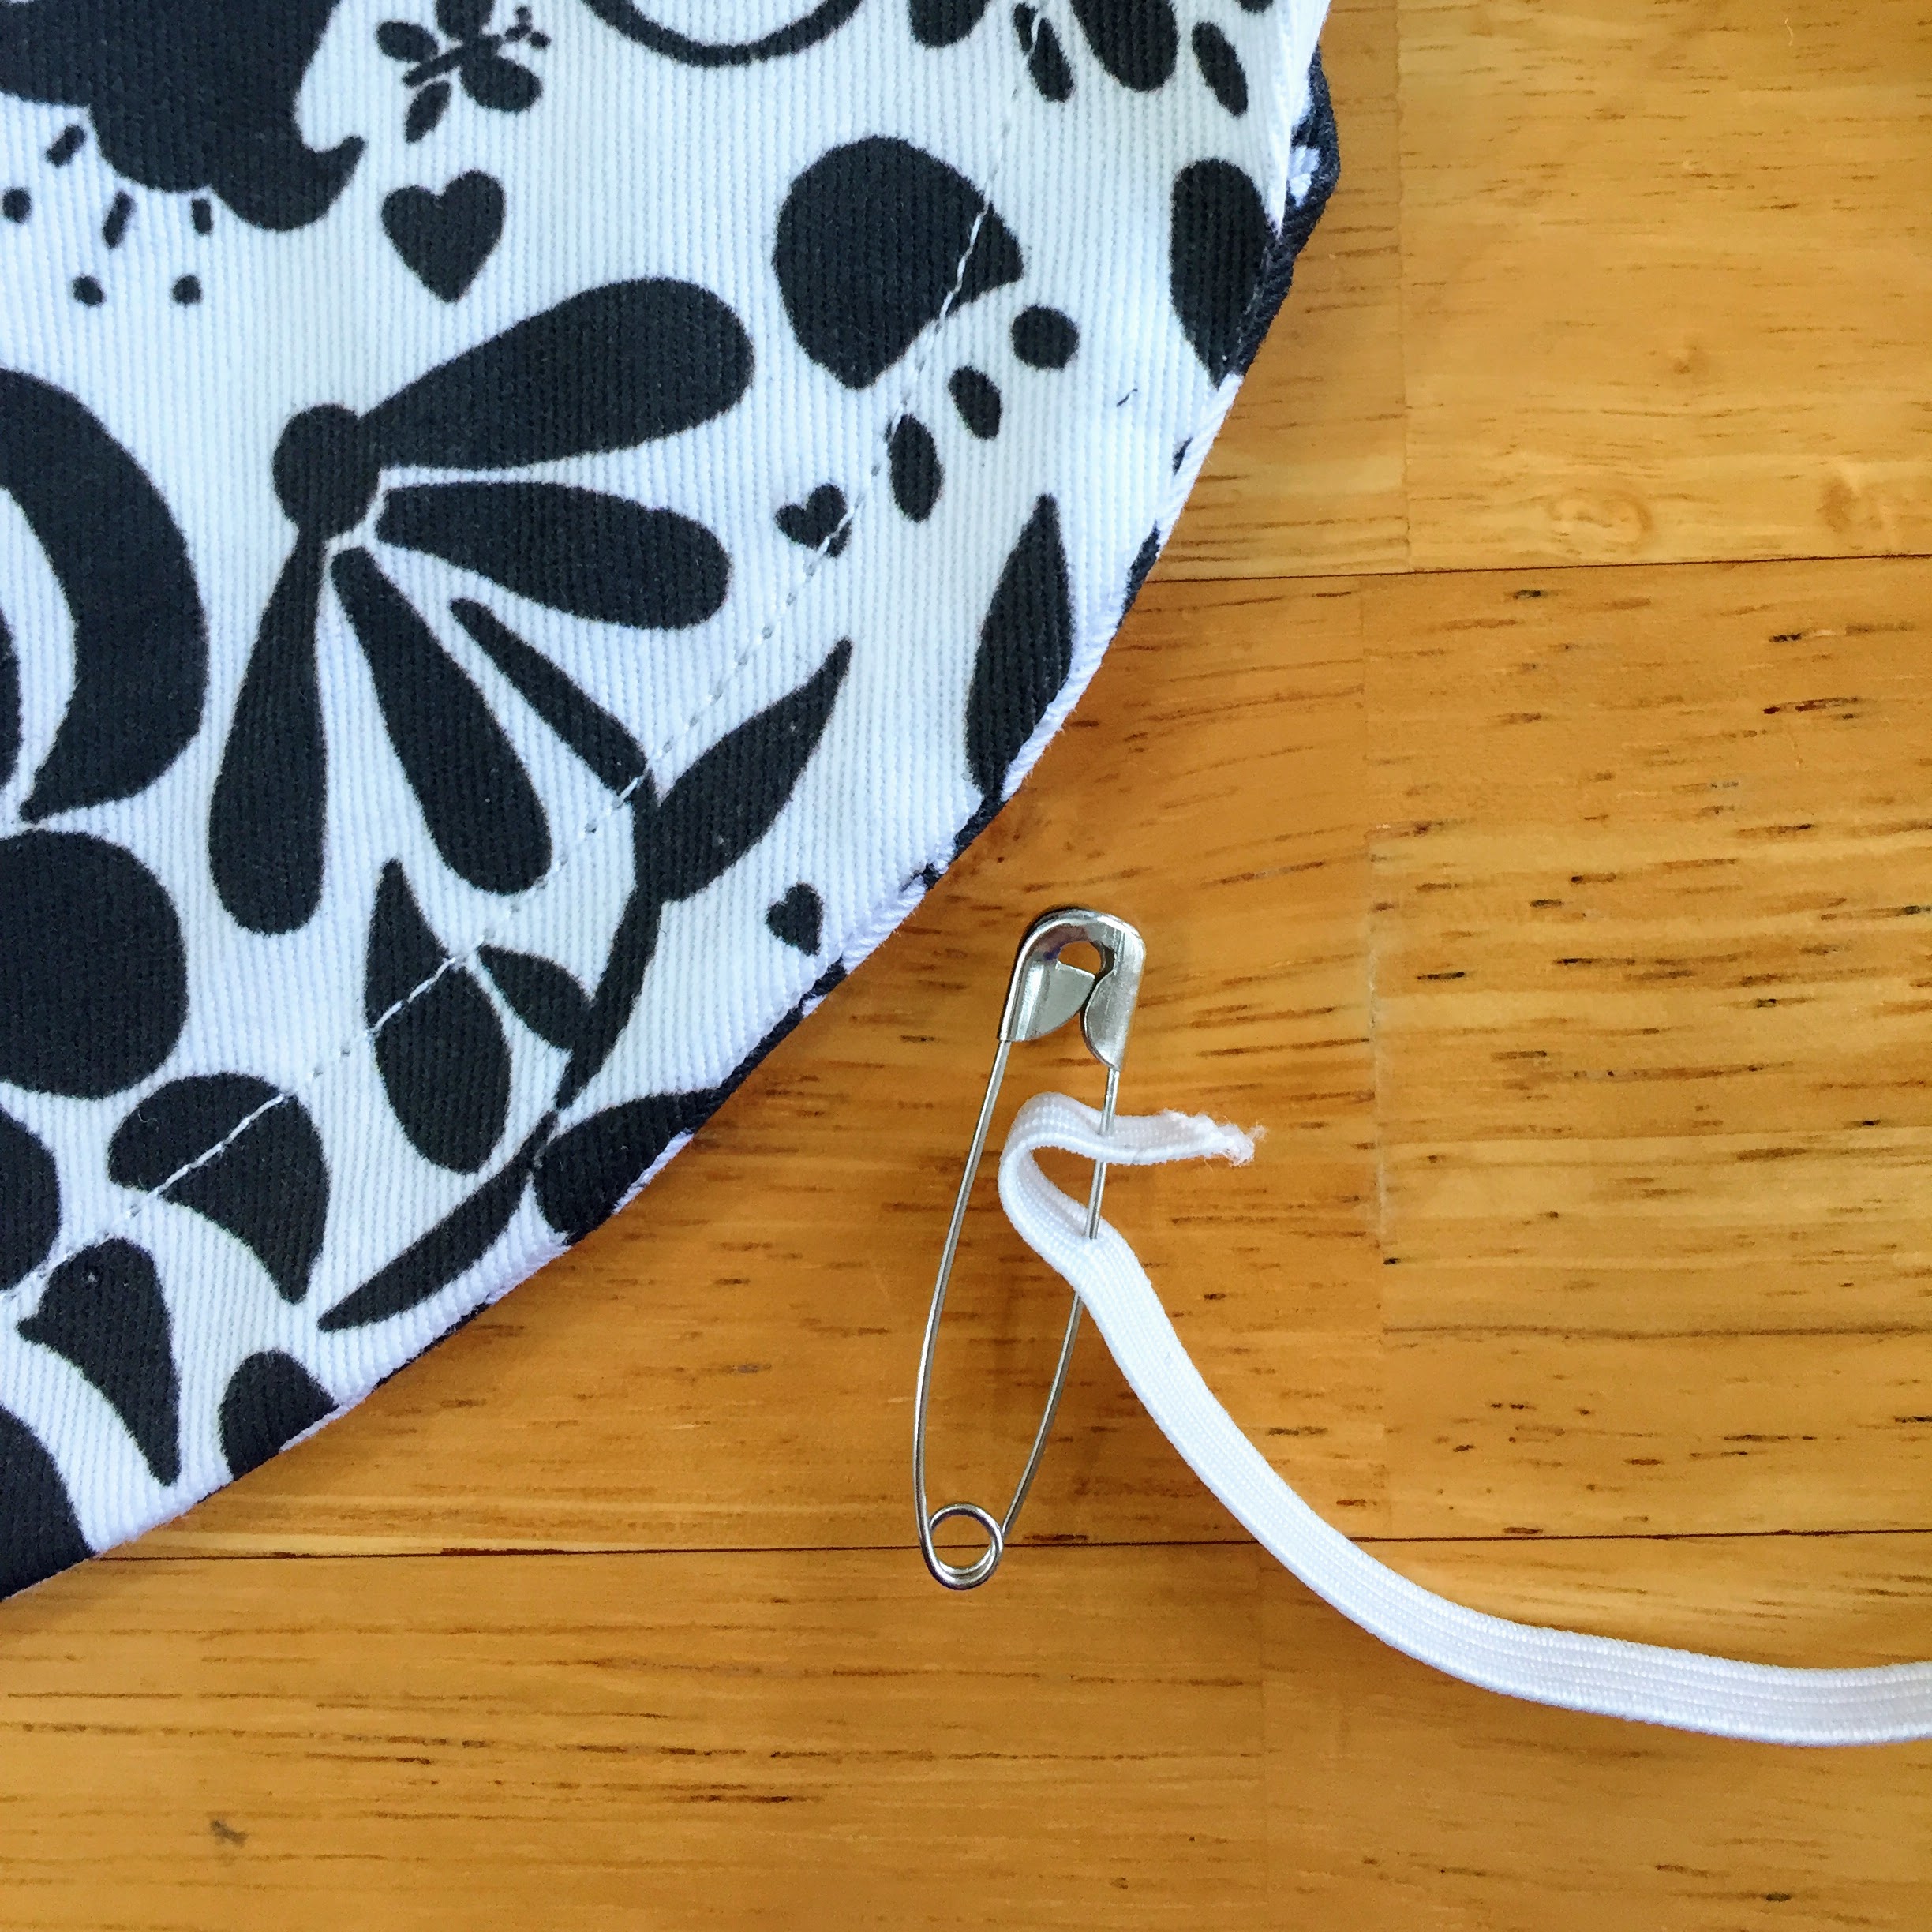
Step 5: Add In Elastic
No-Sew Version: Lay out your elastic and cut it roughly 5″-6″ (12.7-15.24 cm) longer than the diameter of your bowl. Example: For the 6″ (15.24 cm) diameter bowl, cut 12″ (30.49 cm) in length of elastic.

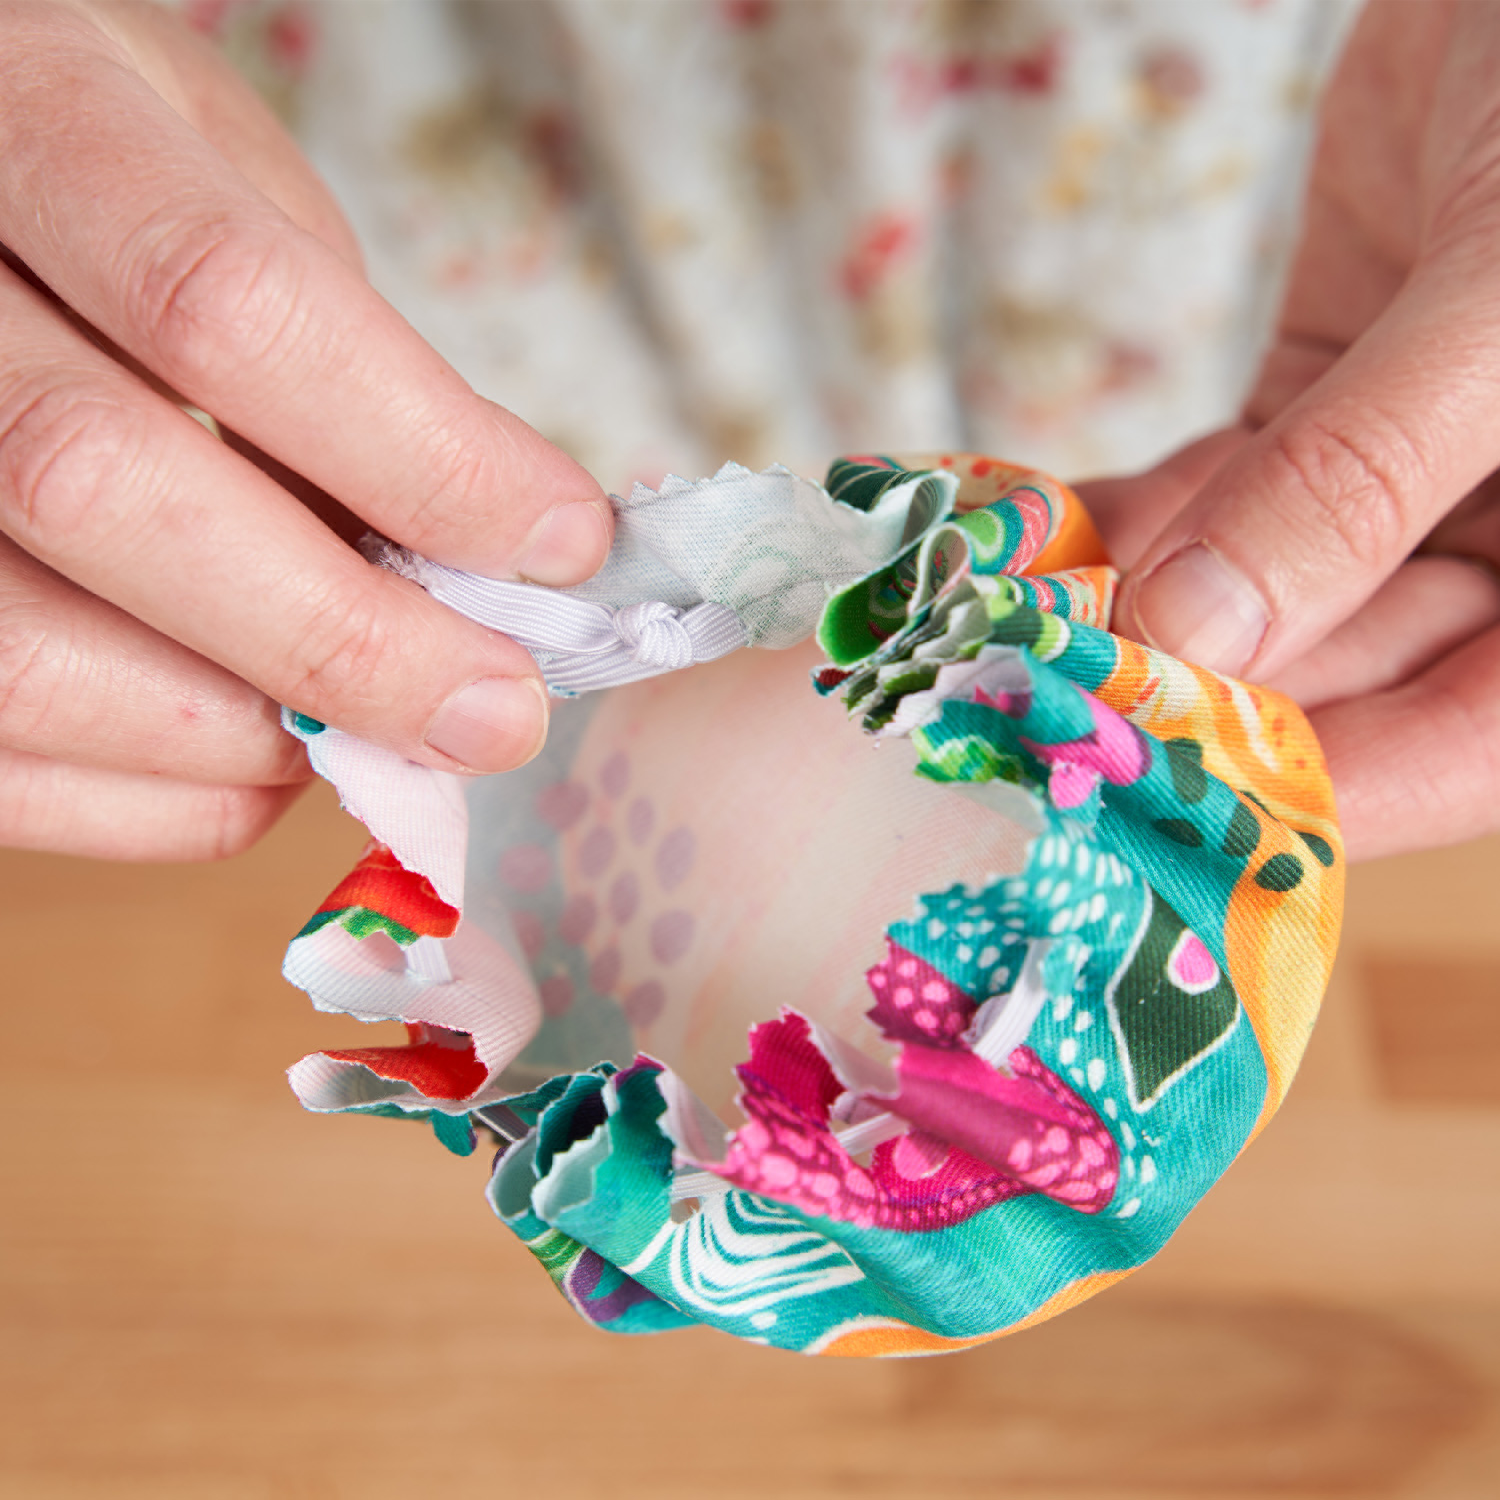
Step 6: Admire Your Work!
Fit the cover on top of your bowl and straighten out the elastic.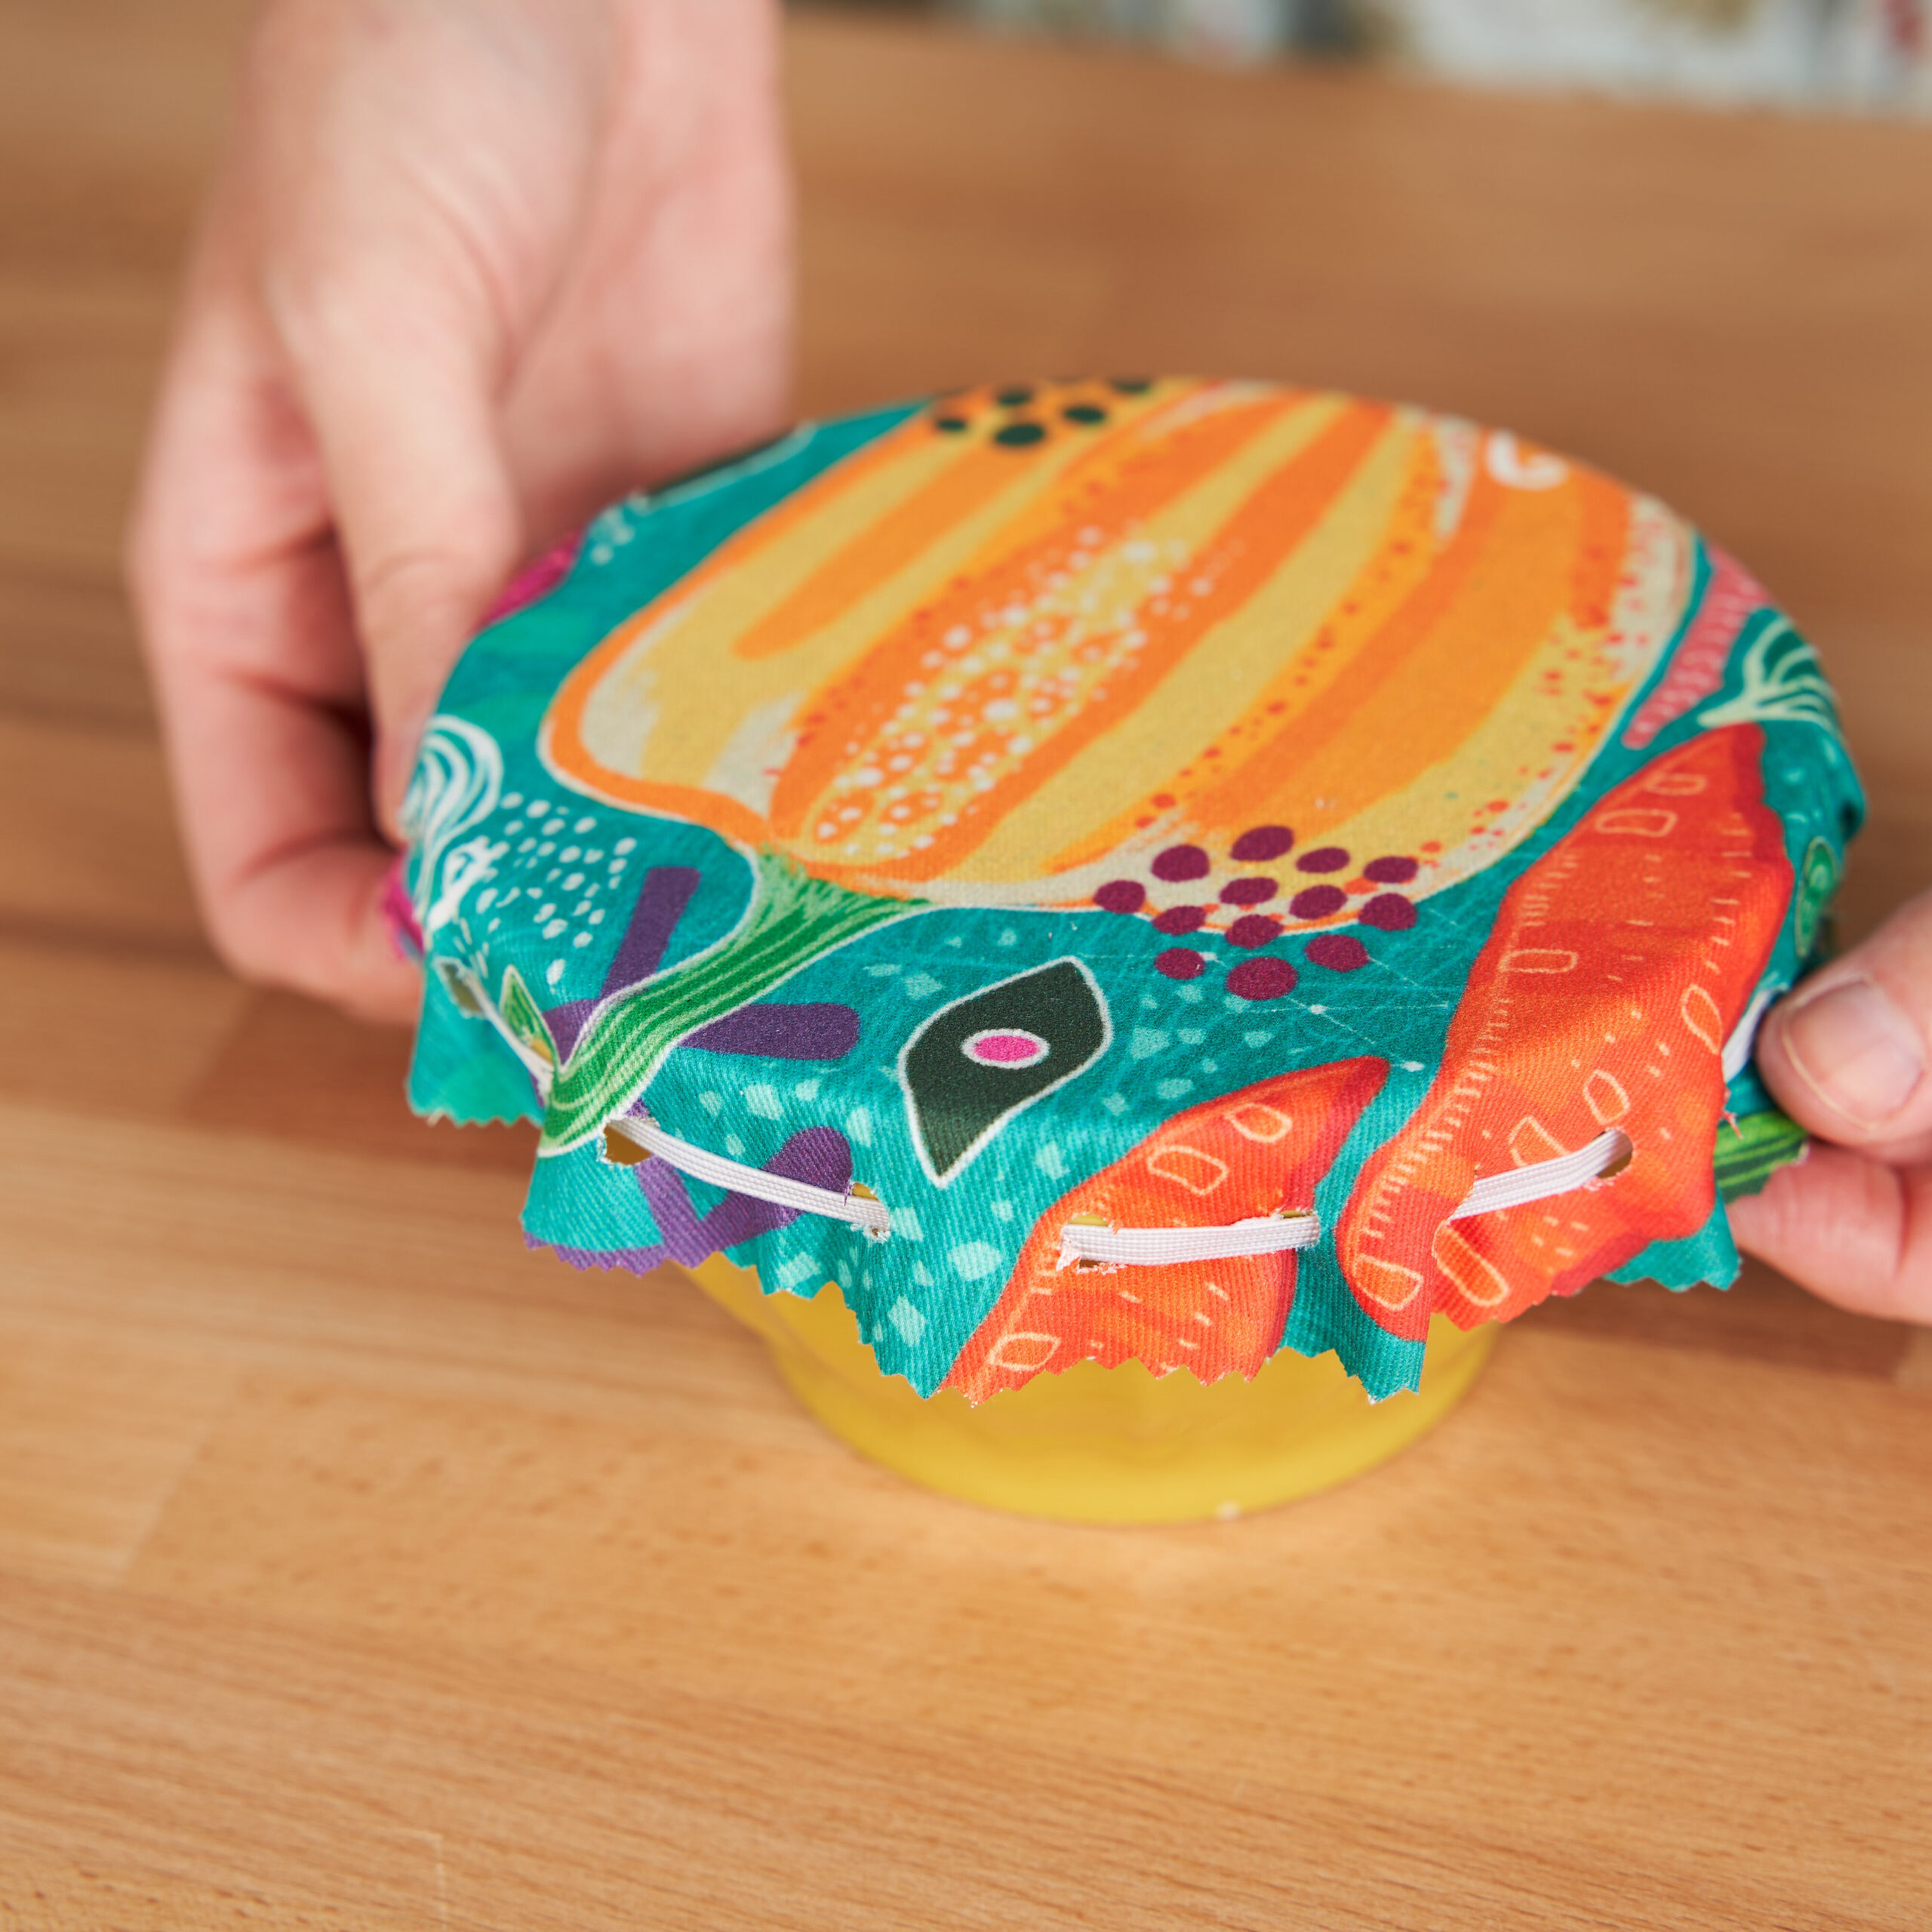

Made to order using unique designs from artists worldwide.

The World’s Largest Design Library for Wallpaper and Textiles
Discover a world of design—from minimalist to maximalist. Thousands of global artists, with new styles added constantly.

Custom Designs on Any Item
Our made-to-order model lets you print any design on any material. Coordinate patterns across rooms for a cohesive, personalized home.

Premium Materials, Always in Stock
Trusted by pros and enthusiasts, our responsibly sourced textiles and papers offer the perfect finish—from smooth to textured, delicate to durable.

Printed on Demand in the USA
Our print-on-demand model lets you choose your design, material, and quantity—minimizing waste with non-toxic inks and reduced packaging.