How to Make a DIY Fabric Luggage Tag
Customize your suitcase with your favorite Spoonflower design and this DIY fabric luggage tag to complement your own personal style. You will always know your bag AND a luggage tag makes it easy to find it’s way back to you if lost. Fabric luggage tags are quick to sew and only require a fat quarter of fabric – making them the perfect project or gift for anyone with the travel bug. Watch the video below and follow along with our step-by-step tutorial.

DIY Luggage Tag Materials
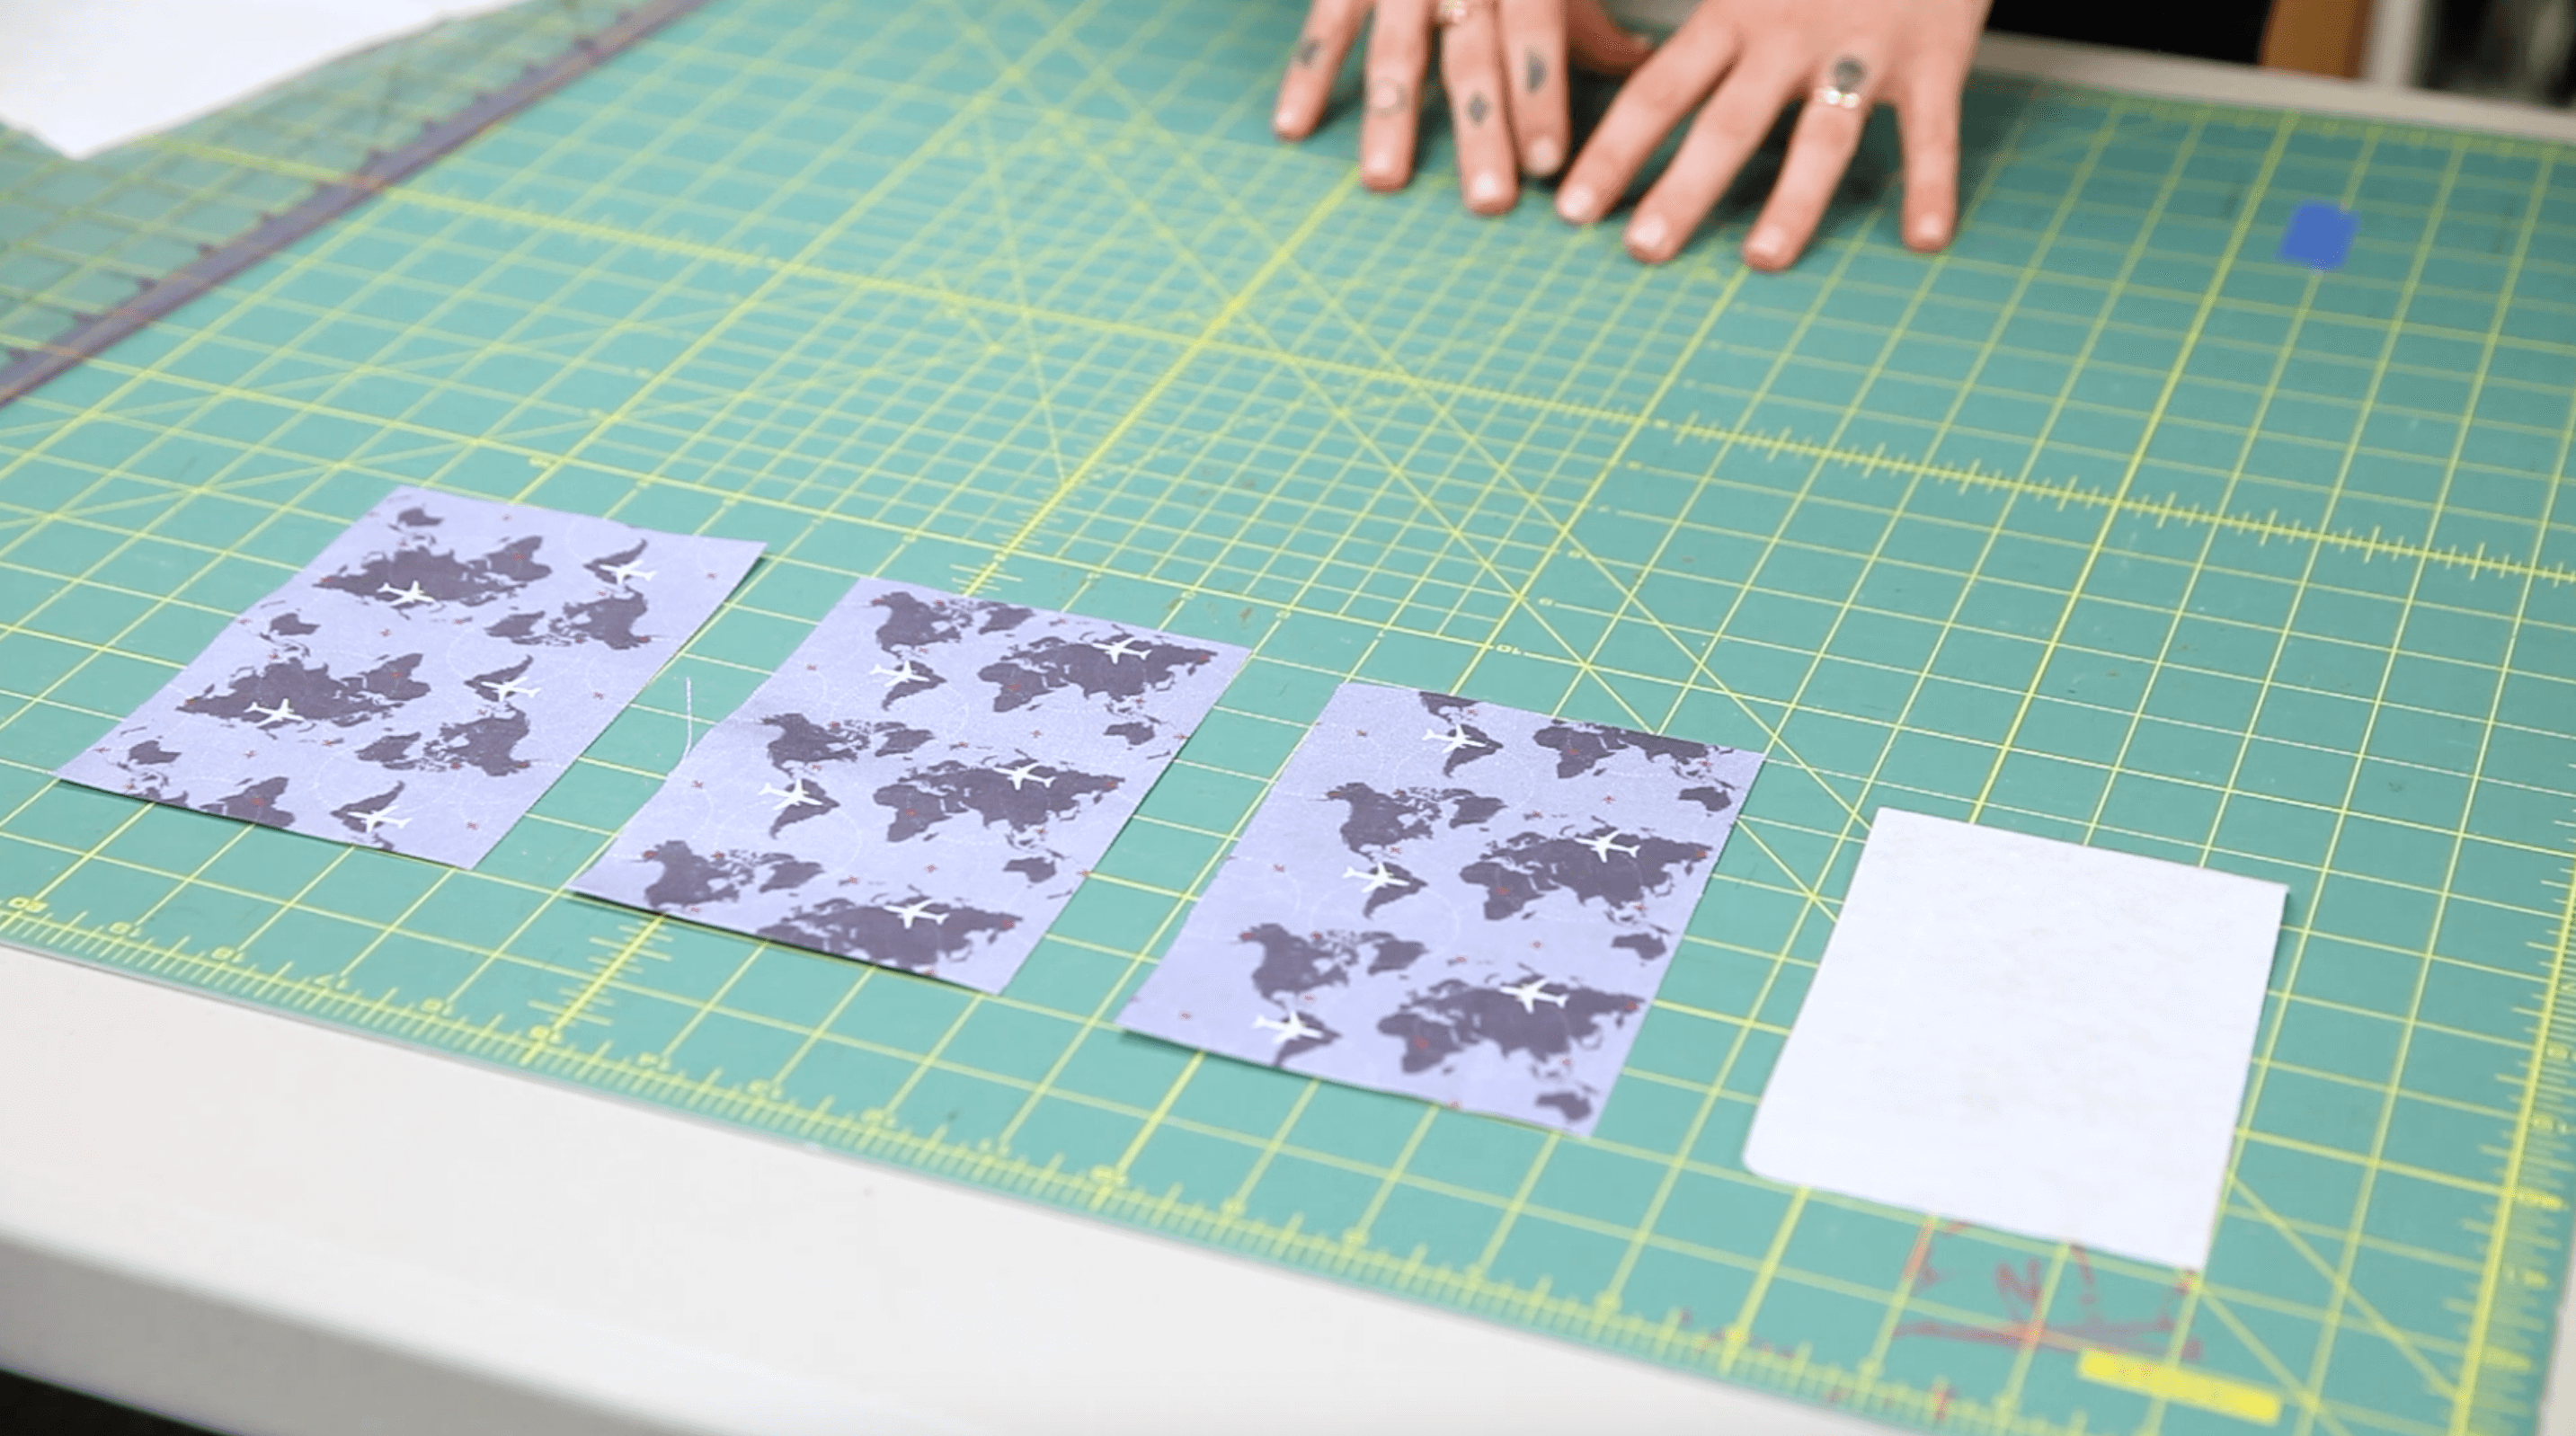
- (3) 4 x 6” rectangles of your chosen fabric (we’re using Lightweight Cotton Twill)
- (1) 3 1/2 x 5 1/2″ rectangle of fusible interfacing
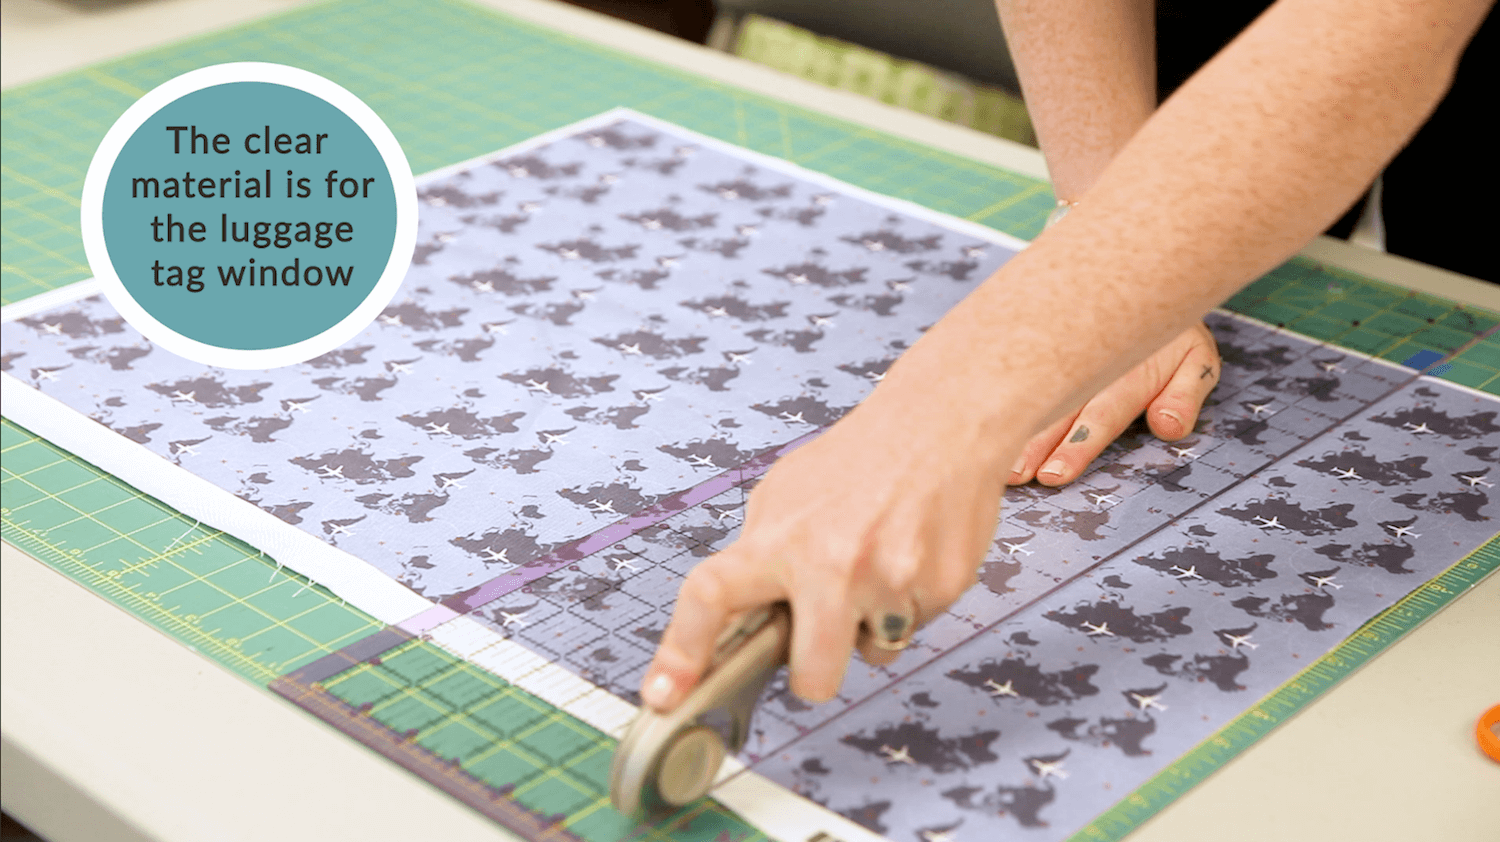
- (1) 3 x 5″ rectangle of clear material or vinyl (optional)
- Thread
- Pencil
- Fabric scissors
- Regular scissor (if using vinyl)
- Sewing machine
- Grommet and grommet pinch
Steps to Make a Fabric Luggage Tag
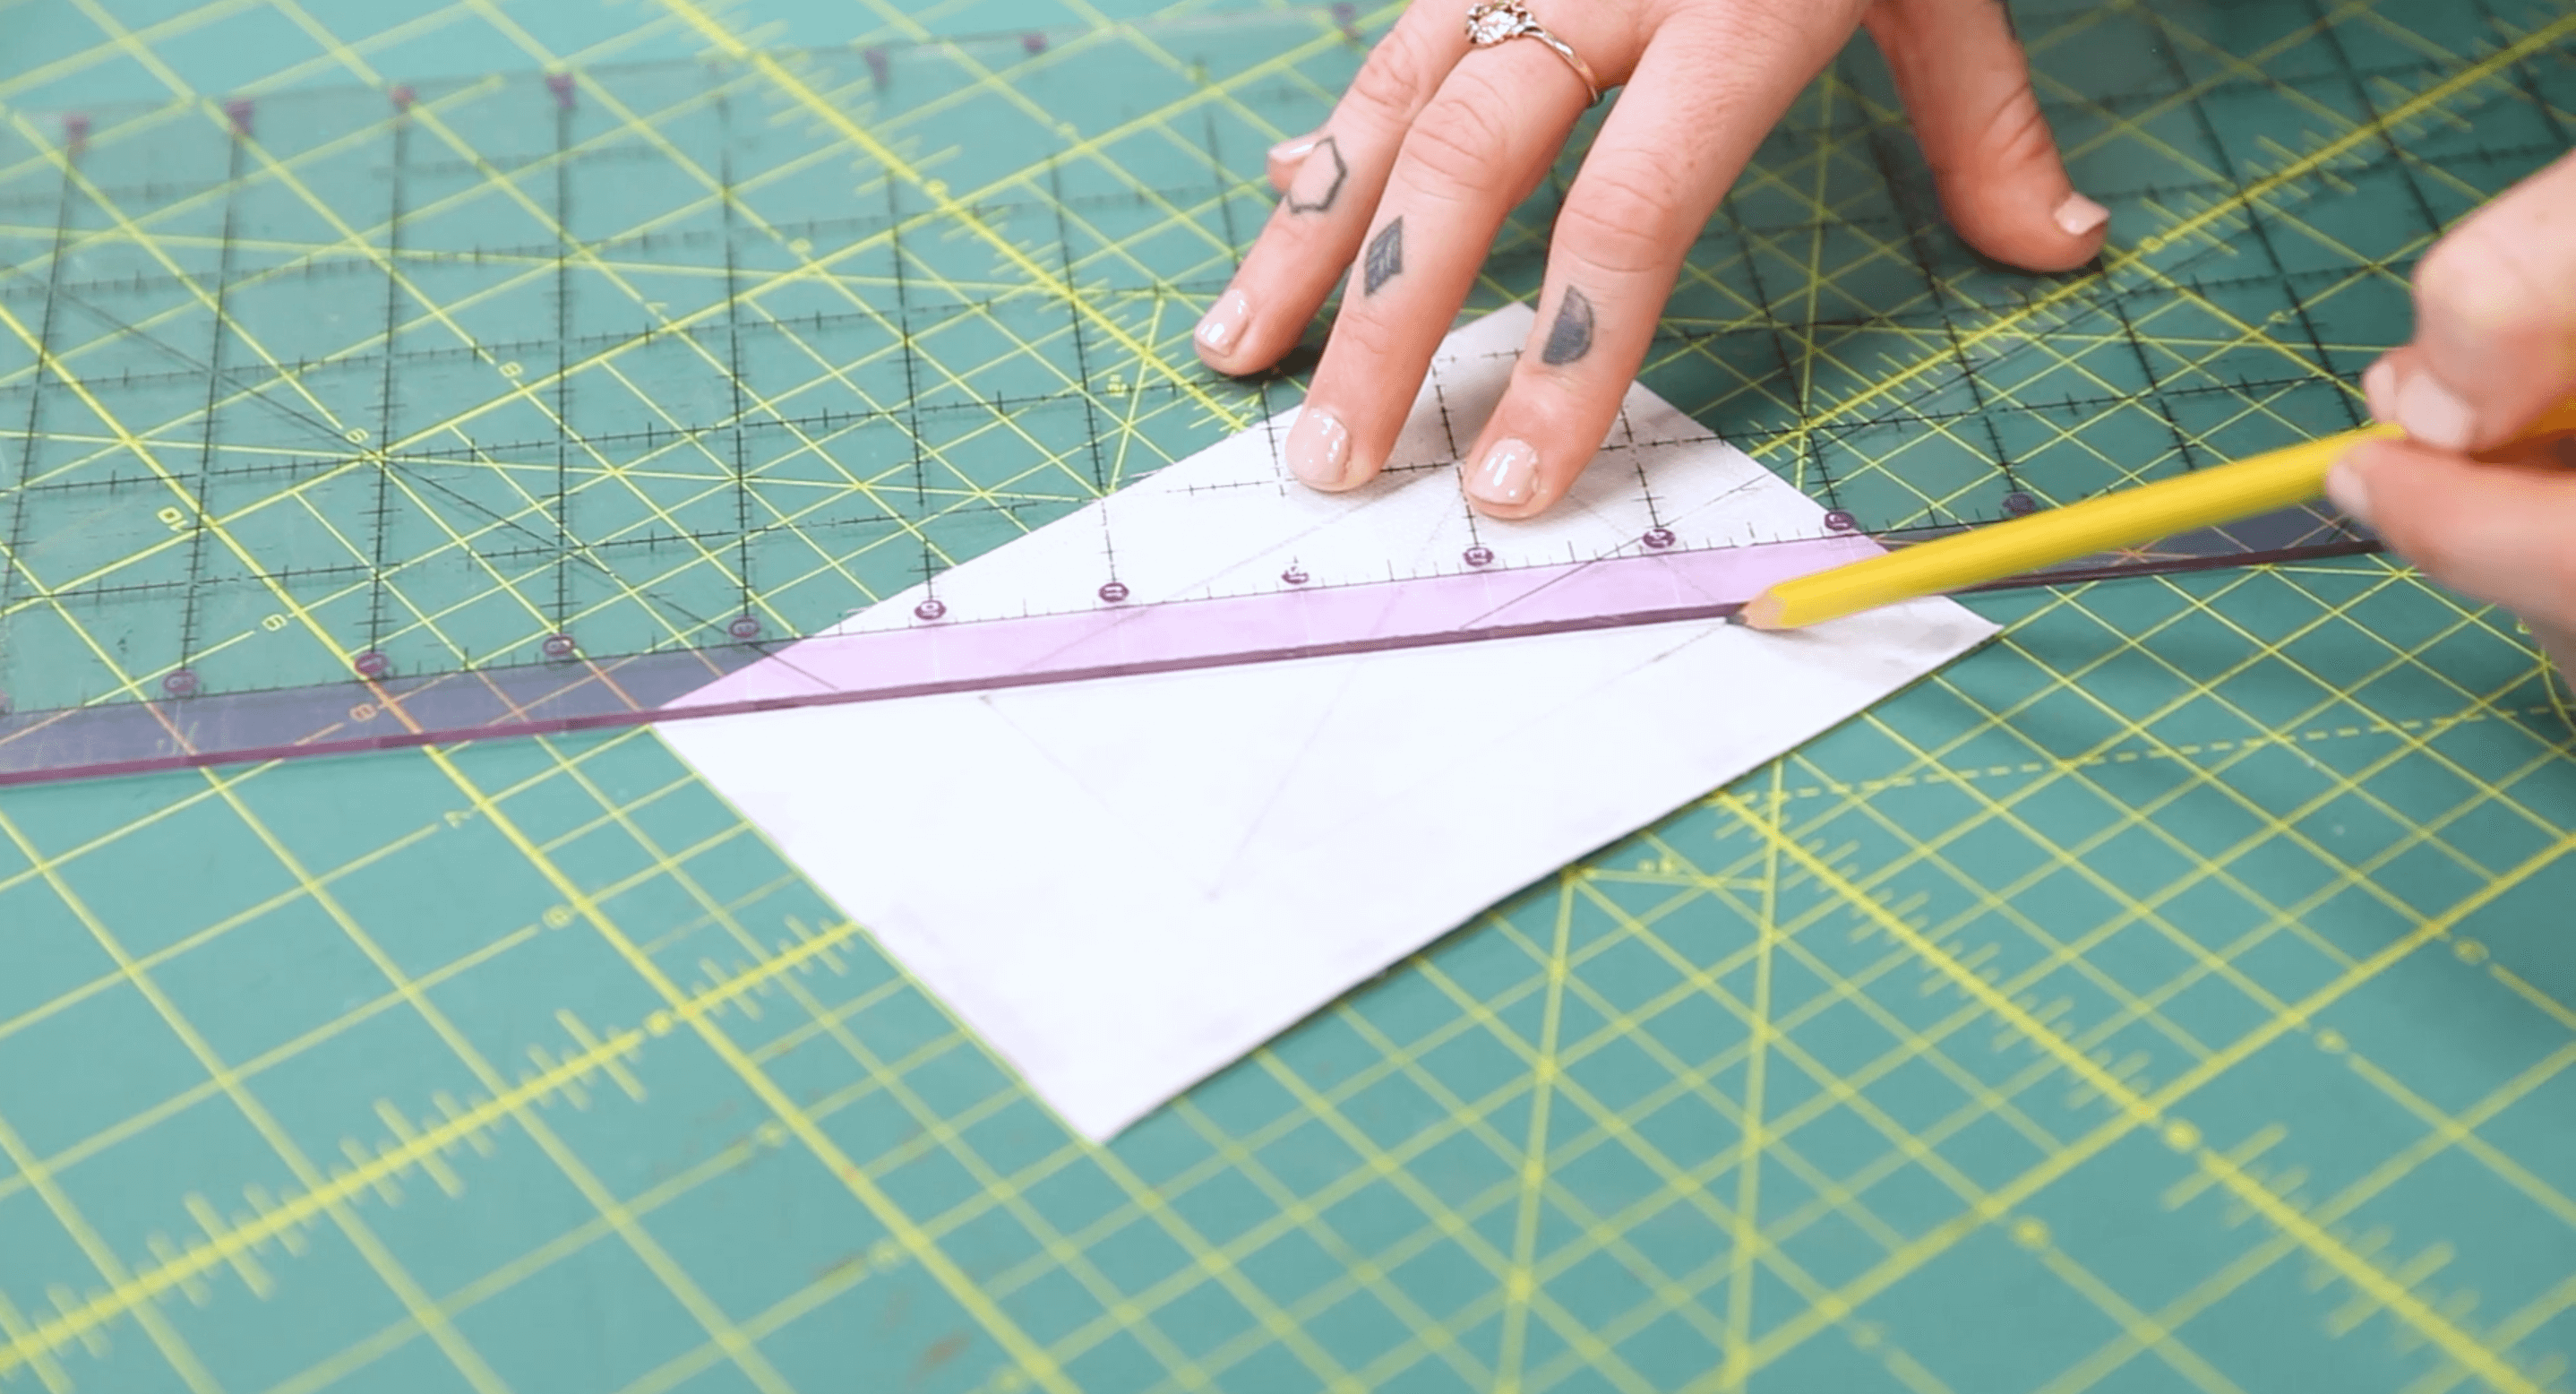
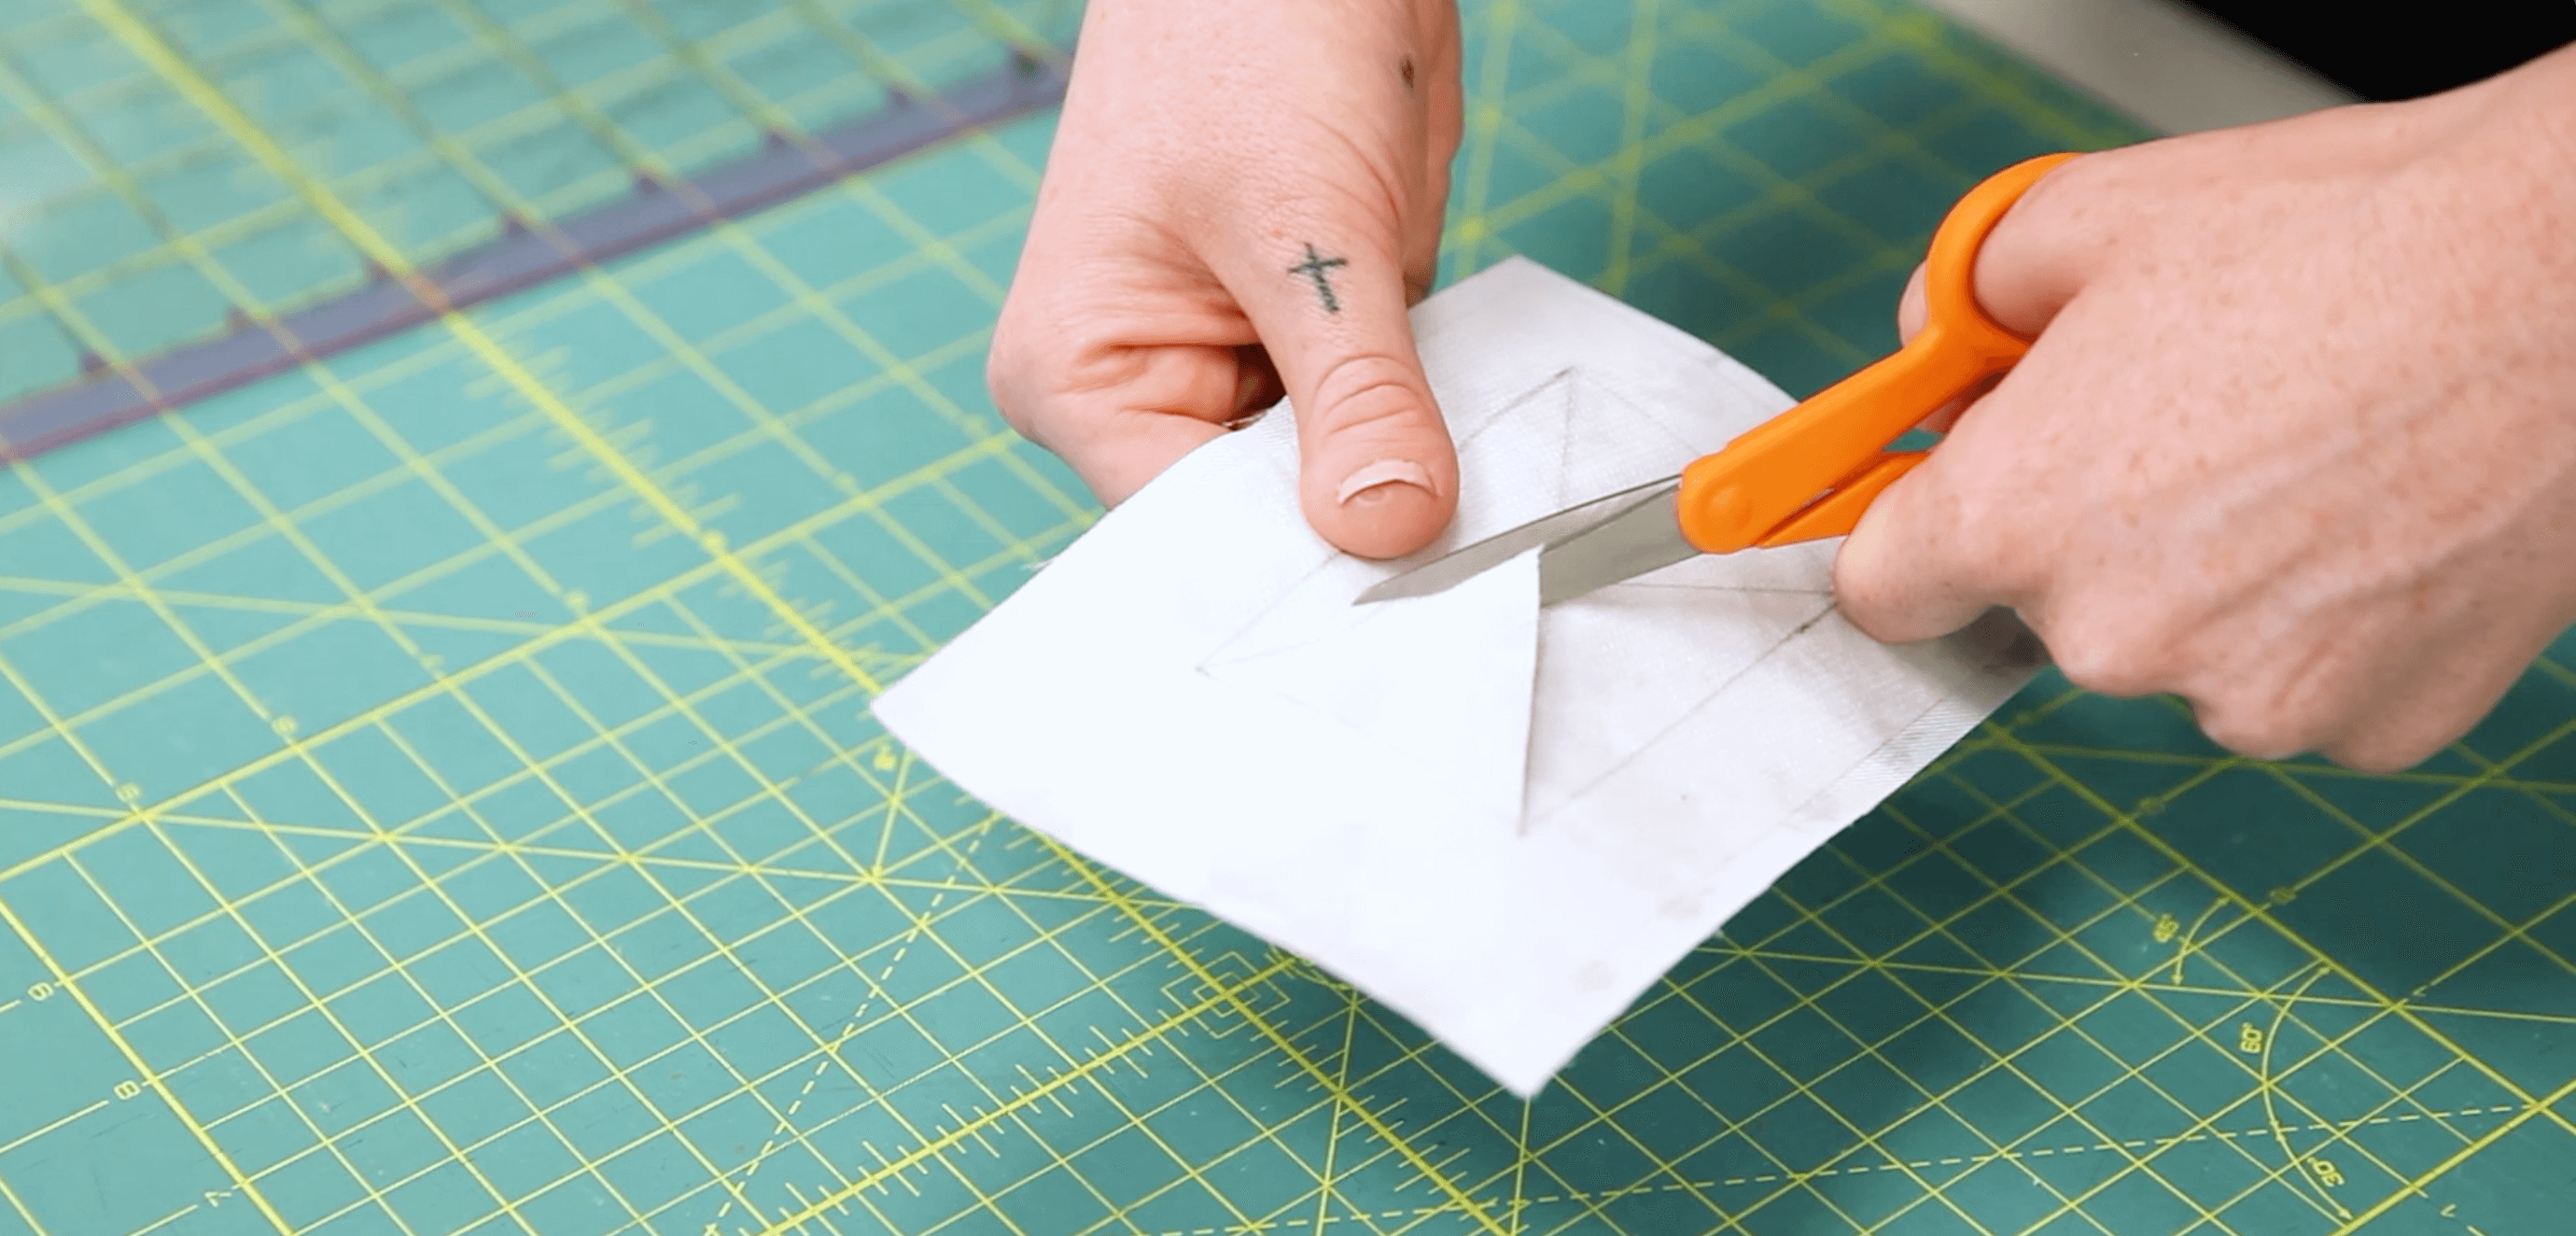
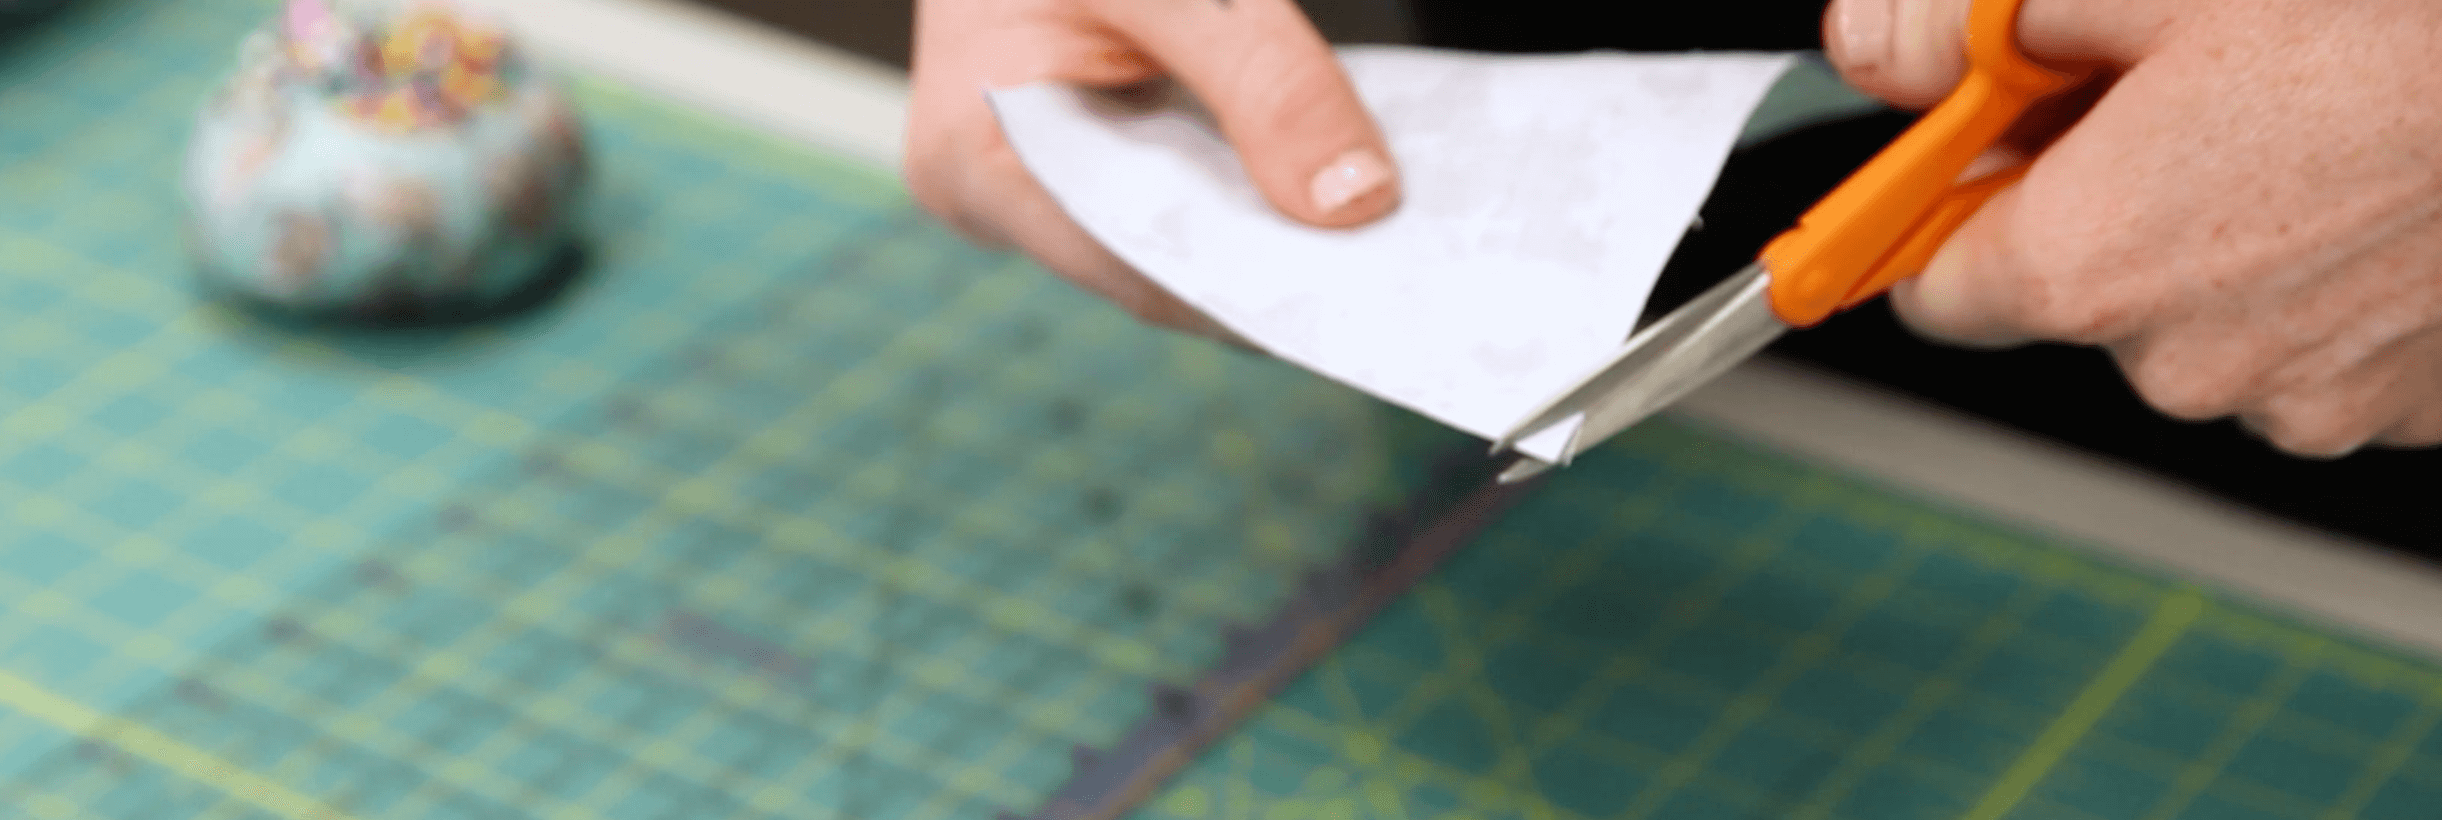
Step 1: Cut Our Your Pattern Pieces
Step 2: Create the Front of the Luggage Tag
To make the front of your luggage tag, fuse your piece of interfacing to the wrong side of one fabric rectangle.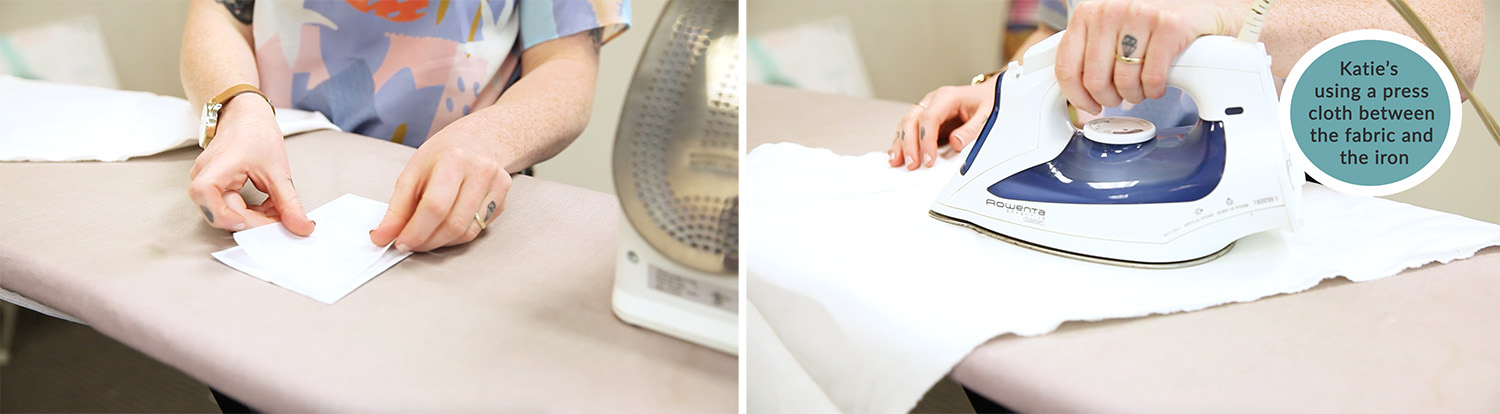
Step 3: Create the Back of the Luggage Tag
To make the back of your luggage tag, match up your two remaining fabric rectangles with right sides together. Pin in place and stitch with a ¼” seam allowance, leaving a 1-2” gap at the bottom of the tag.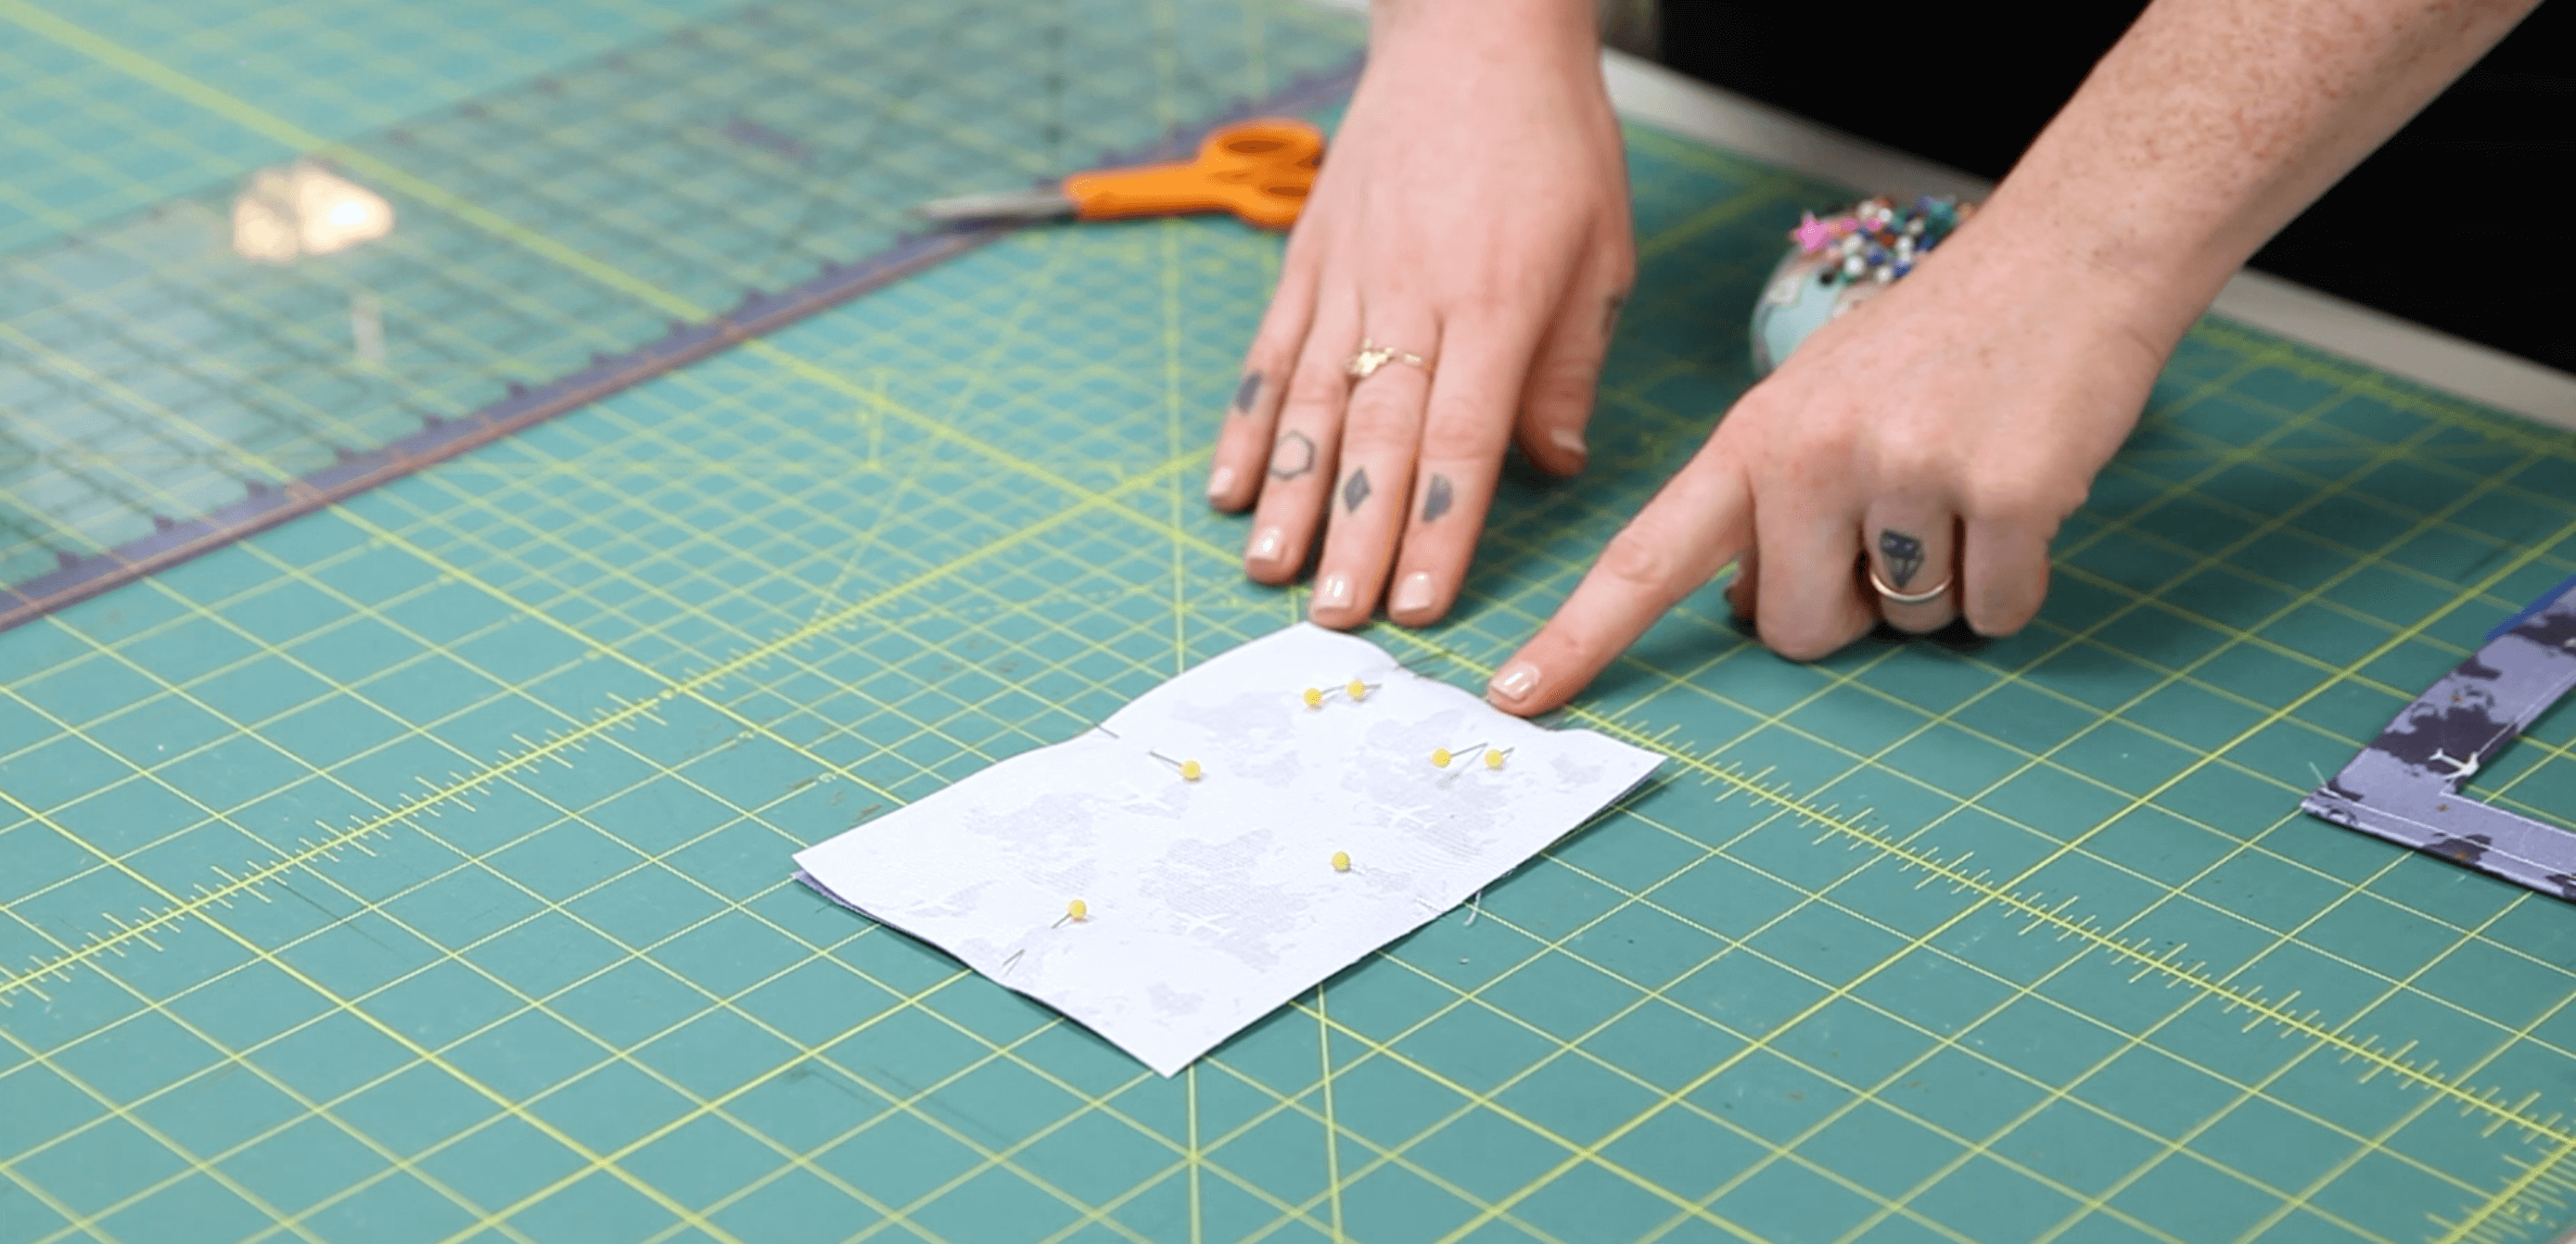
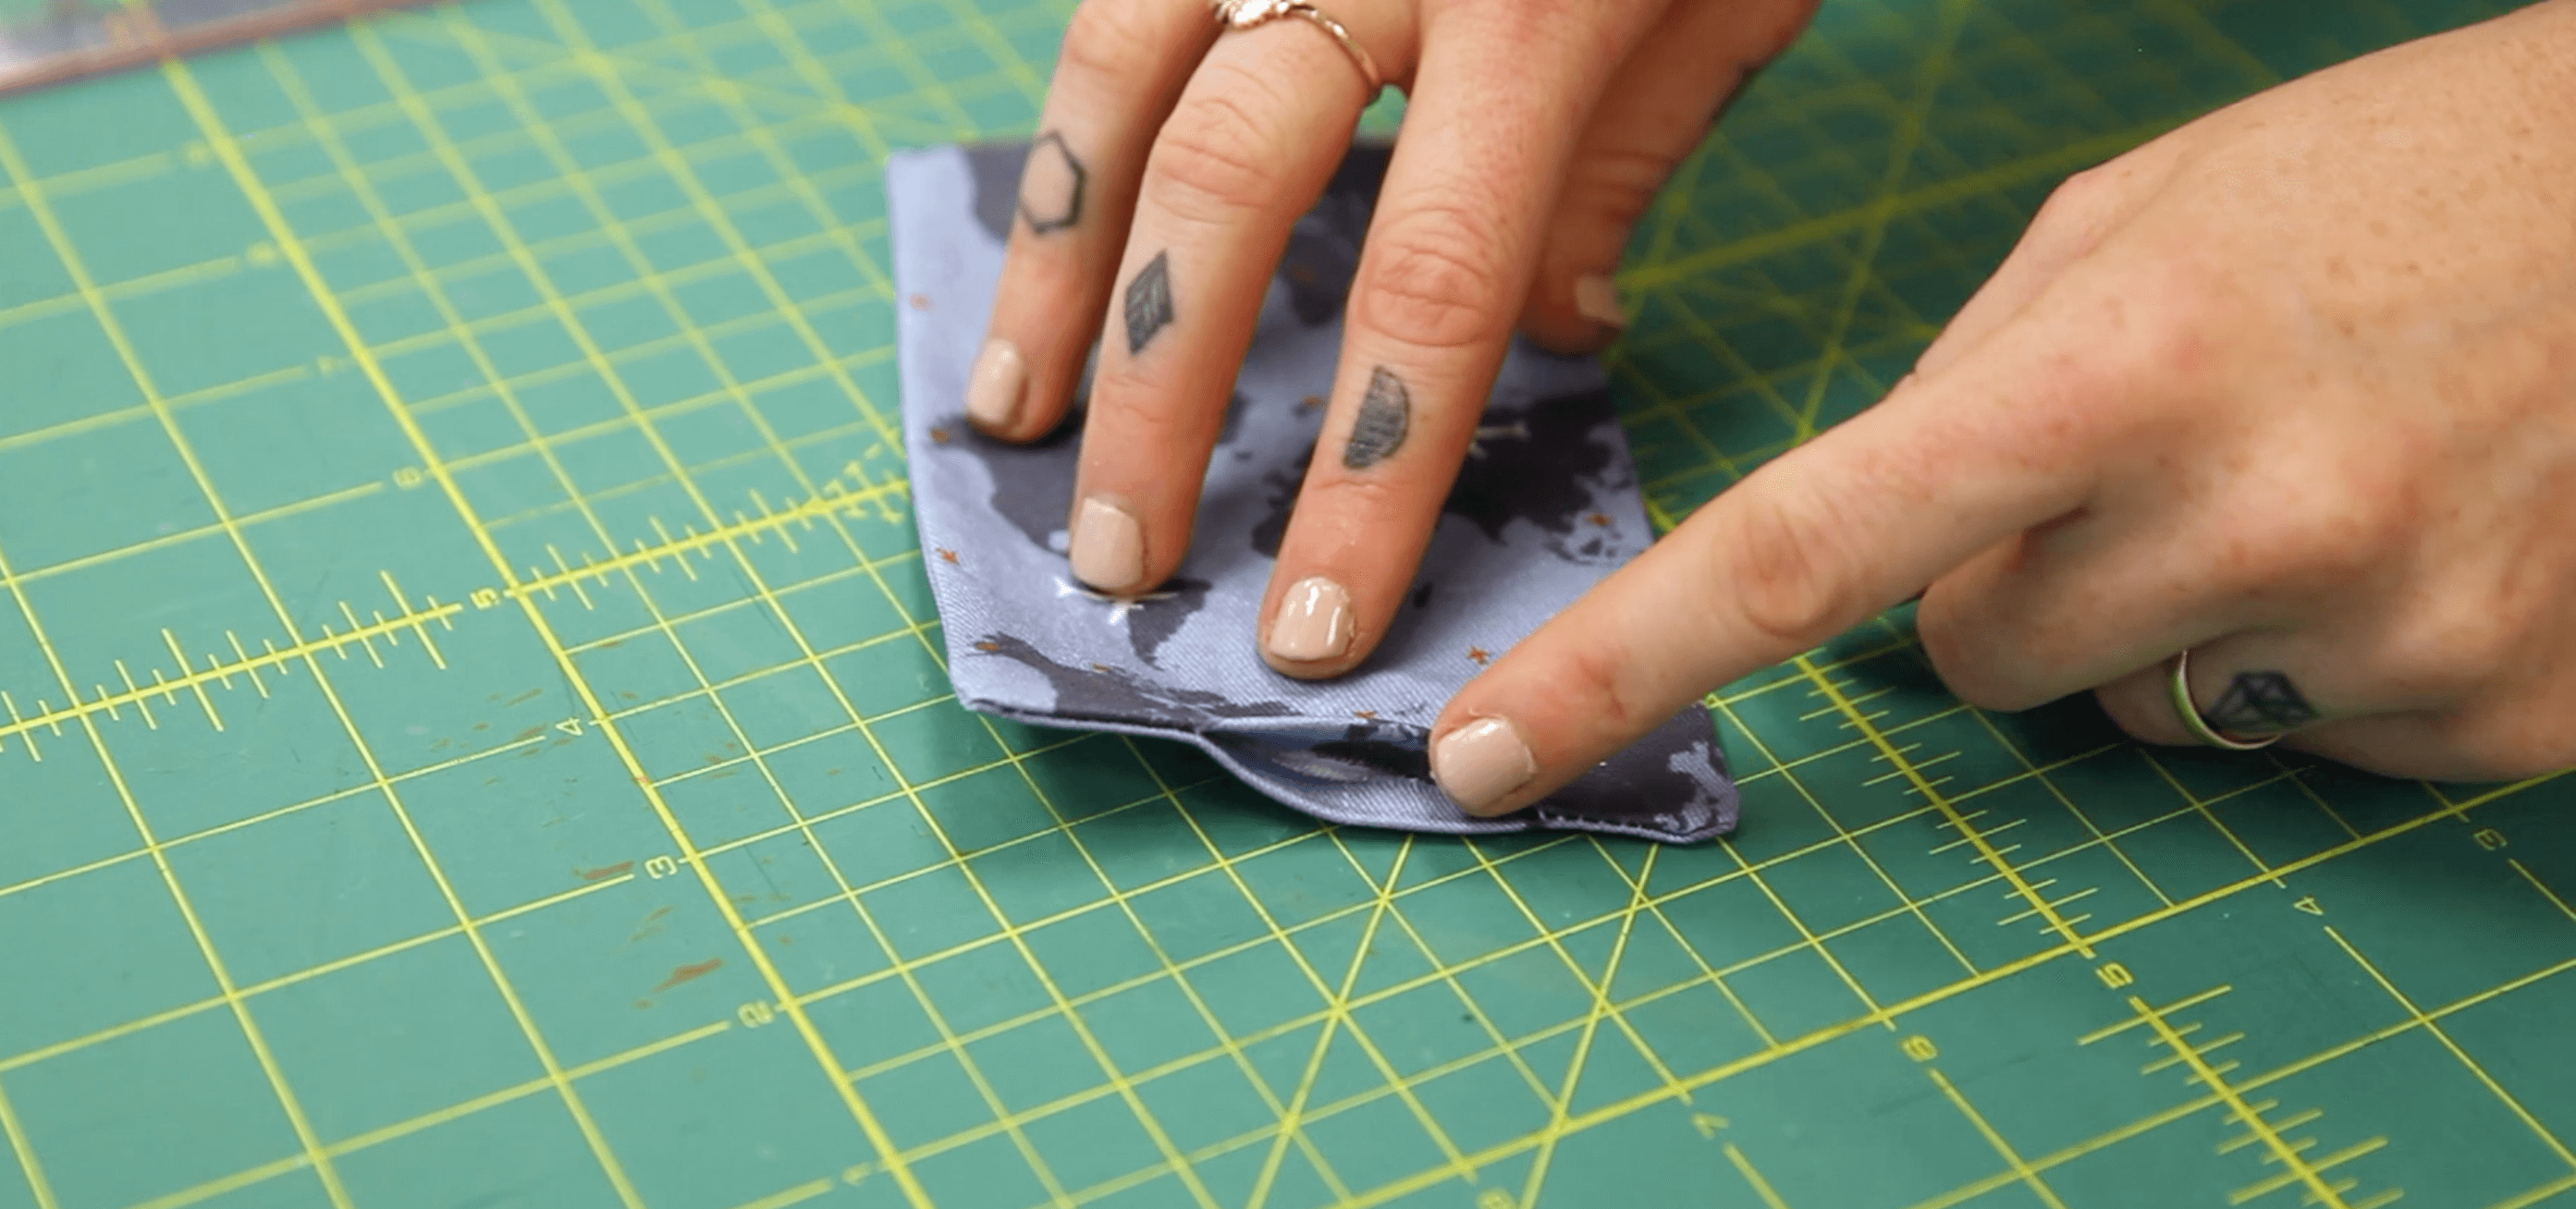
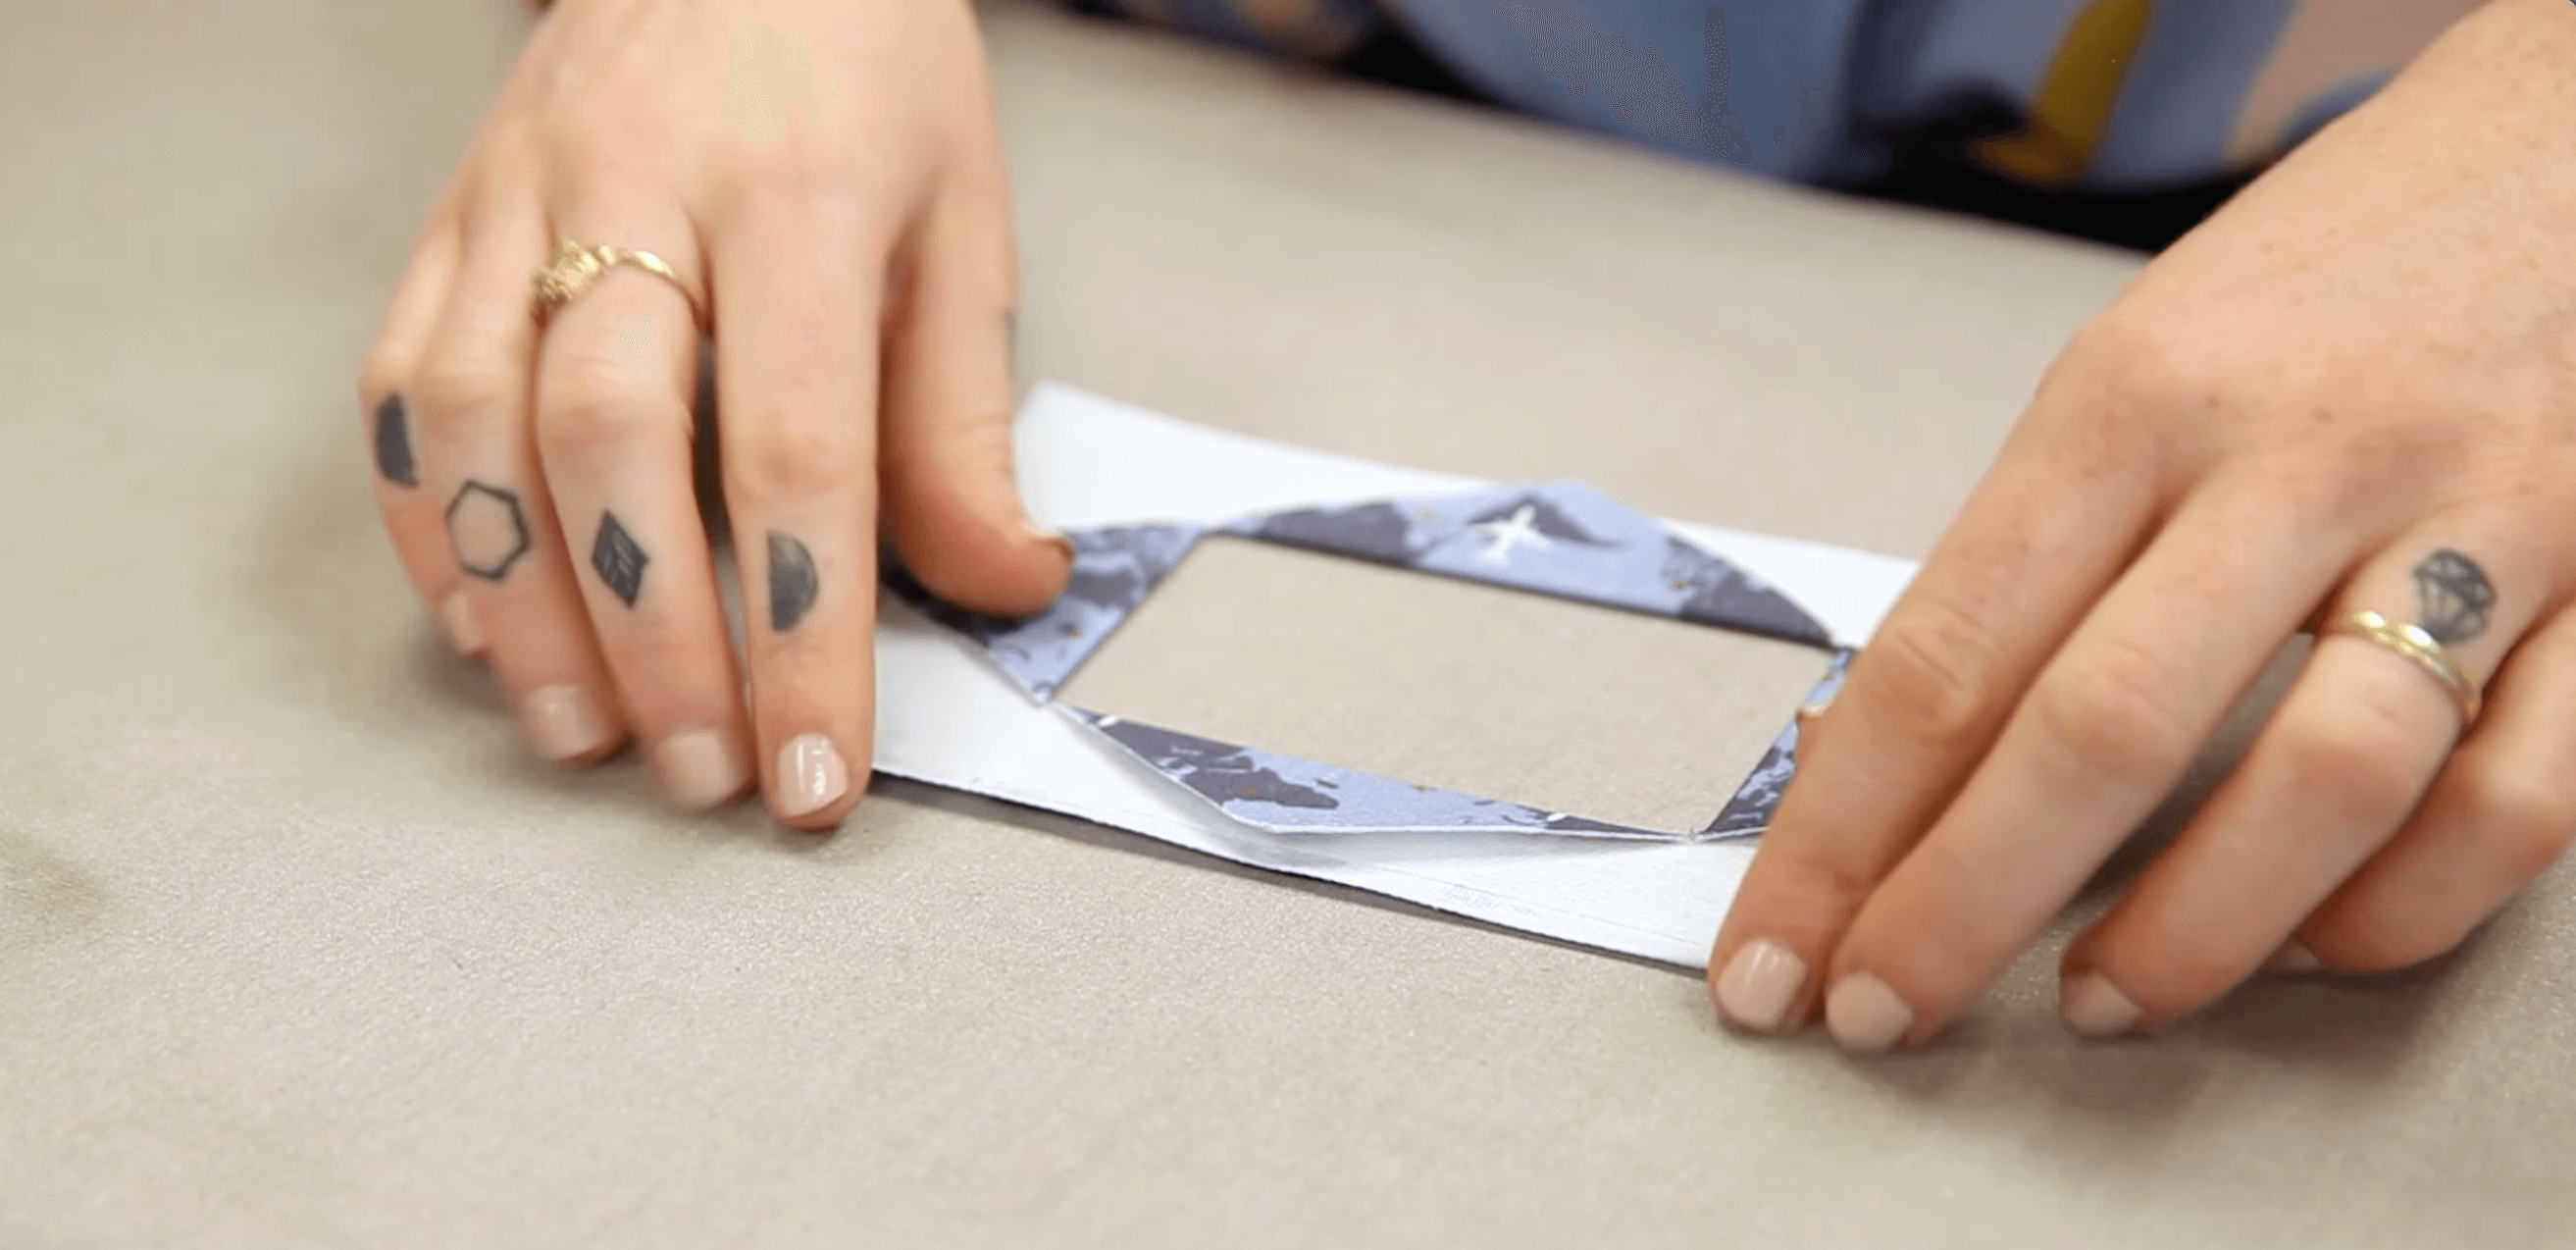
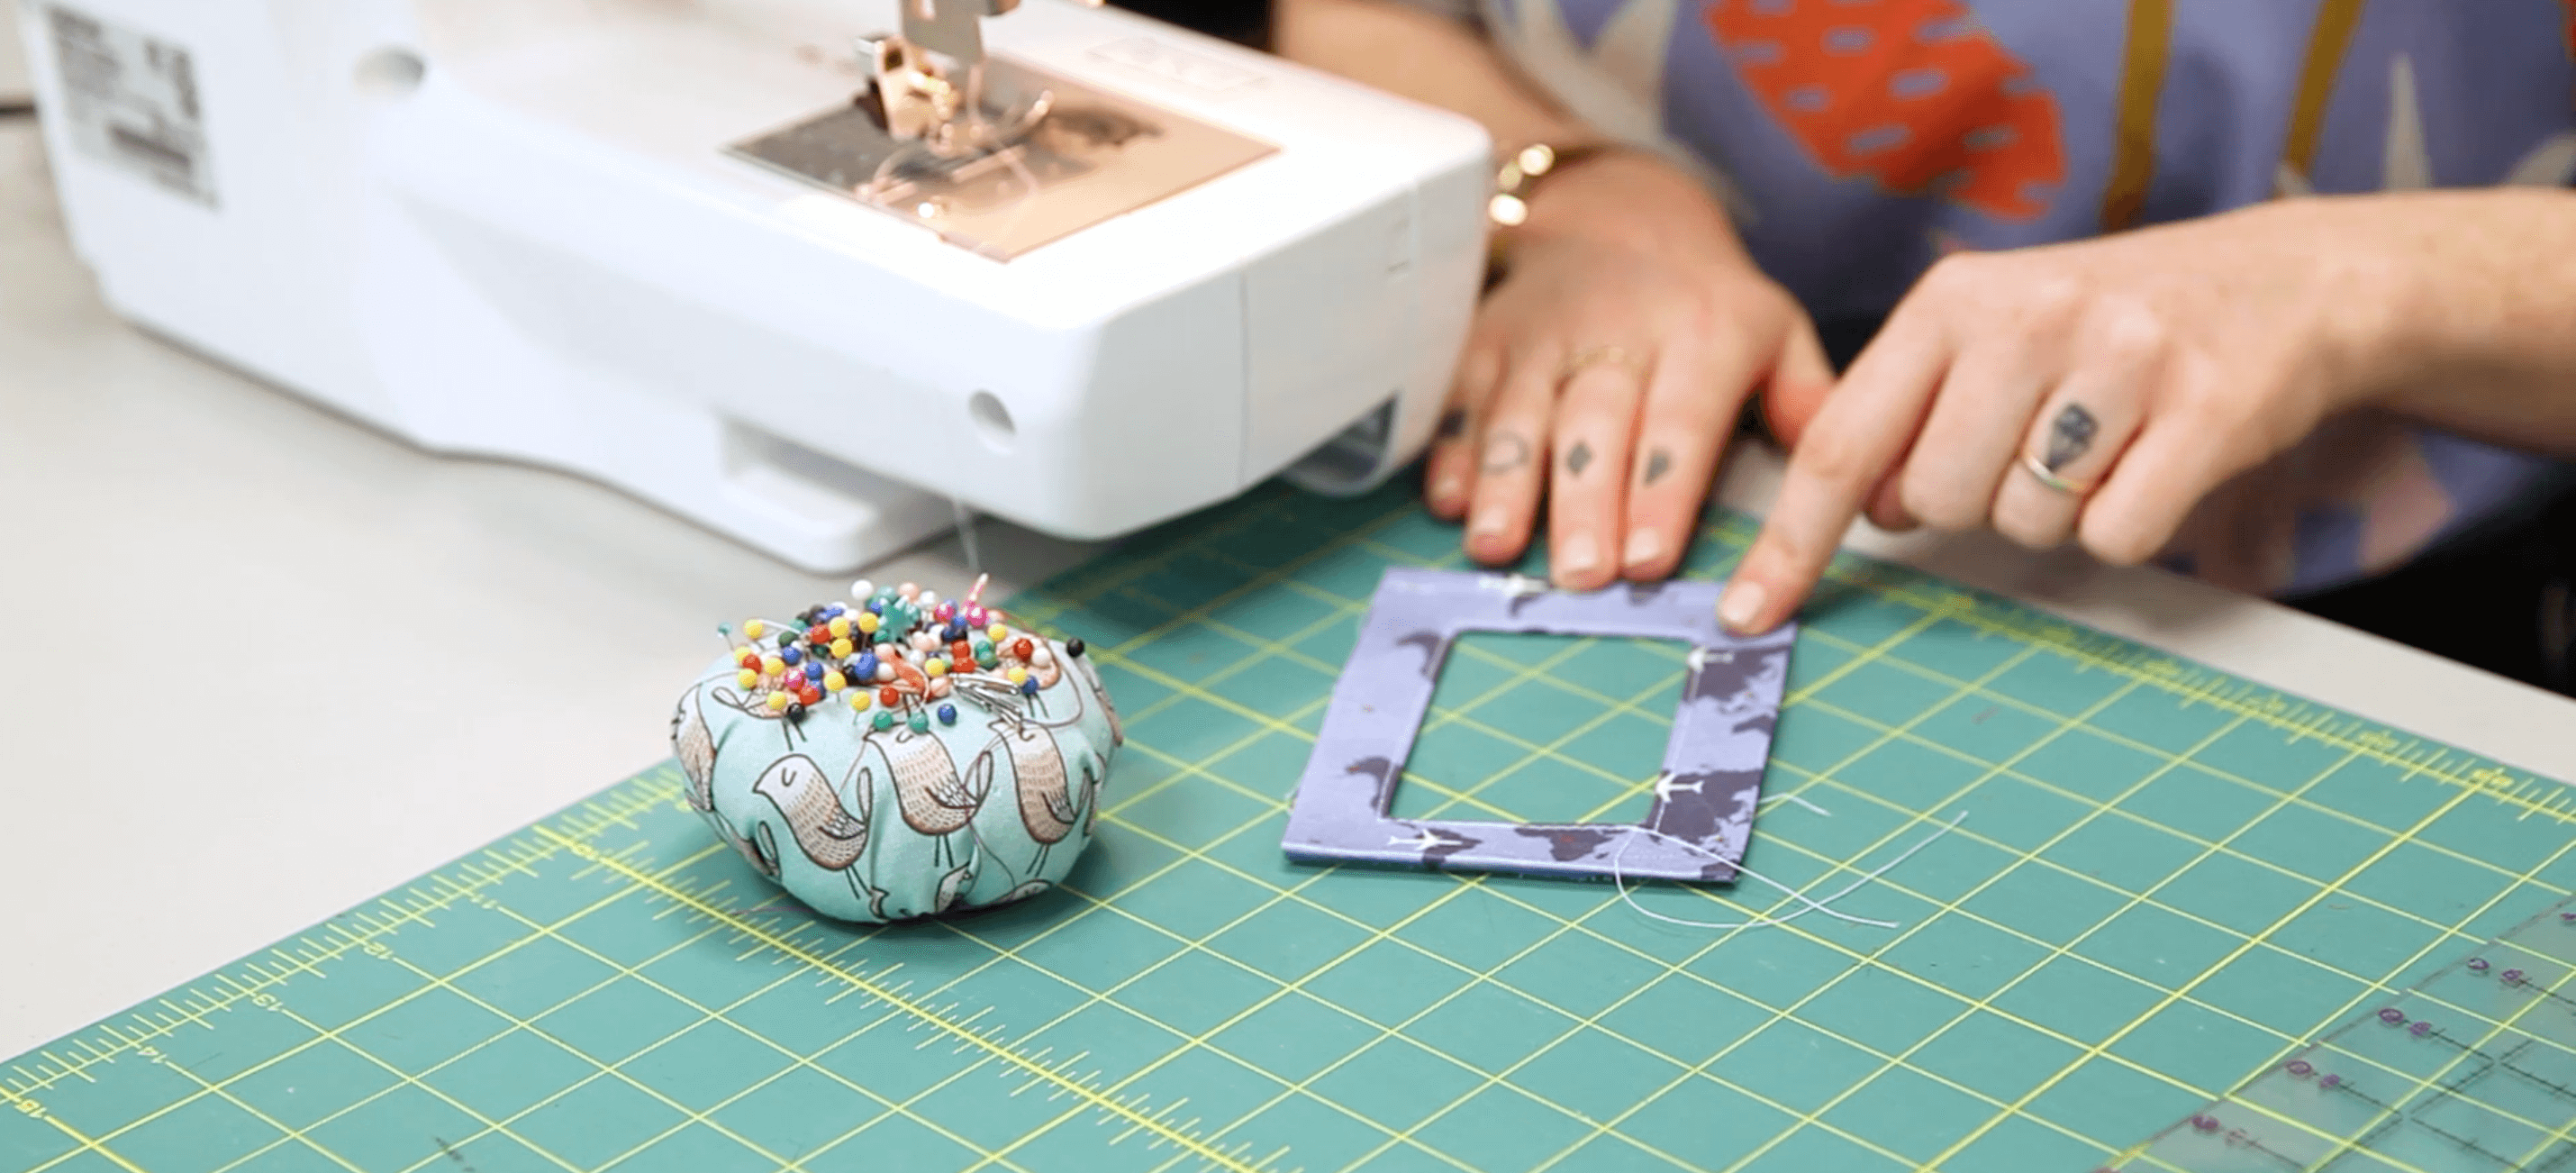
Step 4: Assemble and Finish the Luggage Tag
Place your your tag front on top of your tag back with wrong side of tag front facing right side of tag back, matching up the bottom and side edges. Make sure the unstitched edge of your tag back is lined up with the tag front. Topstitch through all layers of your luggage tag along the two long sides and bottom with a ¼” seam allowance. When you topstitch the front and back tag layers together, the opening of the short edge on the luggage tag back will be stitched shut.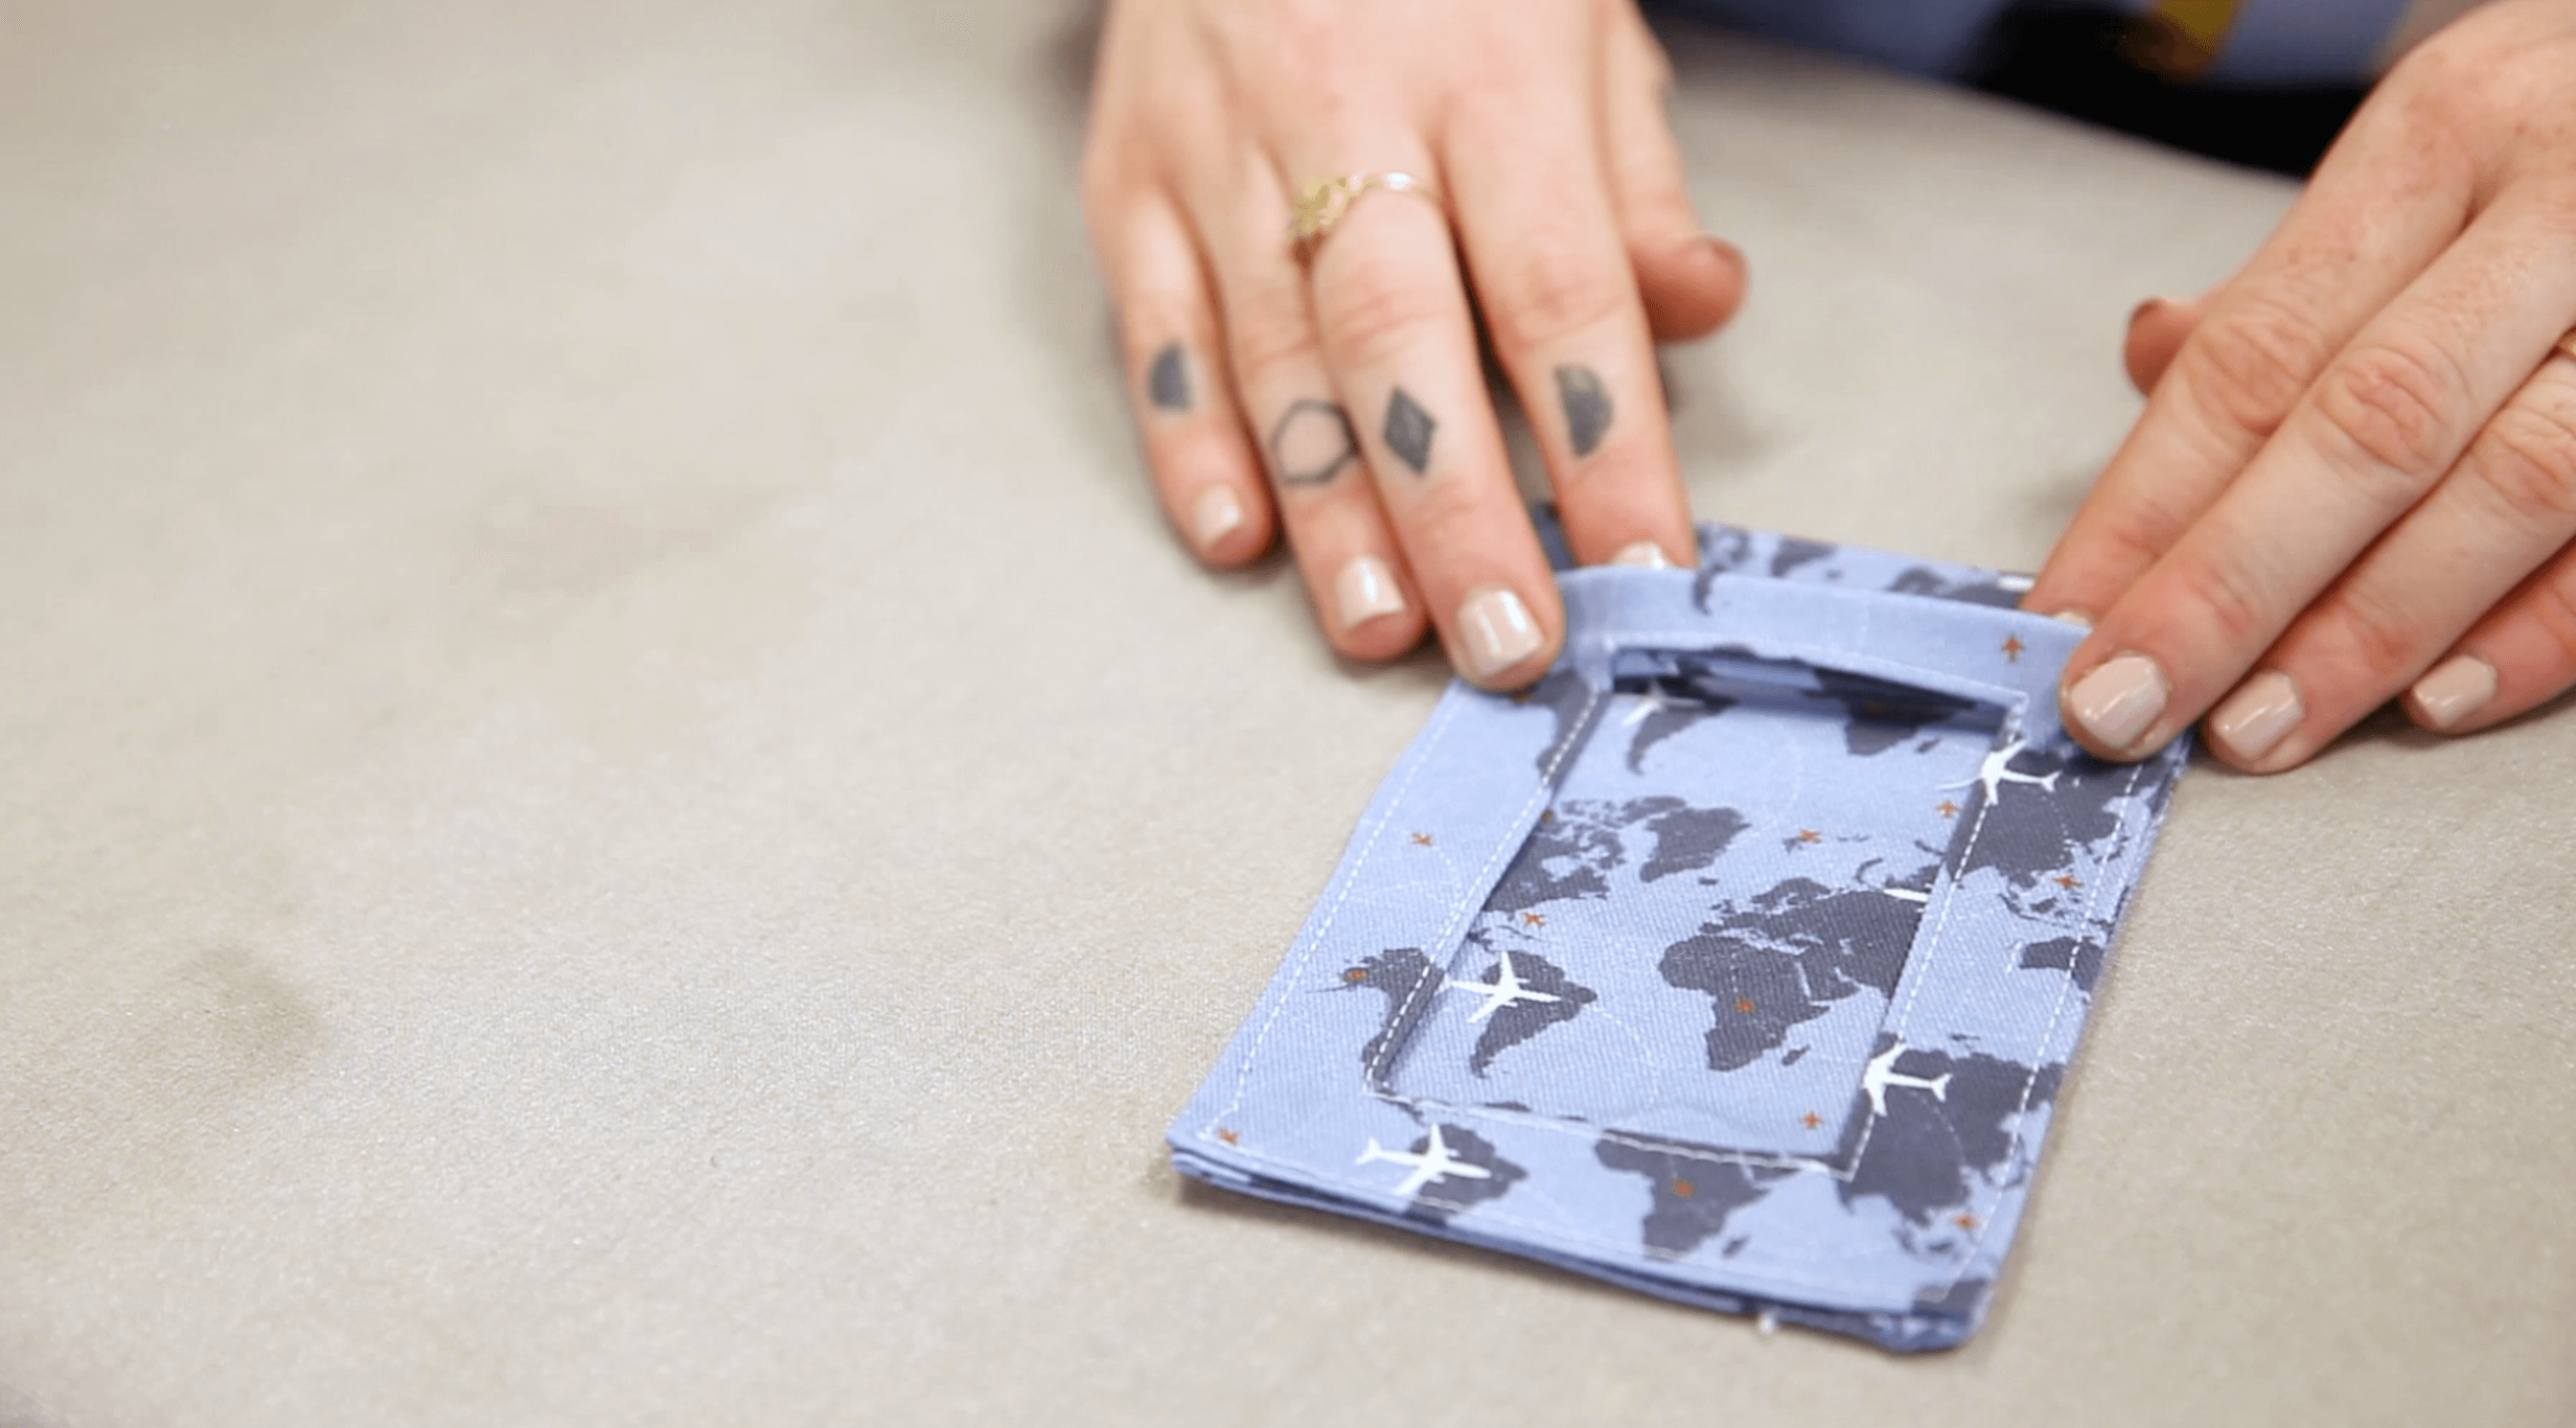
Step 5: Insert the Grommet
Insert a grommet into the top of your luggage tag. Use ribbon, rope, or fabric straps to attach to your luggage and get ready for your next adventure!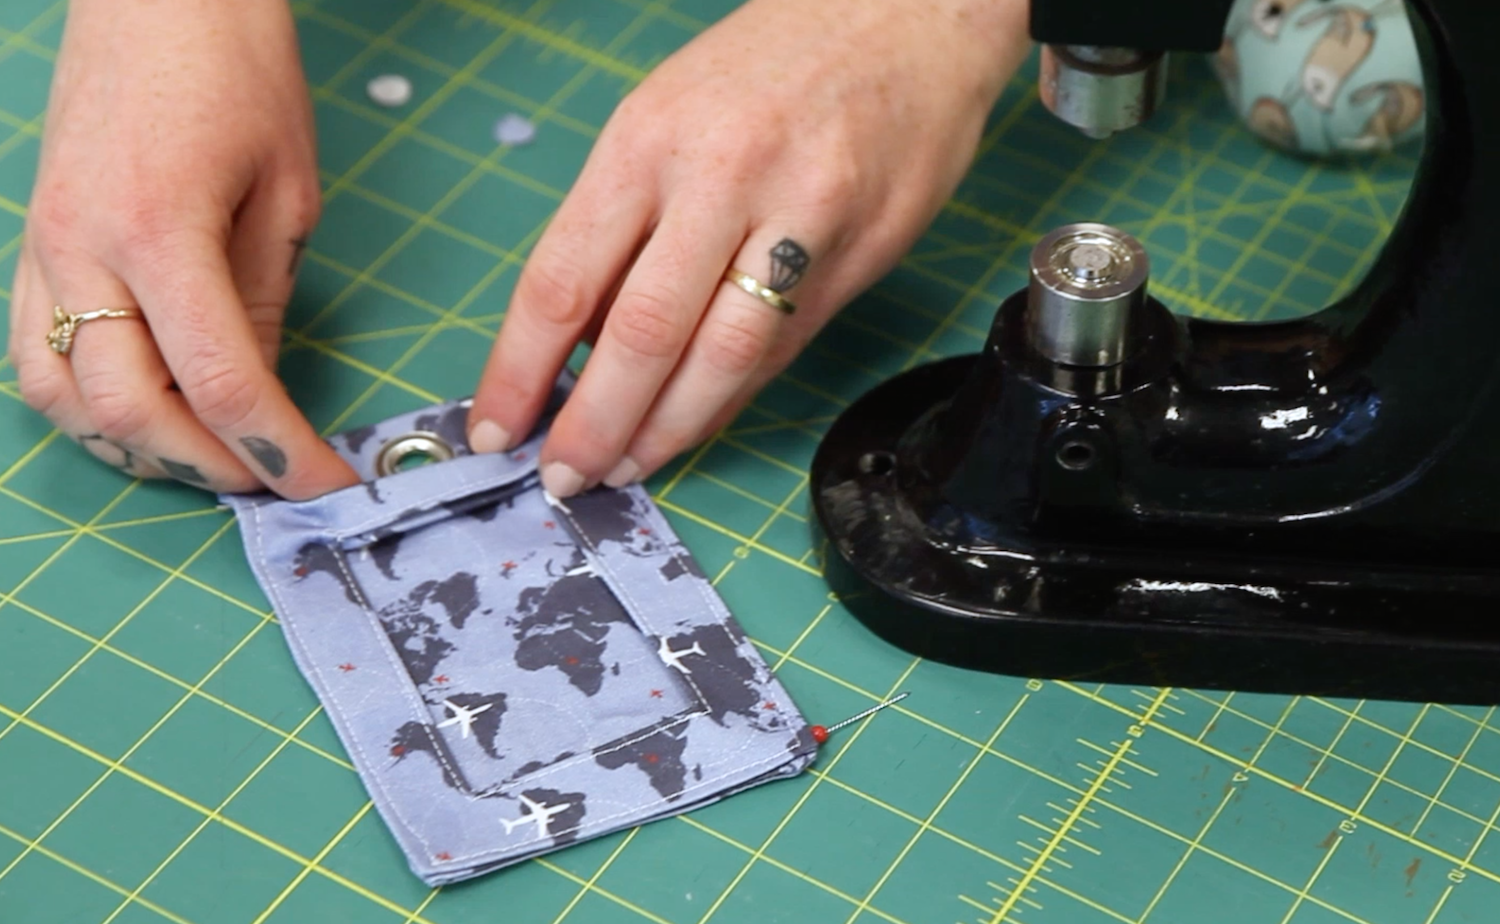
Made to order using unique designs from artists worldwide.

The World’s Largest Design Library for Wallpaper and Textiles
Discover a world of design—from minimalist to maximalist. Thousands of global artists, with new styles added constantly.

Custom Designs on Any Item
Our made-to-order model lets you print any design on any material. Coordinate patterns across rooms for a cohesive, personalized home.

Premium Materials, Always in Stock
Trusted by pros and enthusiasts, our responsibly sourced textiles and papers offer the perfect finish—from smooth to textured, delicate to durable.

Printed on Demand in the USA
Our print-on-demand model lets you choose your design, material, and quantity—minimizing waste with non-toxic inks and reduced packaging.