How to Sew a Dog Coat
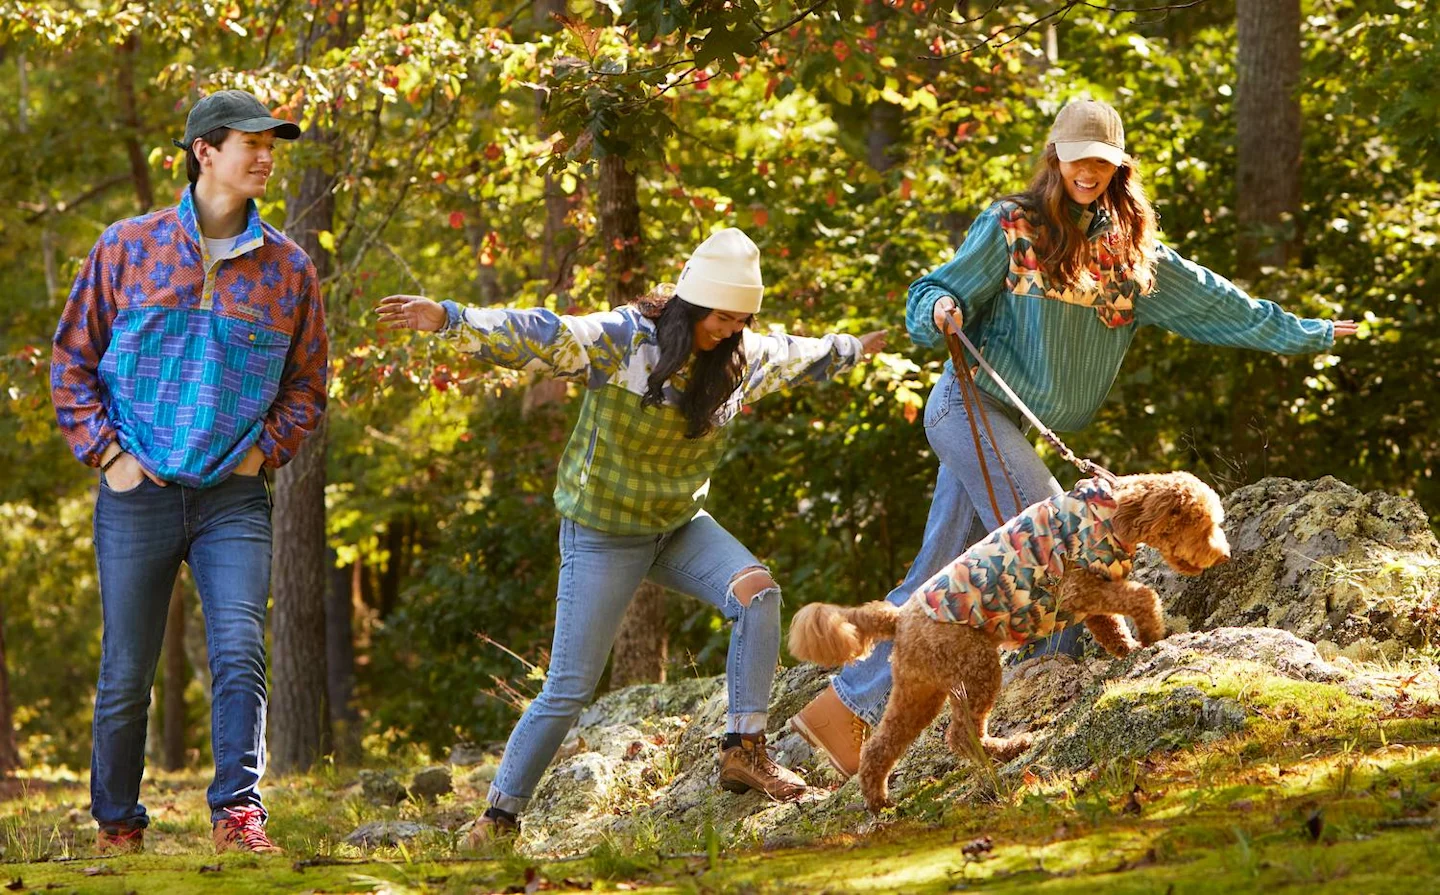
*Cold weather friends rejoice—it’s fleece season! As you pull out your favorite cold weather pullovers, your furry friend may be wondering, “Where’s mine?” With this Polartec® Fleece dog coat tutorial from Spoonflower maker Stacie Rudy of Rudy Adventures, you can add a stylish and cozy item to their wardrobe so they’re ready for outdoor adventure too. Fleece dog jackets are as snuggly as they are cute. Plus this one comes with an optional hood to keep them extra warm!
See What Size Coat is Right for Your Pup
See the size chart to see what size coat to make your pet. Since you are using stretchy fabric, sizing is based on the weight of the dog vs. pup measurements.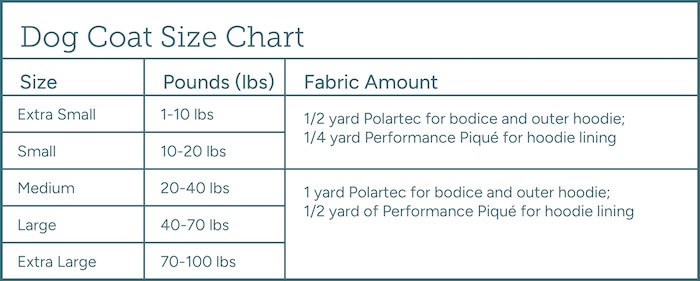
Dog Coat Supplies
- Free printable pattern (in the correct size for your dog)
- Polartec® Fleece—Stacie is using Moss-Scape-Emerald Green Plaid for the bodice and outer hood)
- Sport Piqué—Stacie is using Conifer Holiday for the hood lining
- Coordinating thread
- Fabric scissors or rotary cutter
- Pins or sewing clips
- Sewing machine or serger
- Marker or fabric chalk
Want to Skip the Hood or the Hood Lining?
If you’re looking for how to make a dog coat without a hood, just follow the instructions for the bodice pieces of this tutorial and you’ll have a cute hood-less coat! If you’d like to sew a hood but would rather skip the lining, that works too.Steps to Sew a Dog Coat
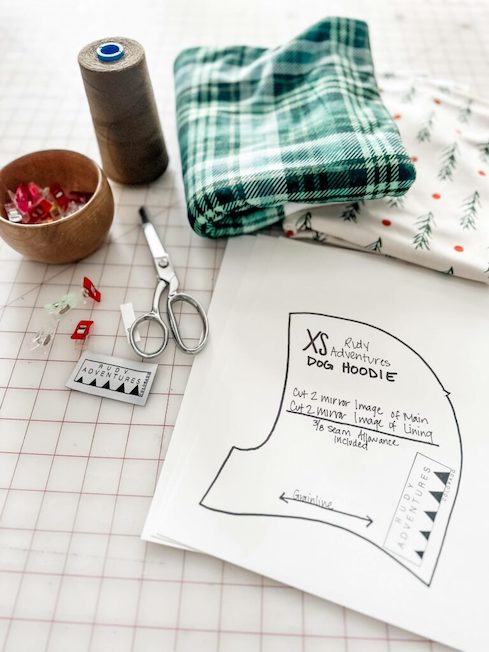
Step 1. Print Your Pattern and Cut Out Your Pieces
Print your free Rudy Adventures Pattern, making sure it’s scaled at 100%. Cut out the eight pieces of the pattern, which you’ll be using as paper templates to create the dog coat. Given that Polartec® Fleece doesn’t fray, please note that the arm and body openings will have raw edges vs. finished ones.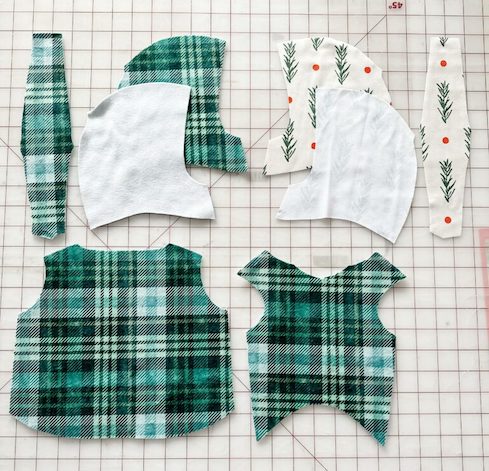
Step 2. Trace Your Pattern Pieces onto Fabric and Cut Them Out
Once you’ve cut out your hoodie and bodice paper pattern pieces, lay them on top of your fabric. You should have eight paper pattern pieces, two of which will be placed on the fabric’s fold as noted below: 2 Bodice Pieces: • 1 front bodice piece (cut this pattern piece with the fabric folded in half) • 1 back bodice piece (cut this pattern piece with the fabric folded in half) 6 Hood Pieces (3 outer hoodie pieces, 3 lining pieces): • Outer Hoodie – Using Polartec® Fleece • 2 main side pieces (one for each side of the hood) • 1 main center piece (for the center section of the hood) Hoodie Lining – Using Sport Piqué • 2 lining side pieces (one for each side of the hood) • 1 lining center piece (for the center section of the hood) Using your fabric chalk or marker, trace your pattern pieces onto your fabric. Before cutting both front and back fabric pieces, mark the center of the neckline on both pieces. Once you’ve traced your paper templates onto your fabric, cut your pattern pieces out of your fabric. Now let’s start sewing!Step 3. Sew the Bodice Shoulders Together
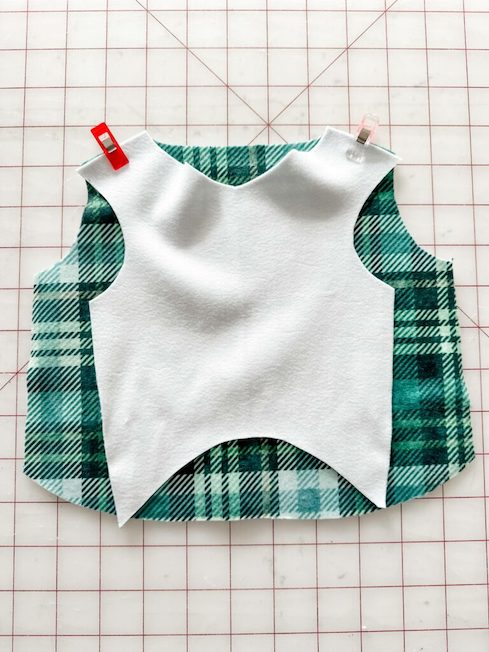
Step 4. Sew the Bodice Sides Together


Step 5. Sew Your Hood Pieces Together


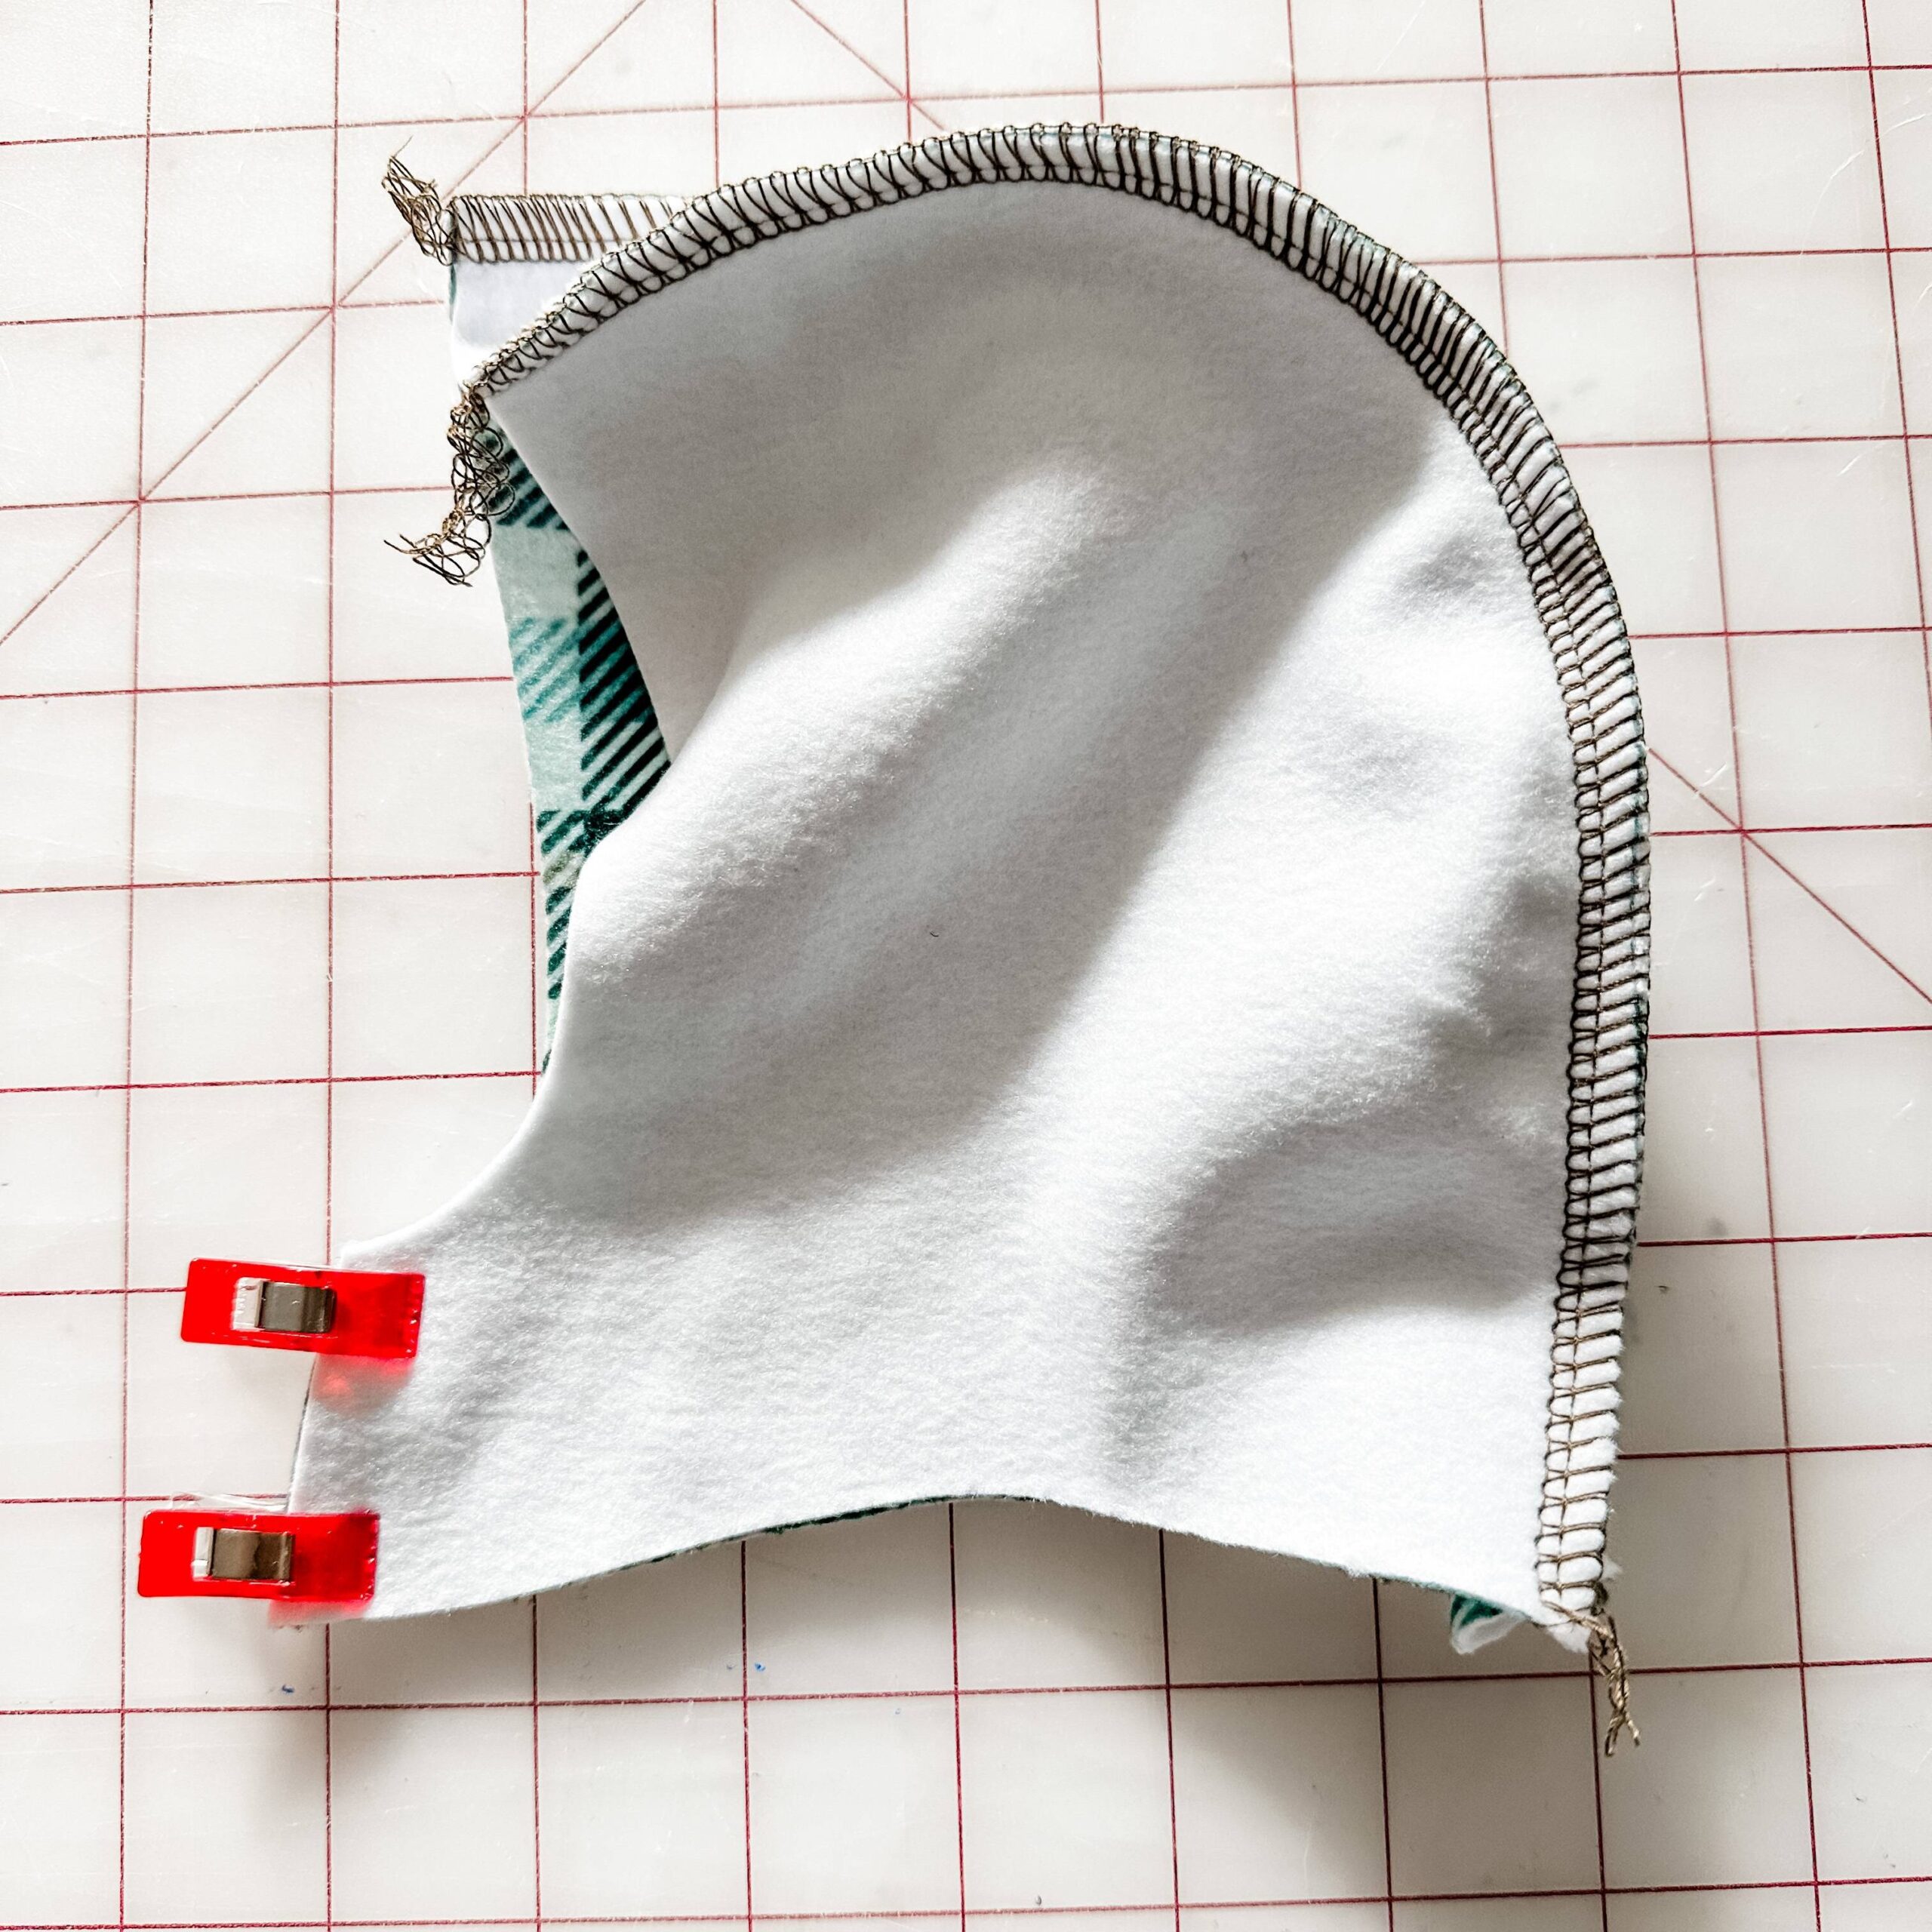
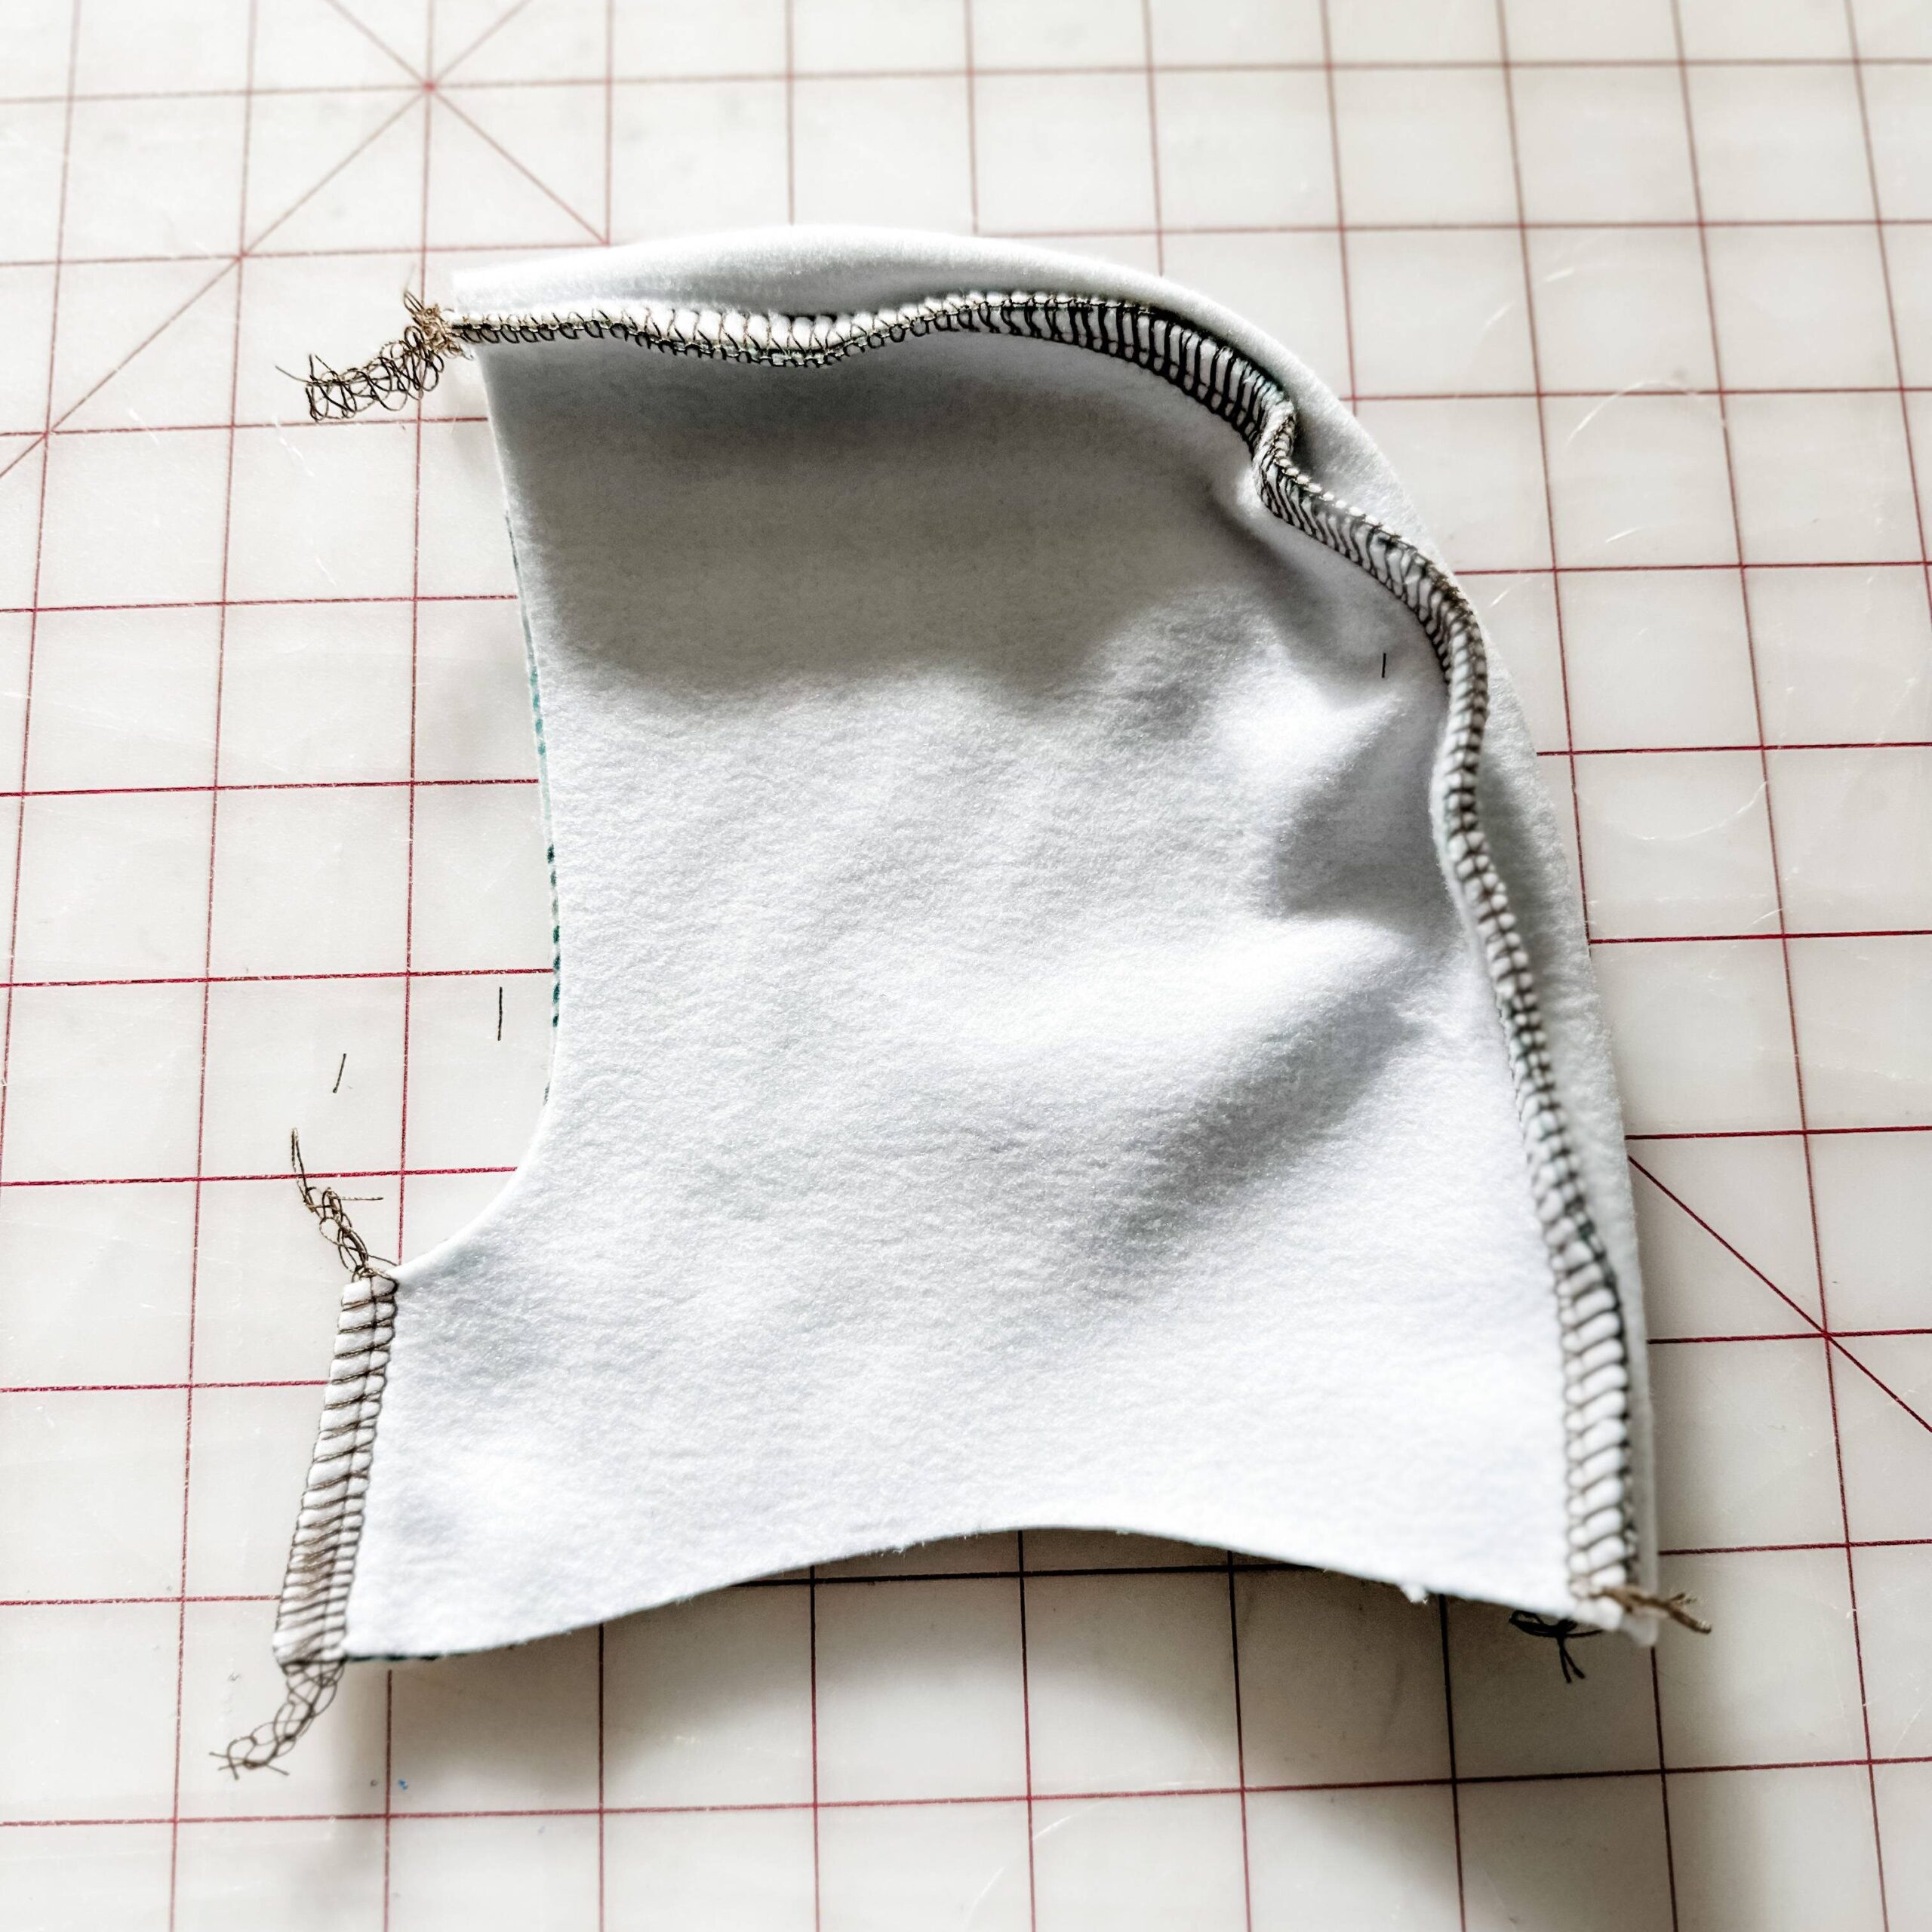
Step 6. Create the Hood
Now comes the fun part—starting to see it all come together! Prepare both hood sections to be sewn together by laying your main hood wrong side out, and your lining hood right side out. Placing them with the right sides together looks like the images below: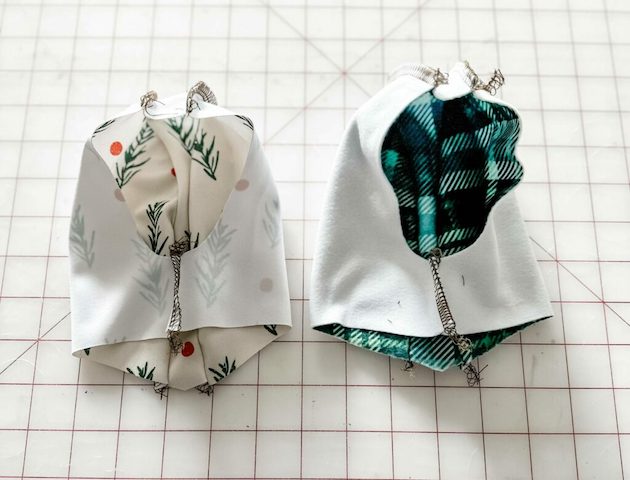


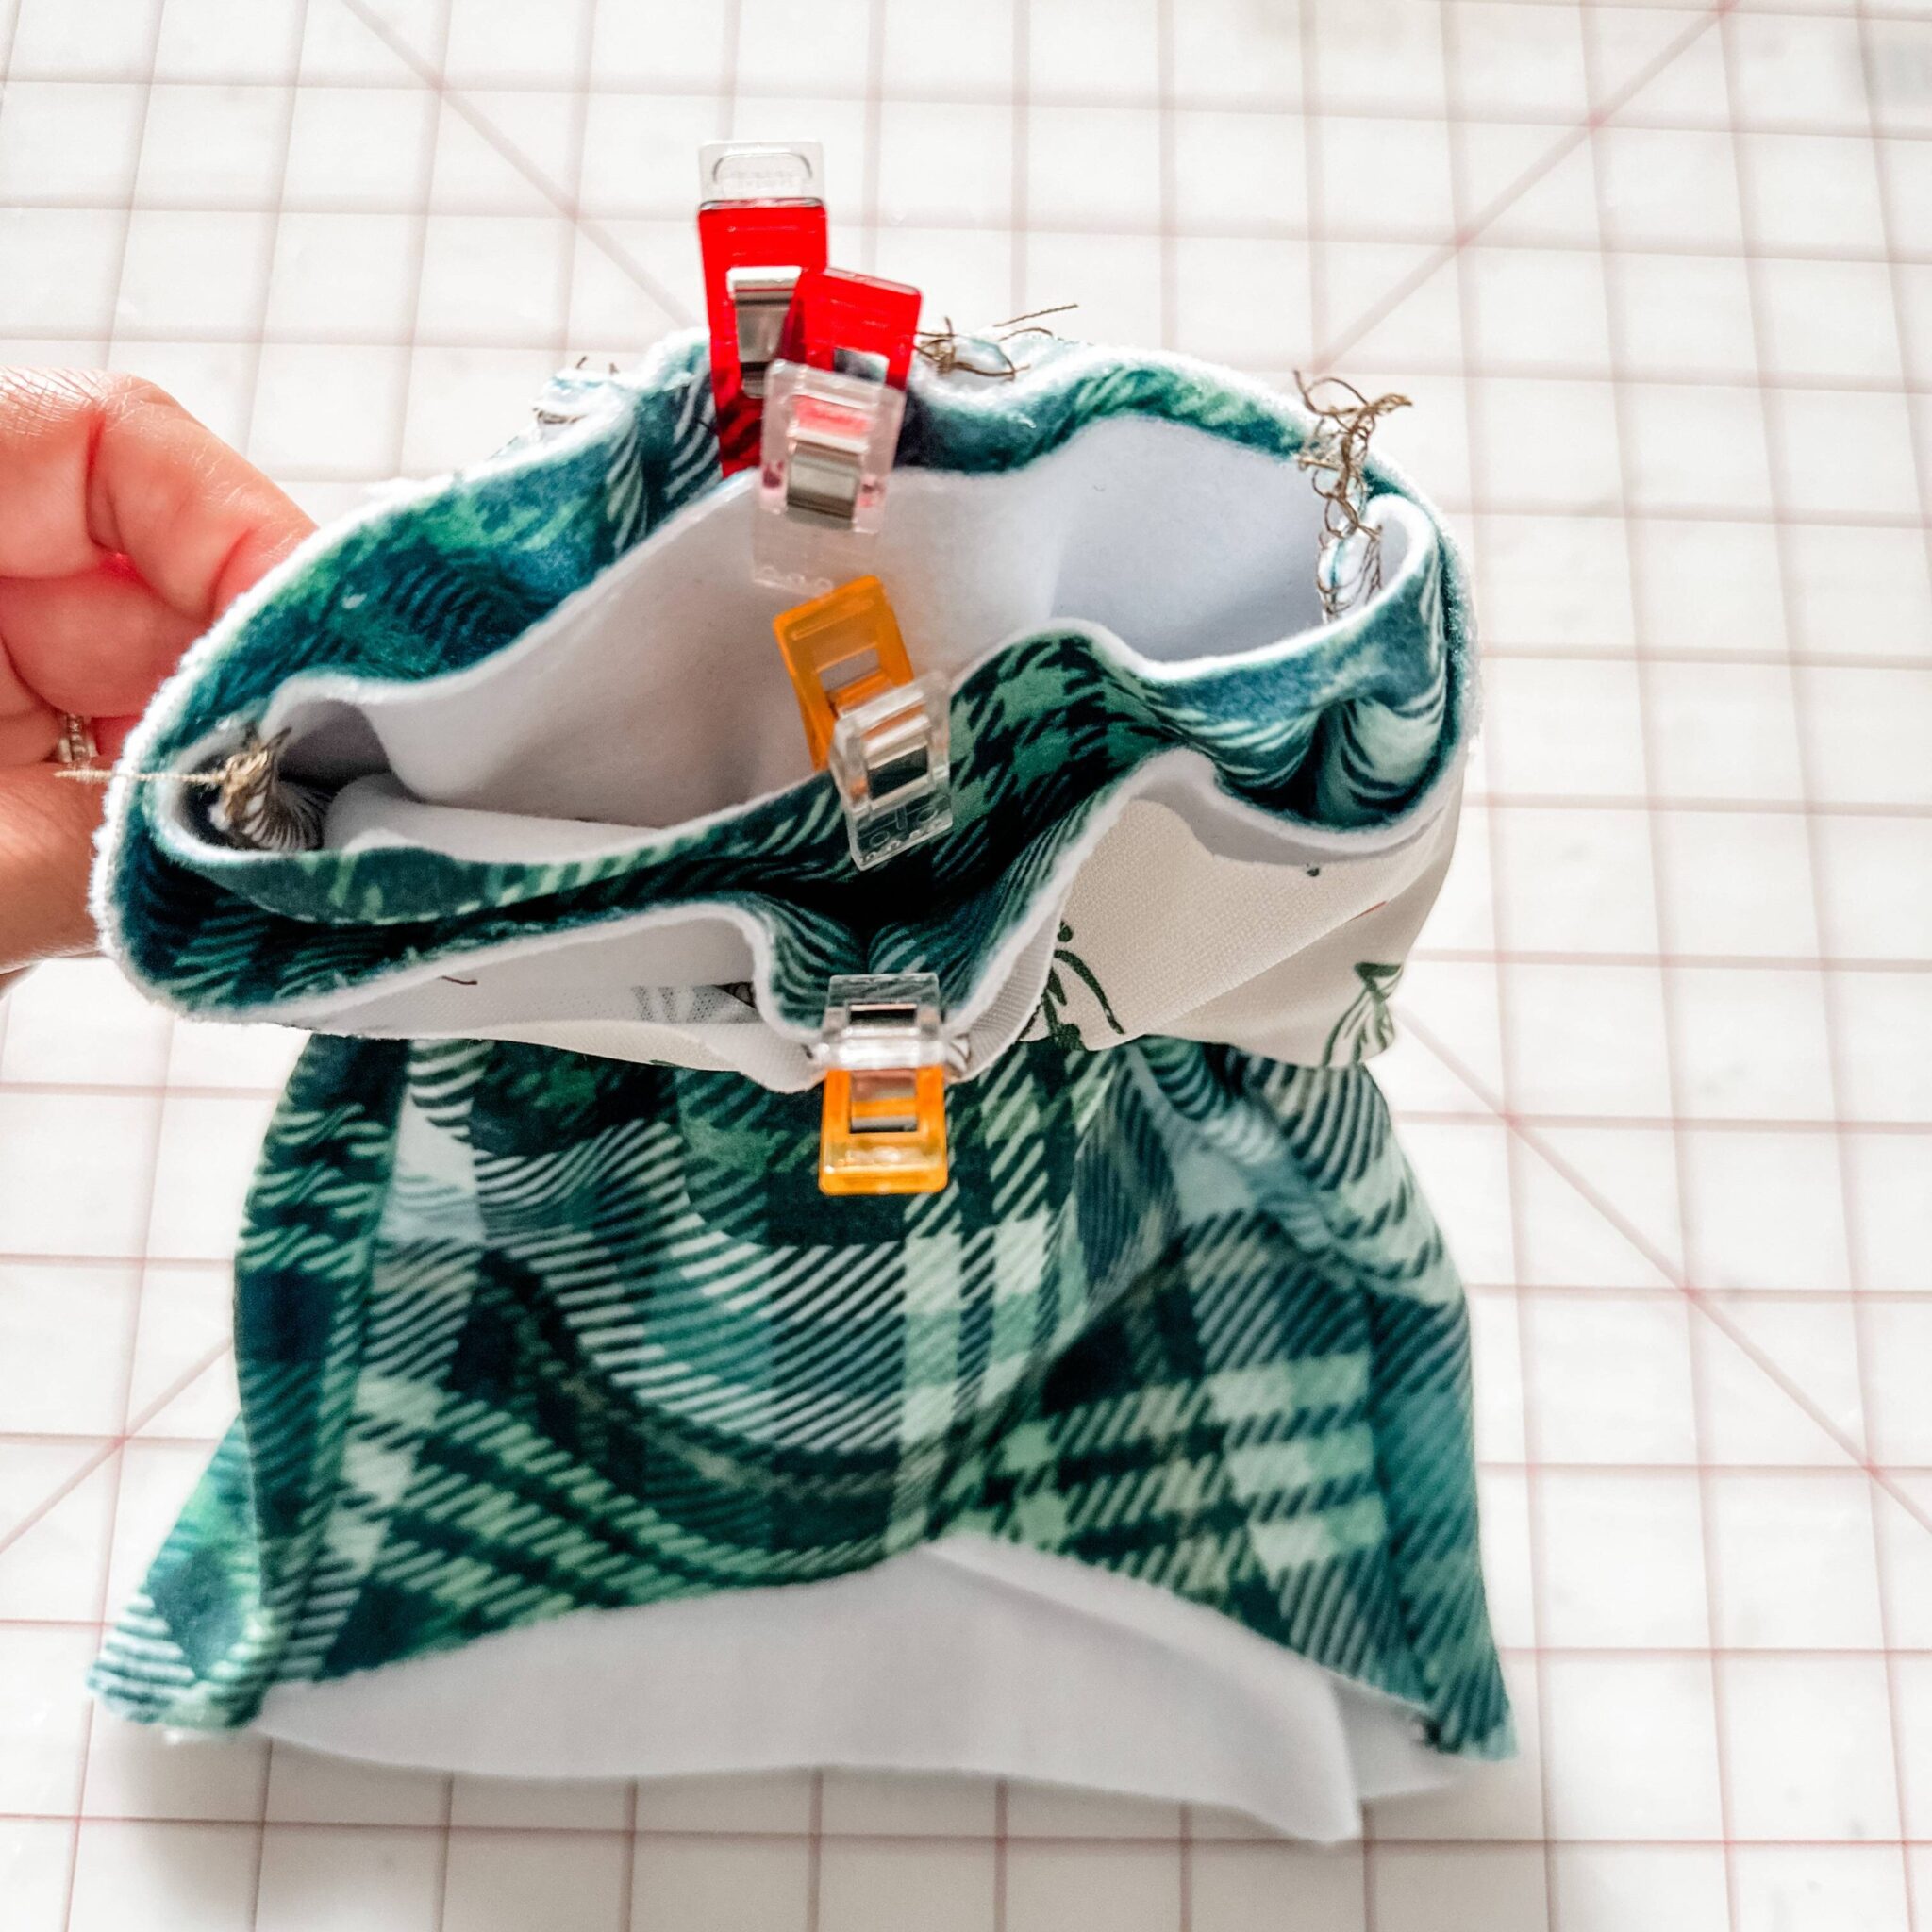
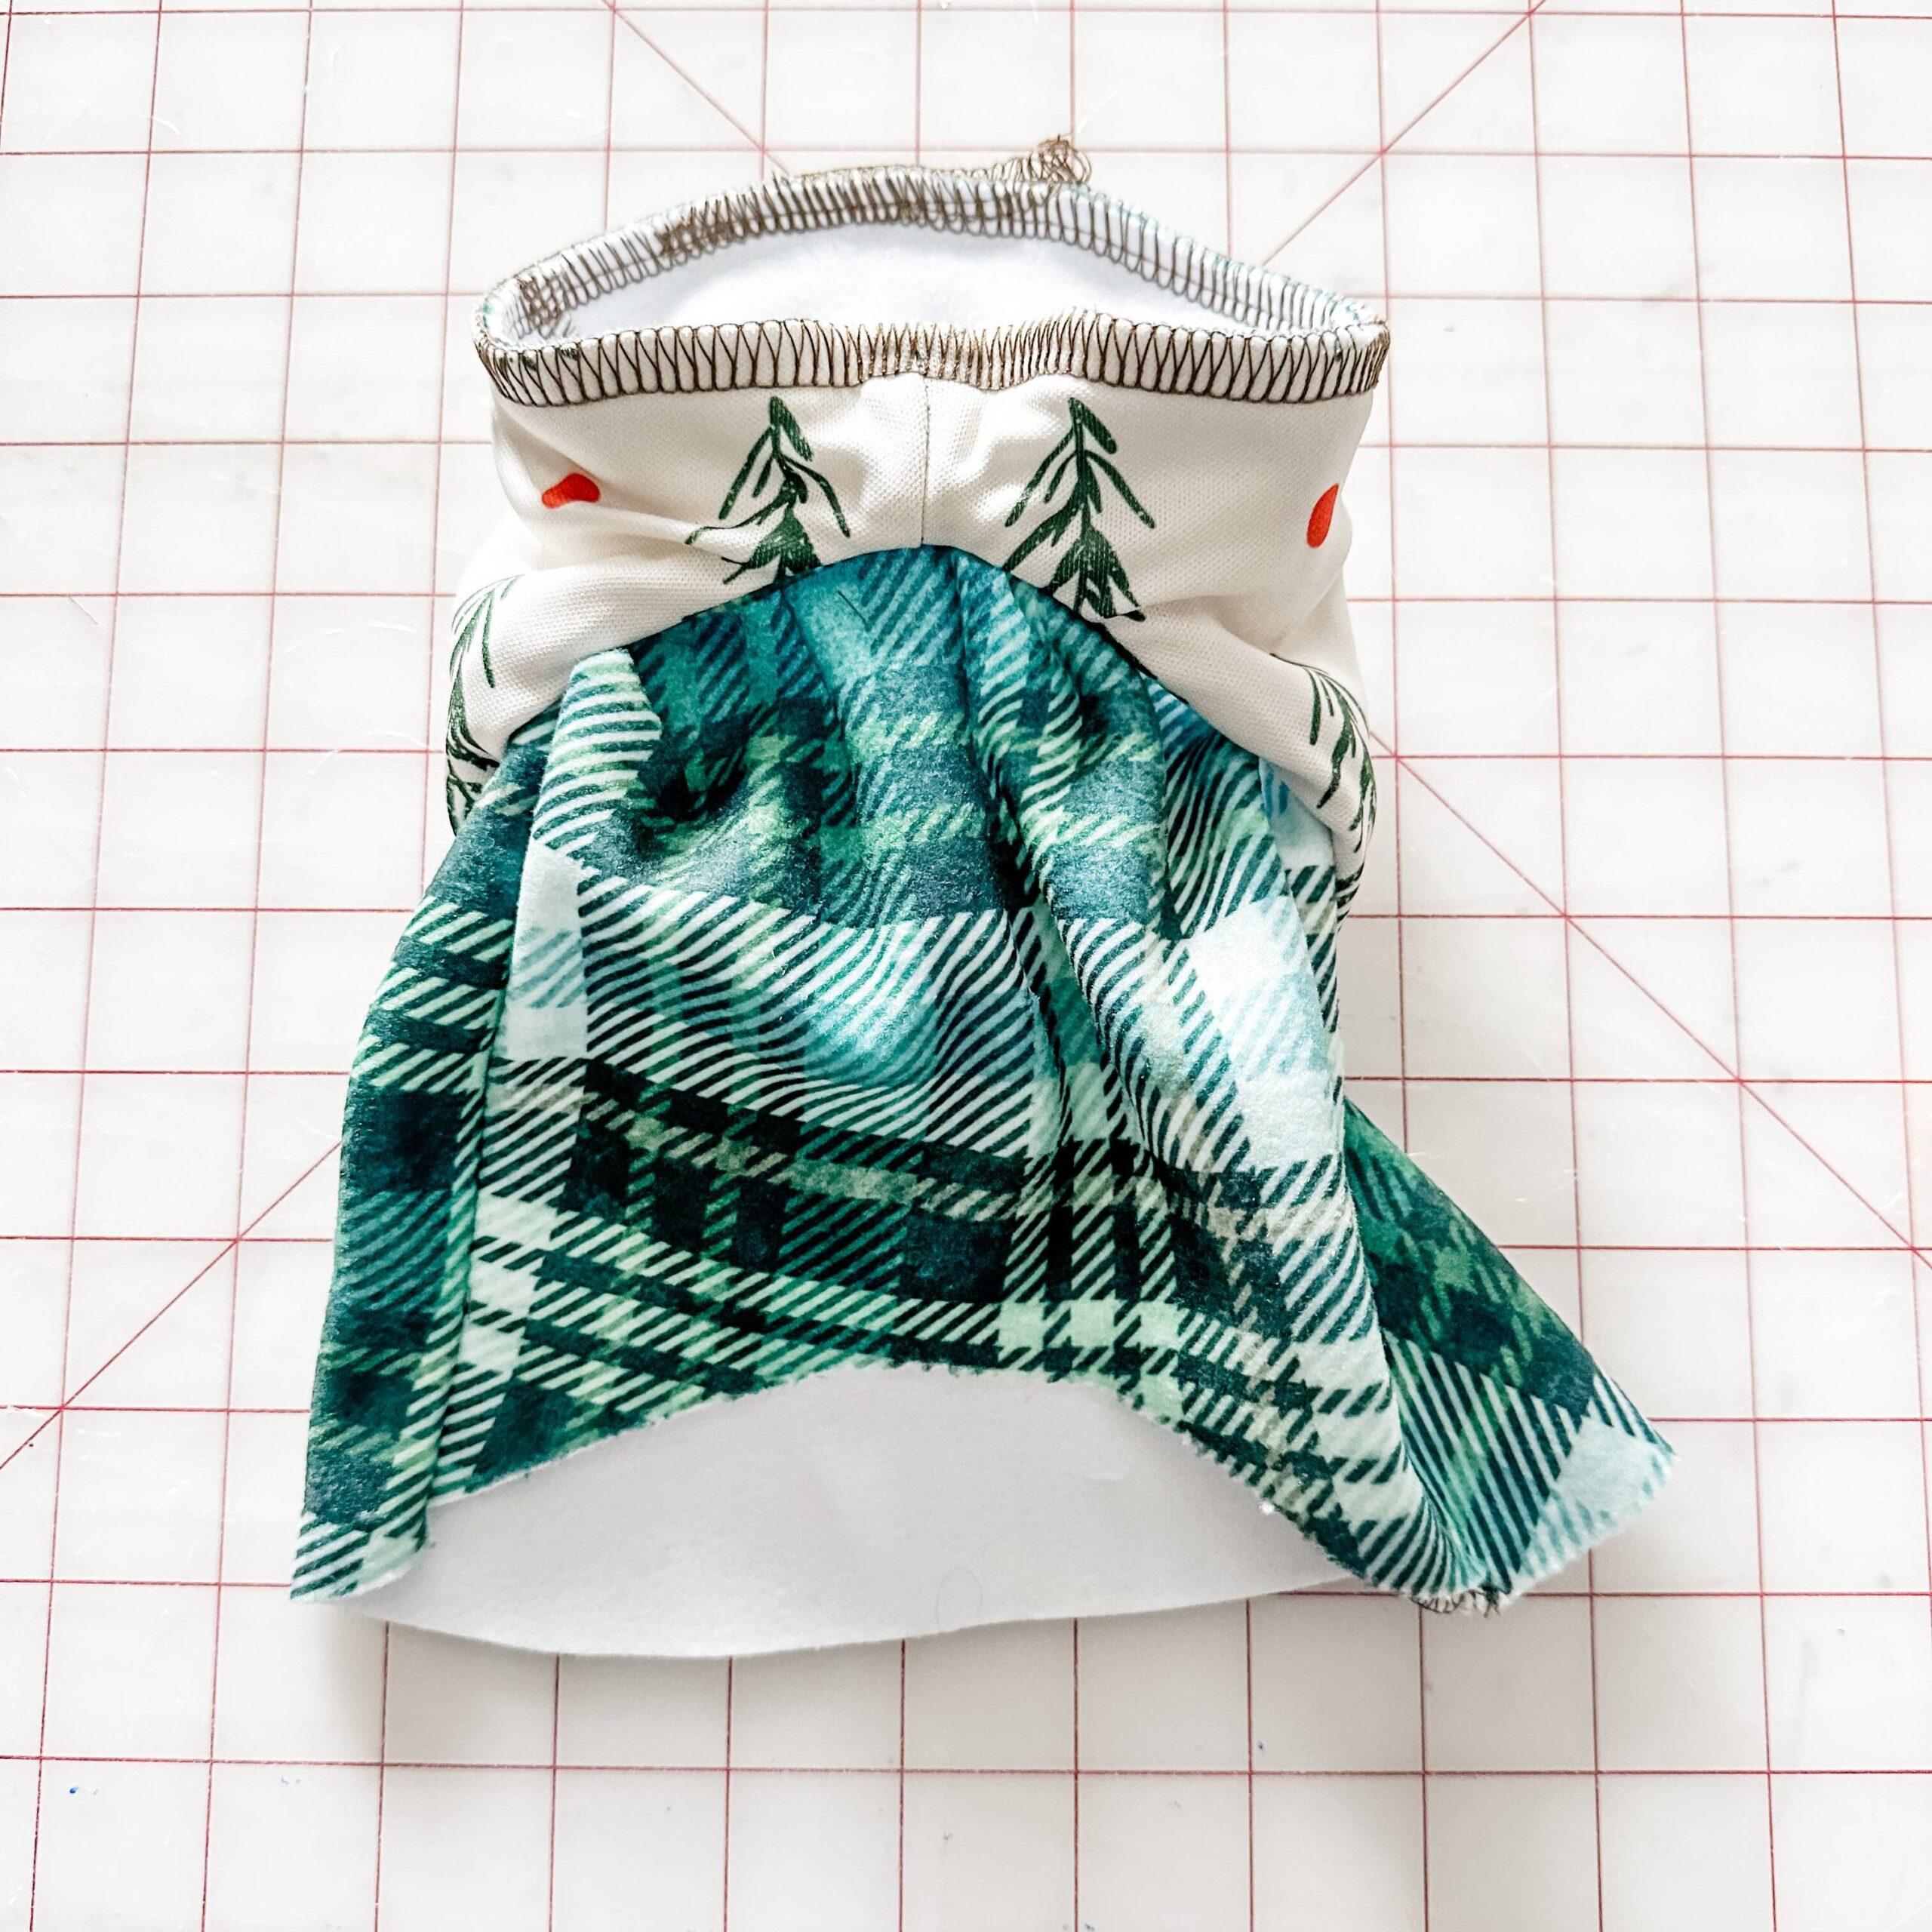
Step 7. Sew the Hood to the Bodice
The final step is to sew the hood to the bodice. Turn your hood so that the lining is facing outward and your main fabric is on the inside. With the hood upside down and the face opening up, pull the coat bodice up through the face opening and into the open bottom of the hood. (See the image below.) Your goal here is to align the bottom raw edges of the hood with the bodice neckline.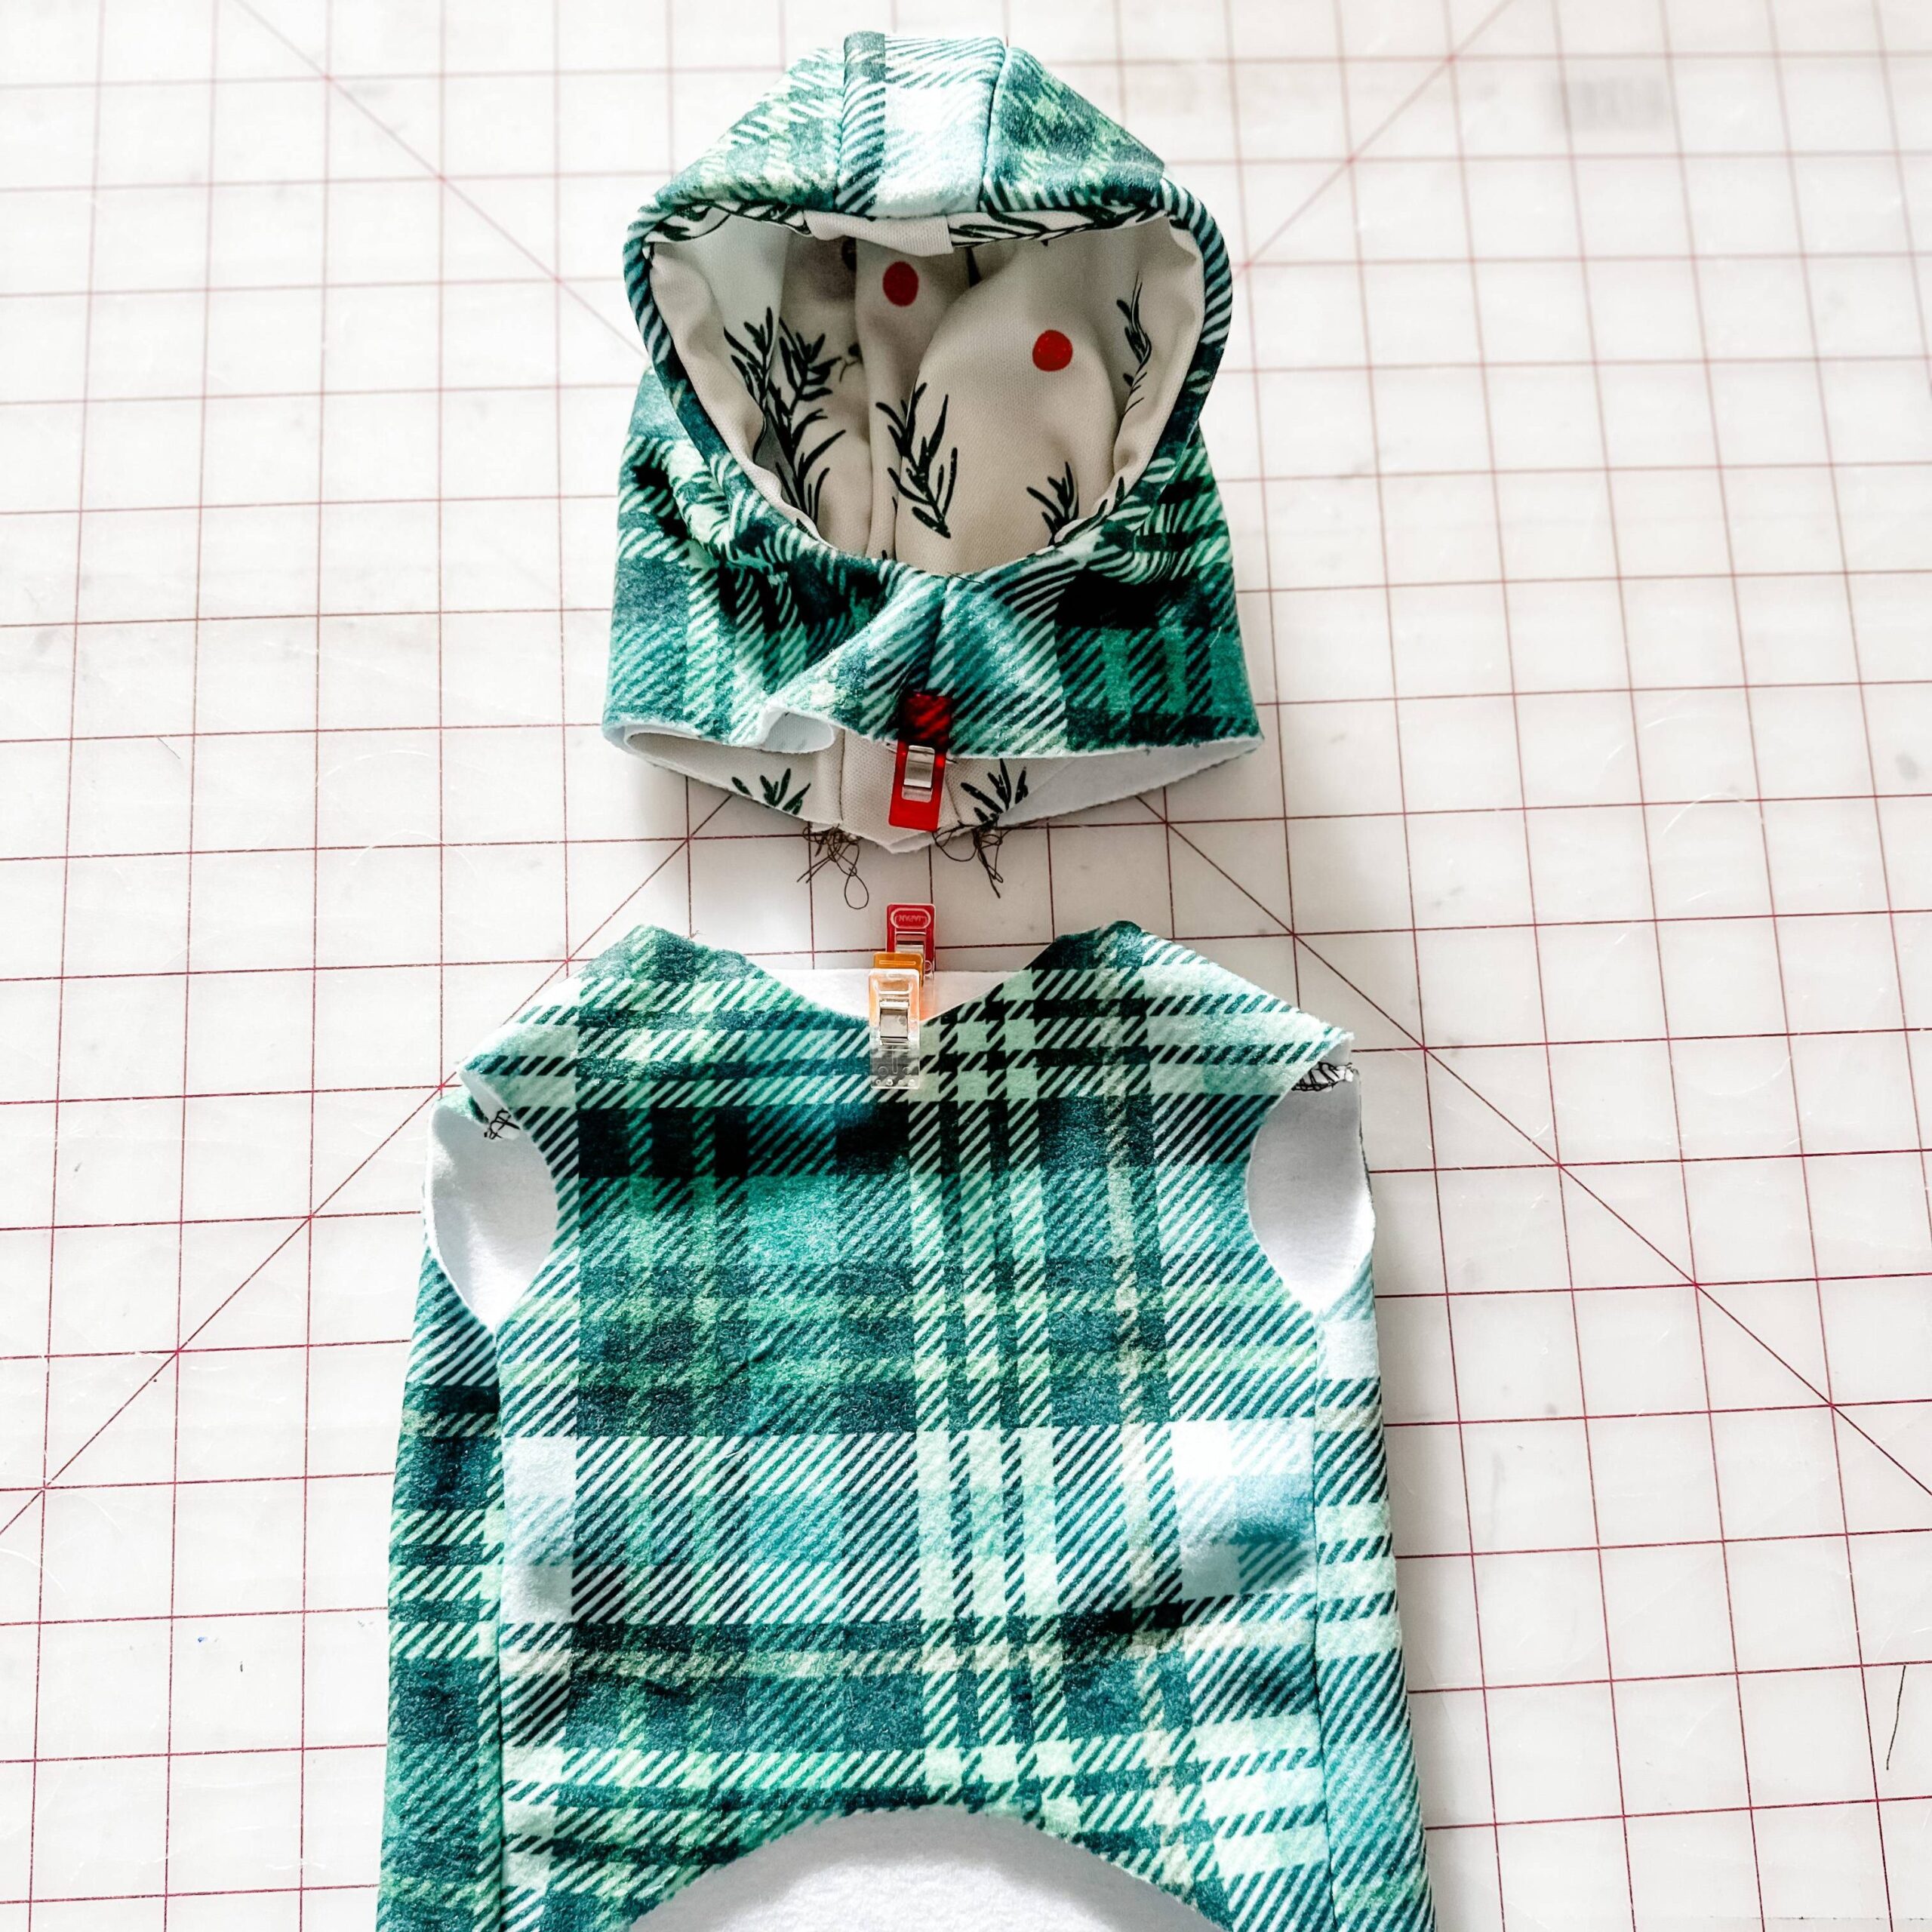


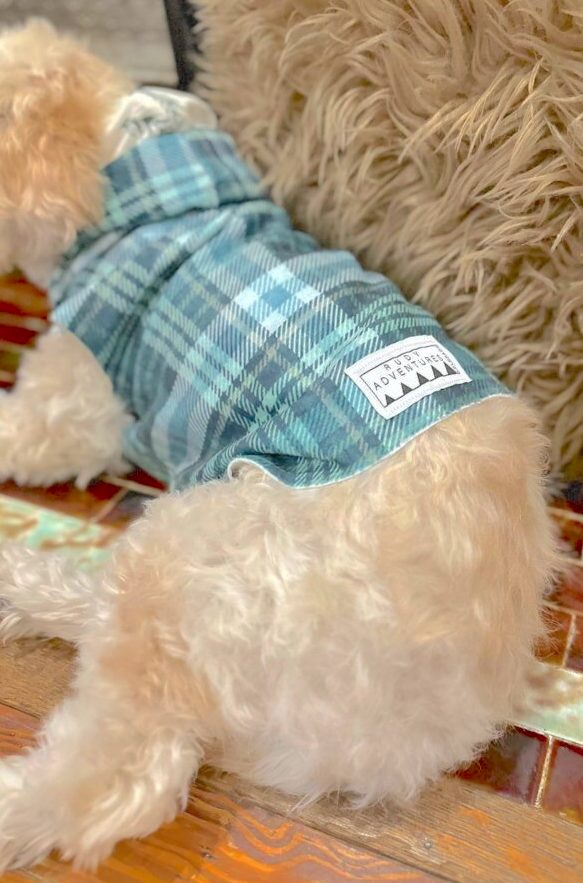
Step 8. Dress Your Pup For Winter!
To put the coat on your dog, slide it on first over the head, then through each paw individually. To remove the coat, take out each paw one at a time, then slide it off your pup’s head. Enjoy!
Frequently Asked Questions
What size dog will fit in a dog jacket created from this tutorial?
The PDF sizes range from XS-XL for dogs weighing 1-100 pounds.Why use Polartec Fleece to make a dog coat?
Polartec Fleece is ideal for cold-weather apparel like a dog coat. It’s a durable, lightweight and breathable substrate. The fabric is stretchy and soft, and does not generate pills with washing.How do I care for my Polartec Fleece dog jacket?
Just like your favorite fleece pullover, when this coat needs to be cleaned, wash it on a warm or cool water setting, and dry it on low heat.Made to order using unique designs from artists worldwide.

The World’s Largest Design Library for Wallpaper and Textiles
Discover a world of design—from minimalist to maximalist. Thousands of global artists, with new styles added constantly.

Custom Designs on Any Item
Our made-to-order model lets you print any design on any material. Coordinate patterns across rooms for a cohesive, personalized home.

Premium Materials, Always in Stock
Trusted by pros and enthusiasts, our responsibly sourced textiles and papers offer the perfect finish—from smooth to textured, delicate to durable.

Printed on Demand in the USA
Our print-on-demand model lets you choose your design, material, and quantity—minimizing waste with non-toxic inks and reduced packaging.