How to Make Beeswax Wraps
Are you trying to cut down on using plastic wrap? These reusable fabric beeswax wraps are great for wrapping up food and can be reused for up to a year. This project is great for using up fabric samples or scraps from other projects and the end result will keep grocery items like cheese, cut produce and more fresh without the use of plastic! Read on for the full tutorial on how to make your own beeswax wraps.

The Benefits of Reusable Food Wraps
- Great alternative to single-use cling-wrap or zip top bags
- Wraps are eco-friendly, 100% natural, non-toxic and biodegradable
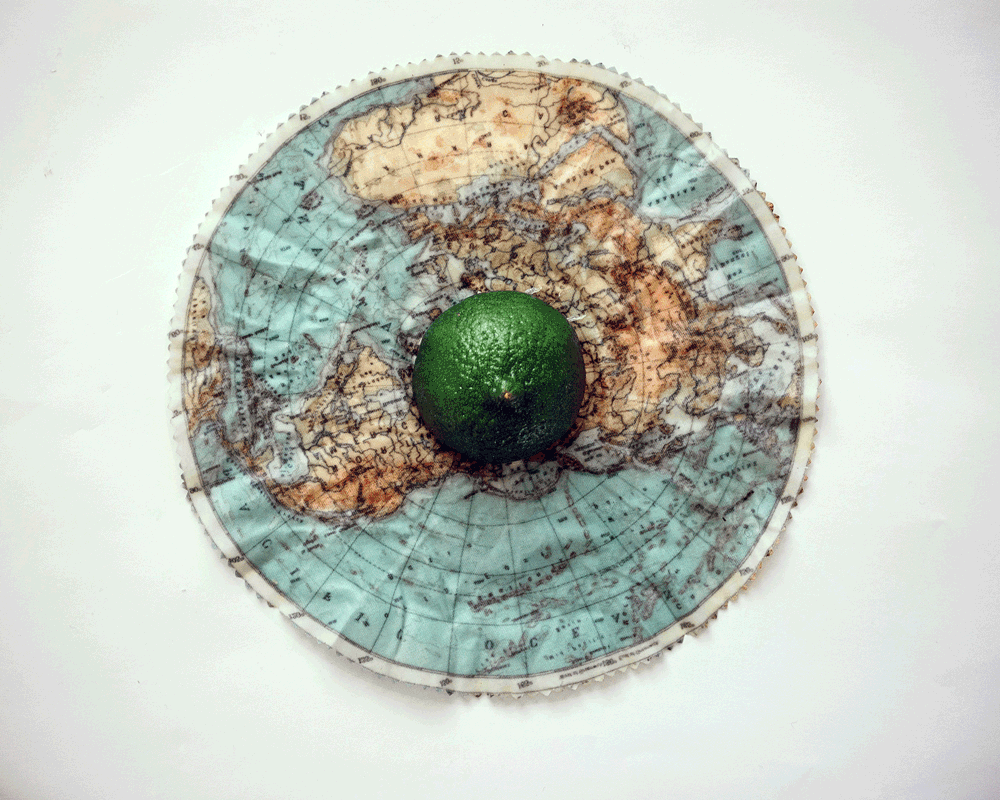
- Naturally stores and protects food from light, moisture and air
- The natural antibacterial properties of all three ingredients helps keep food fresher, longer while allowing the wraps to be reused many times over
- Wraps are washable and reusable and can last up to 12 months with proper maintenance
- Wraps can be composted or used as fire starters for wood-burning stoves or campfires, ensuring zero waste
Supplies
- 1 fat quarter Organic Cotton Sateen or woven cotton remnant fabric – we’re using Mother Earth Map Wraps™
- 2 tablespoons solidly-packed, grated raw beeswax or easy-to-melt beeswax pellets
- 1 1/2 tablespoons powdered tree resin – food grade variety
- 1/2 teaspoon organic jojoba oil
- Pinking shears
- Grater – if you are using raw beeswax instead of pellets
- Measuring spoons
- Electric wok or a stove-top, double boiler set-up for melting the ingredients
- Wooden stir stick
- Wide roll of unbleached parchment paper
- Short-bristle, 2” wide brush
- Old iron
- Hair dryer (optional)
- Drying rack or clothesline (optional)
Helpful Tips Before You Get Started
We recommend using Spoonflower’s Organic Cotton Sateen because of our eco-friendly print process that uses 100% biodegradable, non-toxic inks — good choices for a fabric intended to wrap our foods. Using a thin but tightly woven organic cotton is key to wraps that will readily absorb the wax but also helps malleability.Steps to Make Reusable Beeswax Food Wraps
Step 1. Prep Your Space
DIY reusable wraps are a messy process, so make sure you cover your surfaces with an old tablecloth.Step 2. Cut Out Your Fabric Shapes
If using the Mother Earth Map Wraps design, cut out all six shapes from the fat quarter with pinking shears to prevent the edges from fraying. You can also use fabric leftovers — just make sure they’re large enough to fully cover the items you’ll be using them with!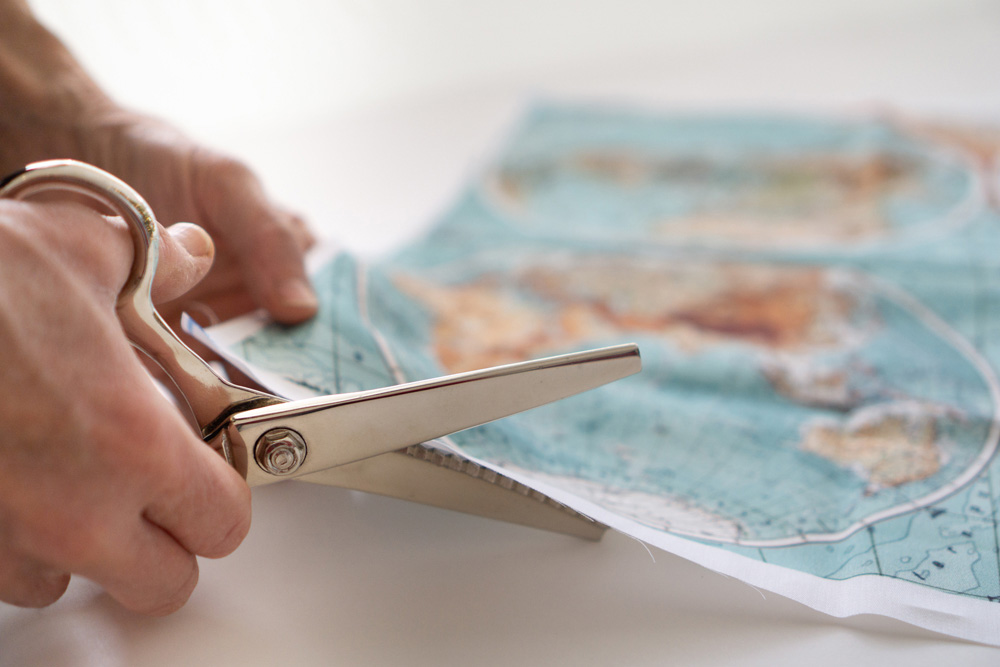
Step 3. Melt the Ingredients
In your pot or wok, melt the beeswax, powdered tree resin and organic jojoba oil on a medium temperature or stove-top double-boiler. Stir using a wooden stick. Since these ingredients are flammable, do not leave them unattended. Once the ingredients are melted, turn the heat down to low. Beeswax has a melting point of approximately 145° F to 147° F (63°C to 64°C). To avoid discoloration and overheating, your mixture should not go above 185 °F (85 °C). To prevent the wax mixture from overheating, turn off the wok between each wrap coating.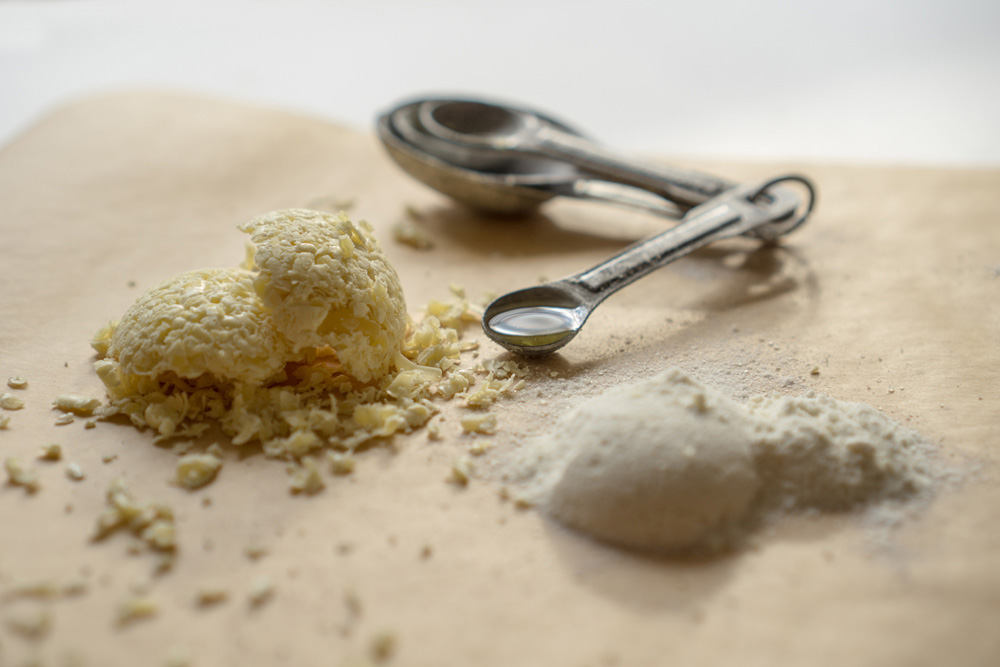

Step 4. Cover Your Fabric With the Melted Wax Mixture
Starting at the center of the fabric and moving out to the edges in each direction, quickly brush the melted wax mixture over one of the cut out fabric pieces with short strokes. Brush and evenly coat entire surface of the wrap fabric.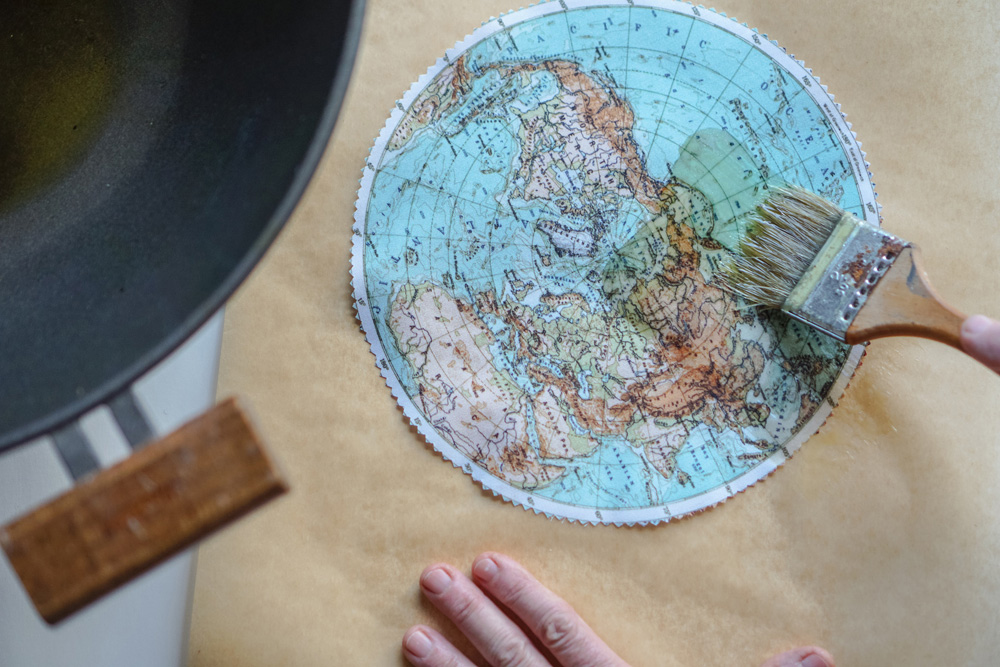
Step 5. Place the Wax-Coated Fabric Between Parchment Paper and Iron
Place the wax-coated fabric between two sheets of parchment paper, making sure the parchment covers the fabric and several inches beyond.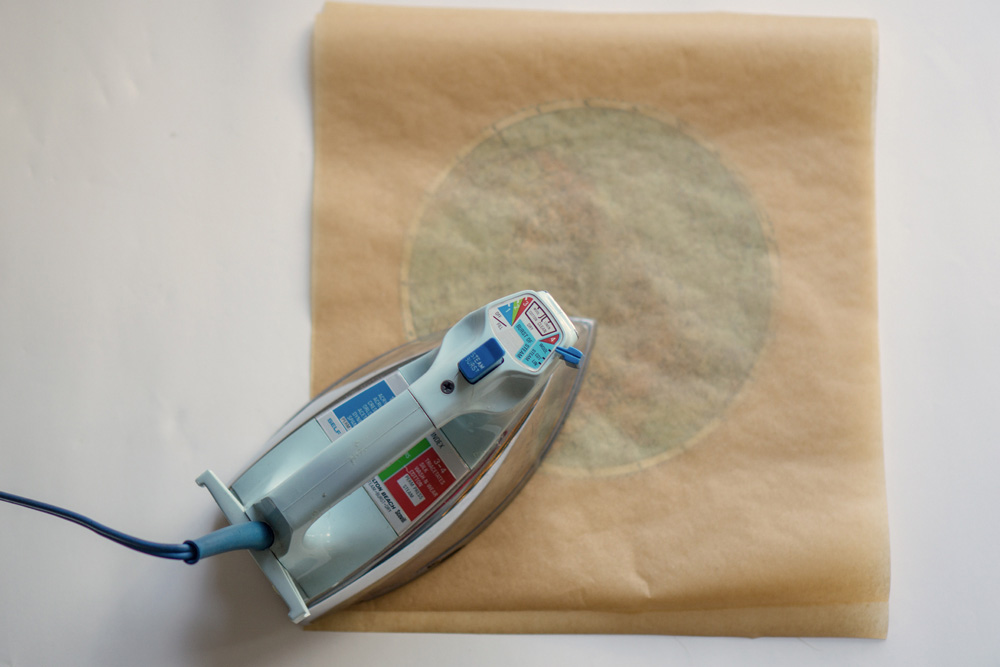
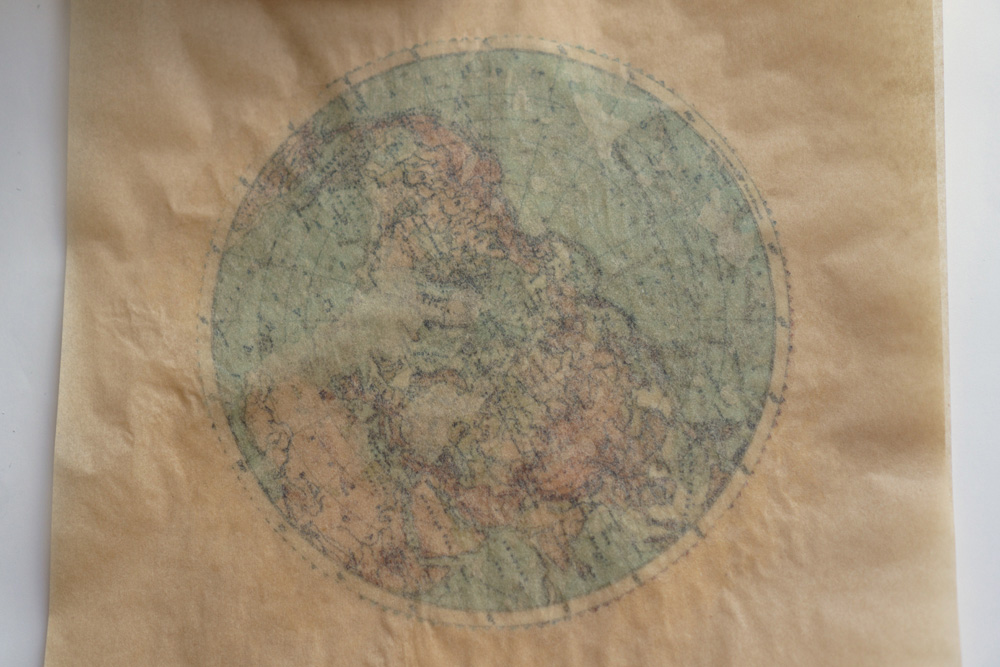
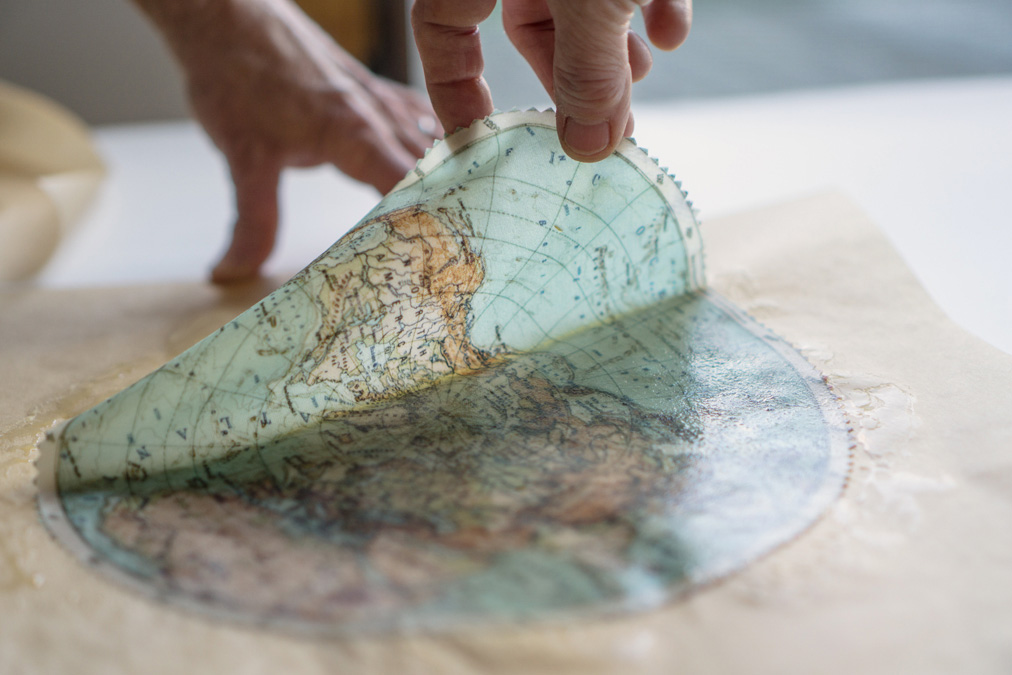
Step 6. Remove the Parchment from the Fabric
Lift the top parchment off the fabric while the wax is still warm from ironing. Continue pulling the fabric away from the bottom parchment sheet and quickly lift the fabric off the parchment.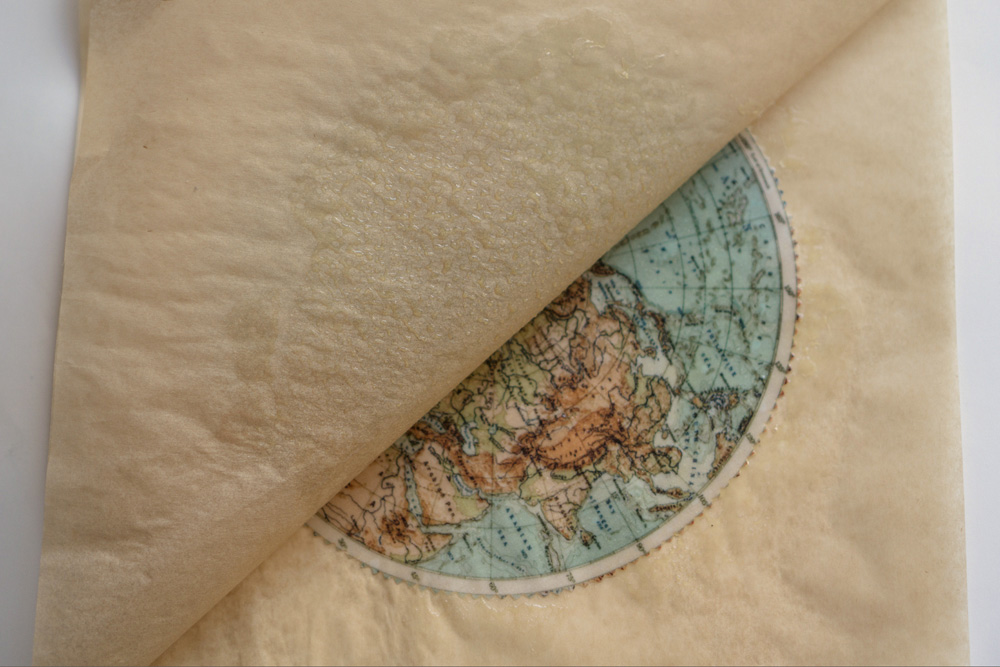
Step 7: Cool the Wax Fabric Wrap
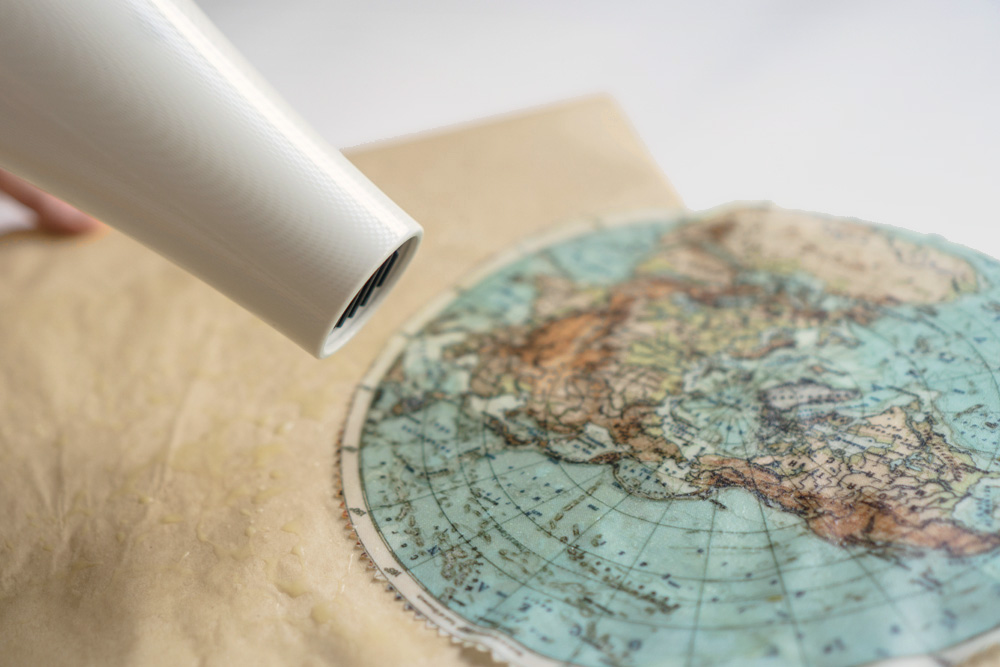
Gently wave the fabric back and forth in the air for a few seconds to cool, or hang on a line. If the wrap’s wax surface looks slightly uneven, re-warm the wax surface using a blow dryer on low heat to slightly re-melt and even out the wax.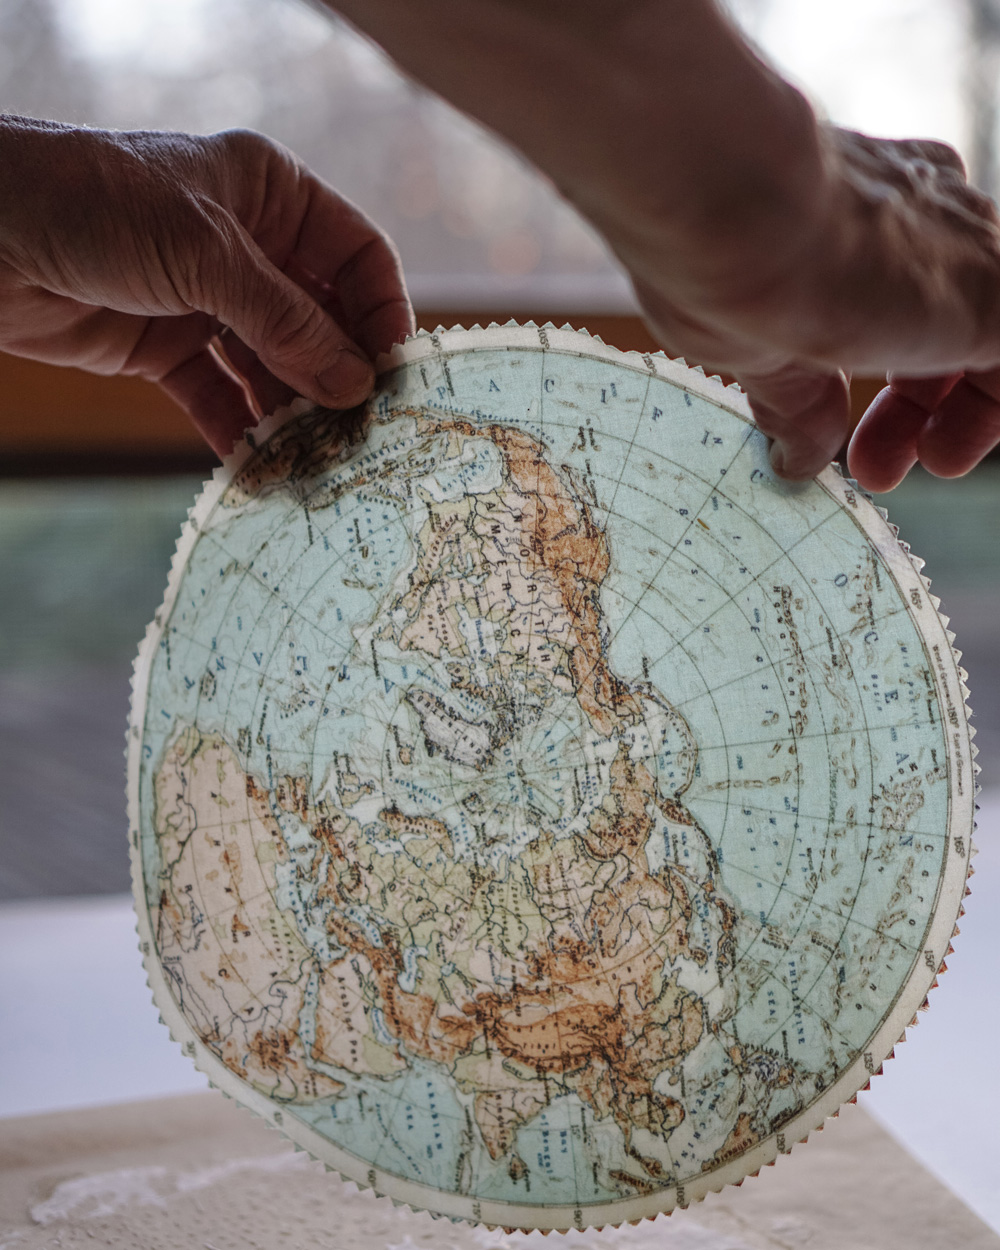
Step 8. Scrunch Up the Wrap to Soften
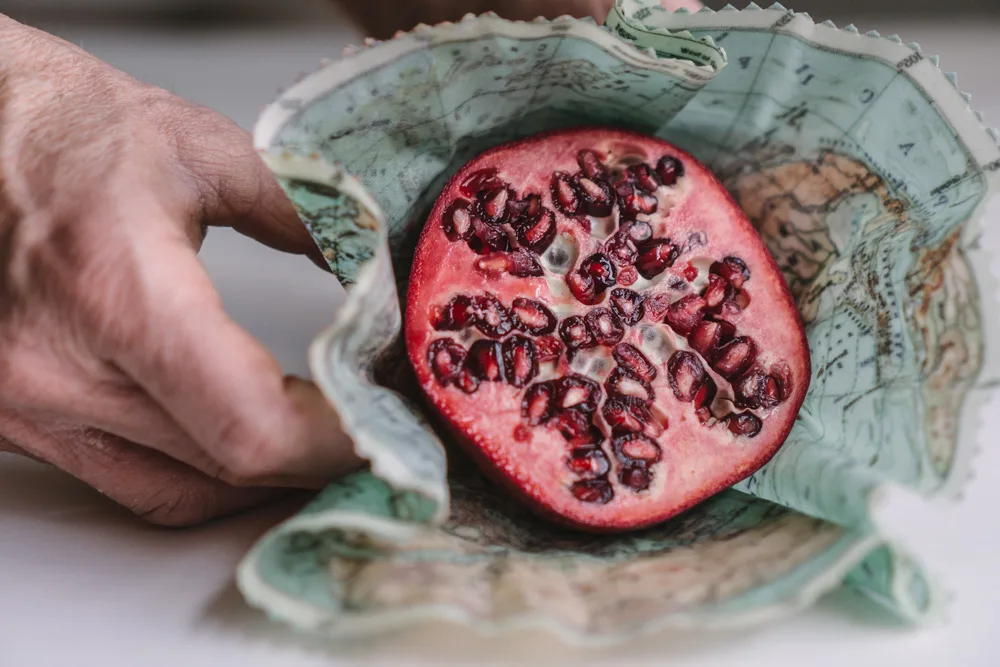
After making your beeswax wraps, simply scrunch the beeswax wrap a few times to soften the wrap to help it adhere better. Being a natural beeswax product, expect minor creases and cracks as it wears. Staining will also happen with food like beets and pomegranates. With normal use and proper care, wraps are reusable for about one year.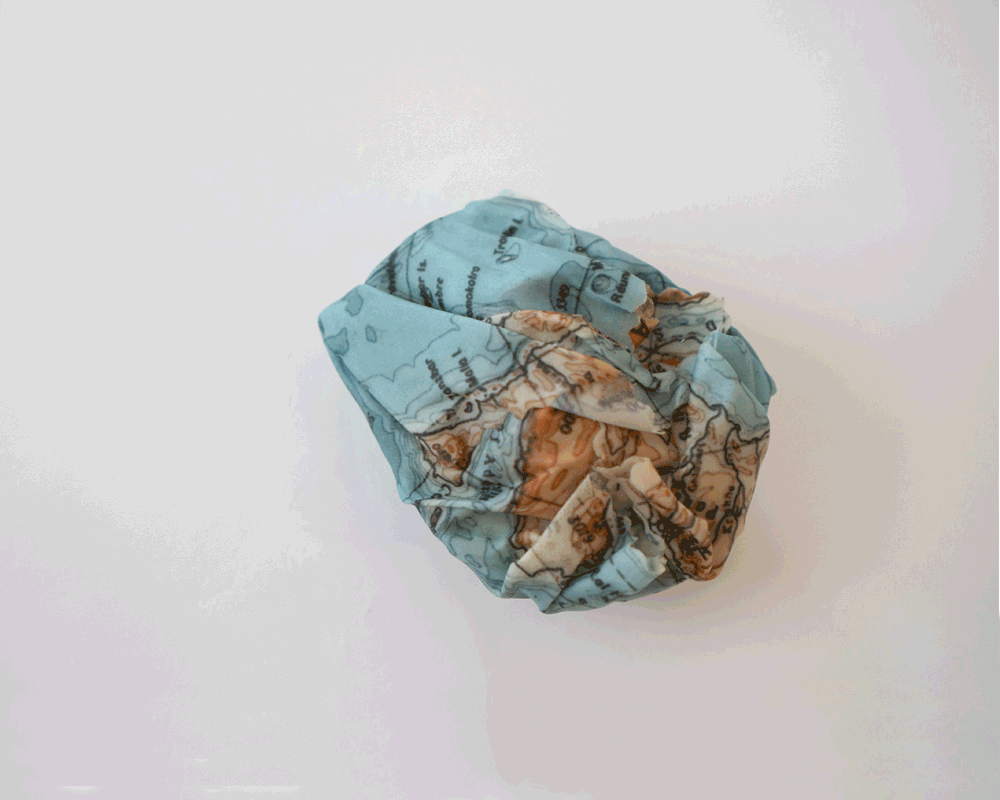
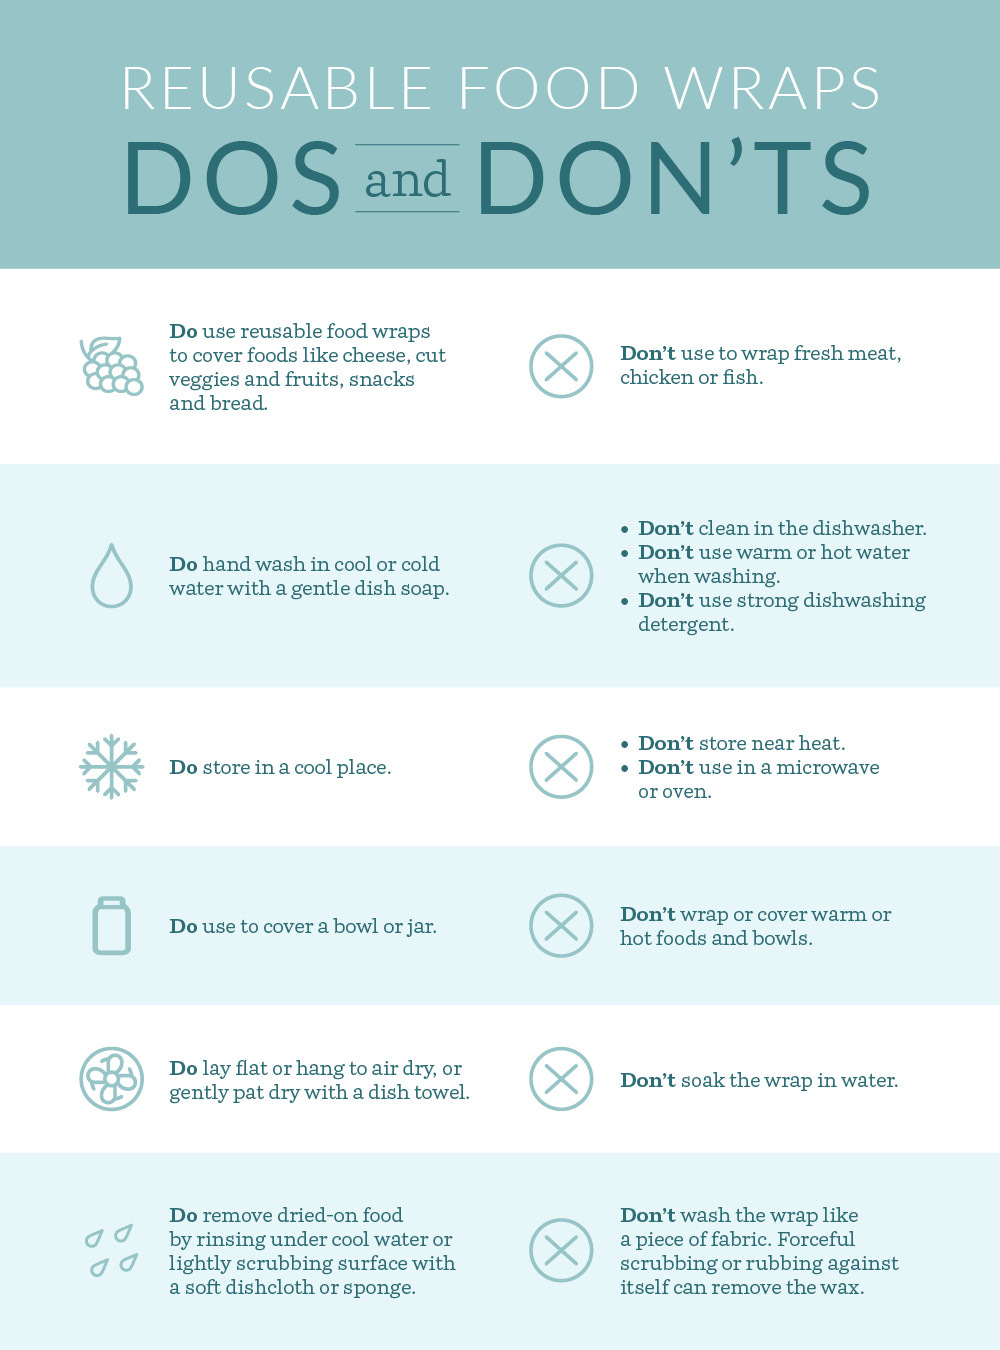
What to Know About Using DIY Food Wraps
Made to order using unique designs from artists worldwide.

The World’s Largest Design Library for Wallpaper and Textiles
Discover a world of design—from minimalist to maximalist. Thousands of global artists, with new styles added constantly.

Custom Designs on Any Item
Our made-to-order model lets you print any design on any material. Coordinate patterns across rooms for a cohesive, personalized home.

Premium Materials, Always in Stock
Trusted by pros and enthusiasts, our responsibly sourced textiles and papers offer the perfect finish—from smooth to textured, delicate to durable.

Printed on Demand in the USA
Our print-on-demand model lets you choose your design, material, and quantity—minimizing waste with non-toxic inks and reduced packaging.